1
2
3
12
13
11
10 9
5
6
7
8
4
14
15
16
18
17
19
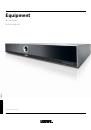
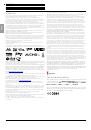
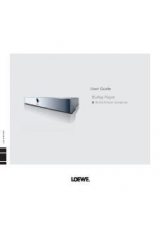
BluTechVision 3D
- 8 -
Instructions for Use
Deutsch
English
Français
Italiano
Español
Nederlands
Português
Magyar
Polski
Č
eština
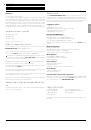
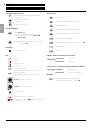
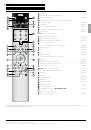
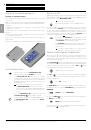
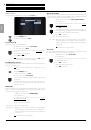
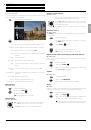
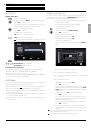
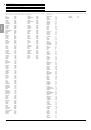
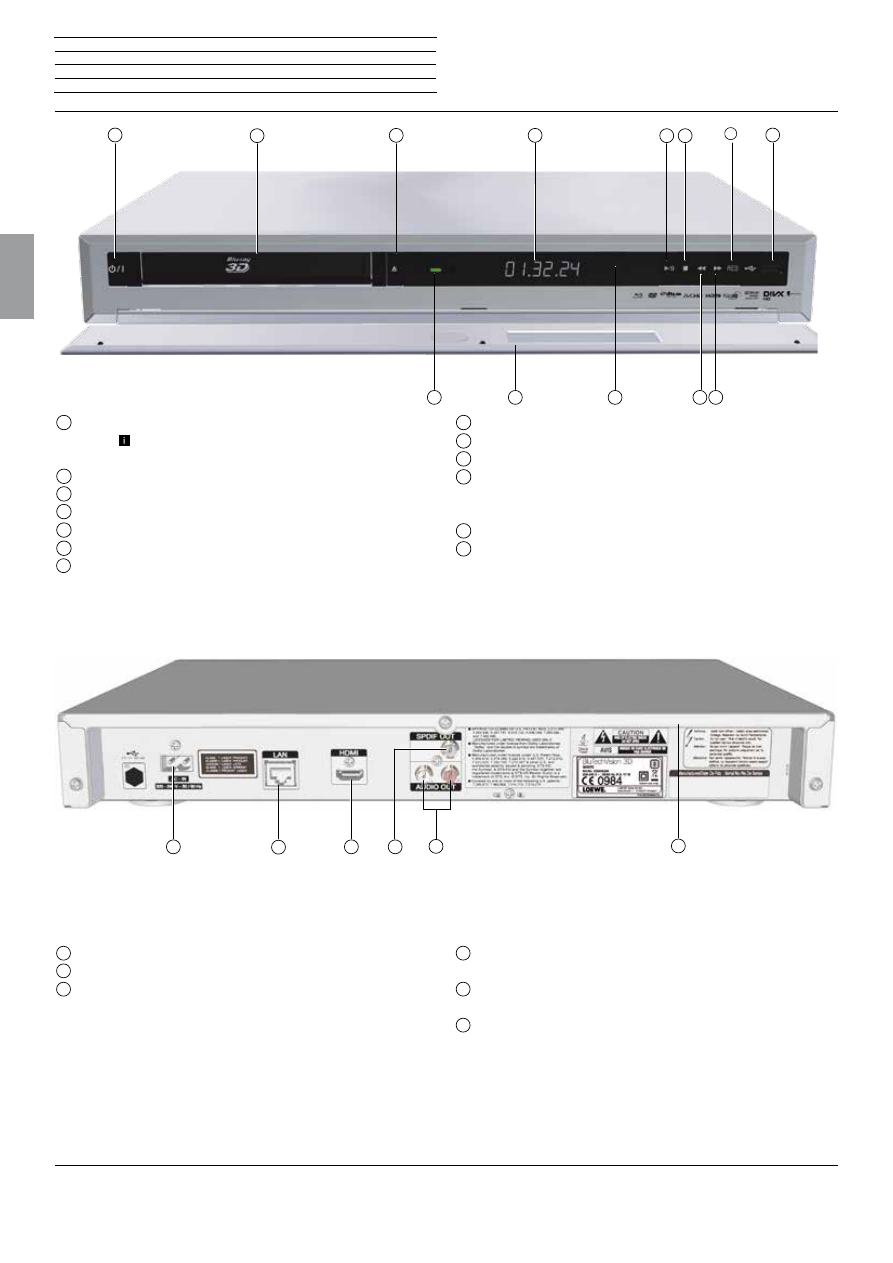
1
Switch on/off to stand-by mode
The device will be completely separated from mains
only when you unplug the mains cable.
2
CD/DVD/Blu-ray disc drive
3
Open / Close disc drawer
4
Display
5
Play / Pause
6
Stop
7
HDMI resolution
8
USB socket
9
Next chapter
10
Previous chapter
11
IR receiver:
Infrared receiver for receiving the remote control com-
mands.
12
Front flap
13
Operating display
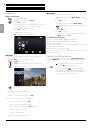
n
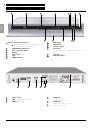
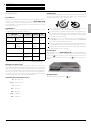
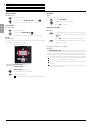
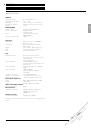
Control elements / Connections
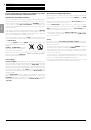
14
Mains socket
15
LAN
(RJ-45 network connection)
16
HDMI
(HDMI output)
17
SPDIF OUT
Digital audio output
18
AUDIO OUT
(Analog audio output stereo L/R)
19
Connector panel cover
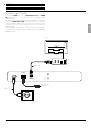
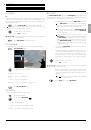
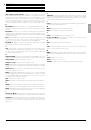
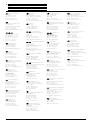
BluTechVision 3D cable
Connect the
HDMI
socket of the
BluTechVision 3D
to an
HDMI
IN
(HDMI 1/2/3/...)
socket on your TV set using the HDMI
cable provided.
Use an optional RJ-45 network cable (not included in the delivery) to
connect the
BluTechVision 3D
to a network connection (e.g. switch
or DSL router) that has a connection to the Internet/home network.
Alternatively, you can connect the device to your home network via
WiFi (page 16)
Plug the small plug of the mains cable into the rear of the unit (page
8) and then plug the large plug of the mains cable into a 220-240V
50/60 Hz socket.
LAN
HDMI
TV set
HDMI cable
Mains cable
Network cable
(optional)
HDMI 1/2/3/..