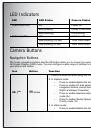
45 Camera Settings
The Setup Menu
English
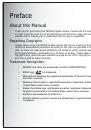
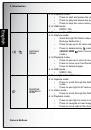
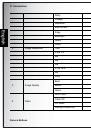
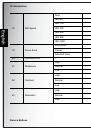
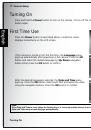
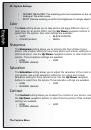
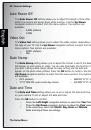
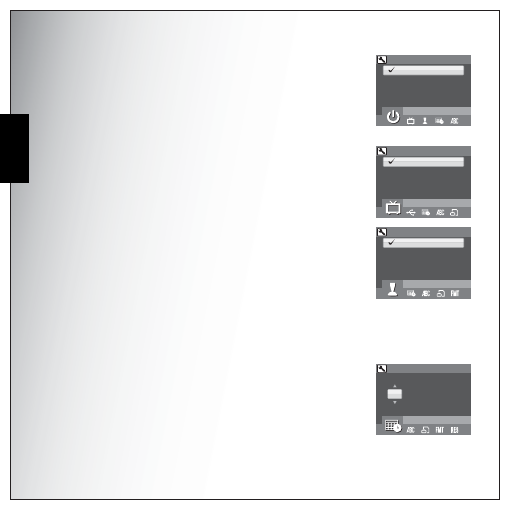
Auto Power Off
The Auto Power Off setting allows you to adjust the length of time after
which the camera will power down when inactive. Use the Up/Down
navigation buttons to select from the menu options. Two options are
available:
•
5 MIN (default)
•
2 MIN
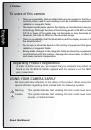
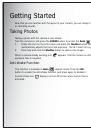
Video Out
The Video Out setting allows you to adjust the video output, depending on
the type of your TV. Use the Up/Down navigation buttons to select from the
menu options. Two options are available:
•
NTSC (default)
•
PAL
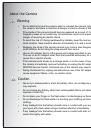
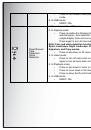
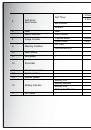
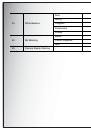
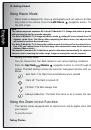
Date Stamp
The Date Stamp setting allows you to adjust the format in which the date
will appear on each photo or video. You can also deactivate this function if
you wish. Setting a date stamp allows for easy sorting and the date will
appear on the photo when printed. Press the OK button to confirm. Use the
Up/Down navigation buttons to select from the menu options. Four options
are available:
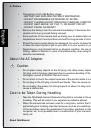
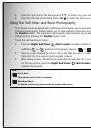
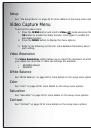
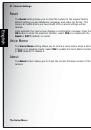
Date and Time
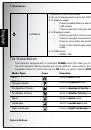
The Date and Time setting allows you to set or adjust the date and time
on your camera. To set or adjust the date and time:
Press the OK button to confirm.
•
Press the
Left/Right
navigation buttons to select the
Year
field.
•
Press the
Up/Down
navigation buttons to adjust the
Year
value.
•
In the same way, select the
Month
,
Day
,
Hour
and
Minute
fields and adjust them accordingly.
• OFF (default)
• YYYY MM DD: year-month-day format
• MM DD YYYY: month-day-year format
• DD MM YYYY: day-month-year format
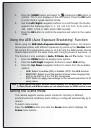
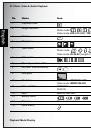
AUTO POWER OFF
5 MIN
2 MIN
VIDEO OUT
NTSC
PAL
DATE STAMP
OFF
YYYY MM DD
MM DD YYYY
DD MM YYYY
DATE & TIME
2009
/ 04
/
01
12 : 00
(Year)
Press OK when done