3
Sh
oo
ting
32
t
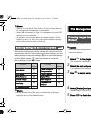
Memo
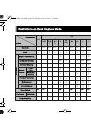
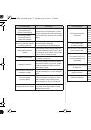
• Exposure Bracketing shooting enables you to take pictures
while automatically changing exposure. (p.41)
• A proper exposure may not be obtained with the selected
shutter speed and aperture value when the sensitivity is set
to the fixed value.
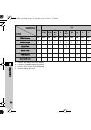
• In
L
mode, the difference from the proper exposure is
displayed in the EV bar scale while the shutter speed
or aperture value is adjusted.
• You can set the function of the
M
button for when the camera
is in
L
/
K
mode. Set in [Green Button] of the
A
3 menu.
• Sensitivity values higher than ISO 1600 are not available
when the shutter speed is set to 2 seconds or slower
in
I
/
L
mode.
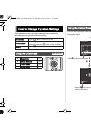
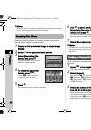
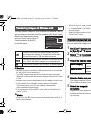
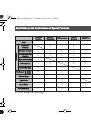
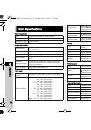
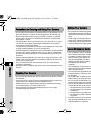
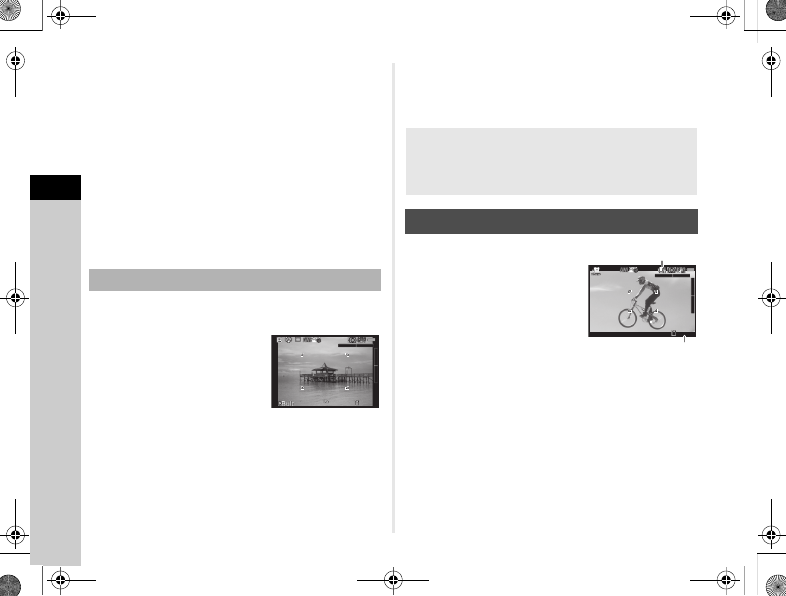
1
Set the mode dial to
L
.
2
Turn
V
to the left.
V
appears after the slowest
shutter speed.
3
Press the shutter release button.
The shutter remains open as long as the shutter release
button is kept pressed (up to 30 seconds).
4
Take your finger off the shutter release button.
Exposure ends.
u
Caution
• Bulb shooting is available only when using a lens that has
a lens shutter. (p.72)
• Some functions cannot be used in this mode. (p.69)
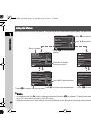
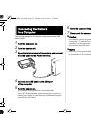
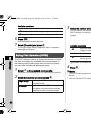
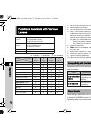
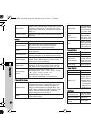
1
Set the mode dial to
C
.
Use
V
and
J
to adjust the
exposure compensation value
when [Exposure Setting] of
the
C
1 menu is set to
o
.
2
Press the shutter release button halfway.
3
Press the shutter release button fully.
Movie recording starts.
R
blinks at the top left of the screen.
When [Focus Method] is set to
v
, press
E
to perform
autofocus.
4
Press the shutter release button fully.
Movie recording stops.
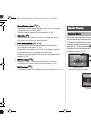
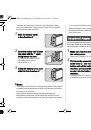
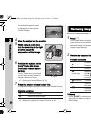
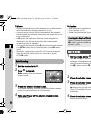
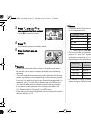
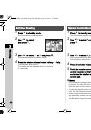
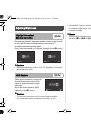
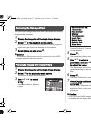
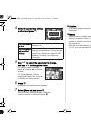
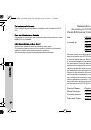
Bulb Shooting
F2.8
F2.8
1600
1600
37
37
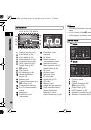
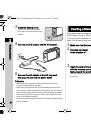
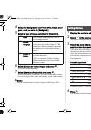
Checking the Depth of Field (Preview)
When [Preview] is assigned to
M
in [Green Button] of the
A
3 menu, you can check the depth of field before taking
pictures. (p.62)
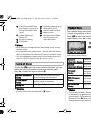
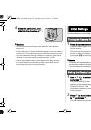
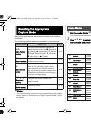
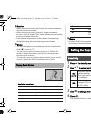
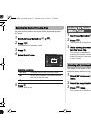
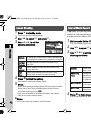
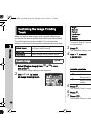
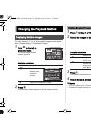
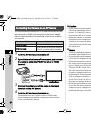
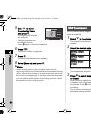
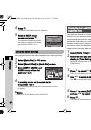
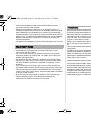
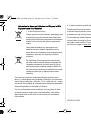
Movie Mode
10'30"
10'30"
Sound
Recordable Time
Q-7_OPM_eng.book Page 32 Tuesday, July 30, 2013 1:56 PM