3
Sh
oo
ting
35
3
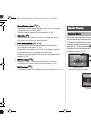
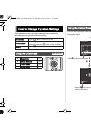
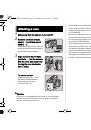
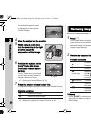
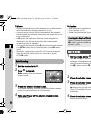
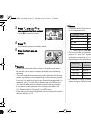
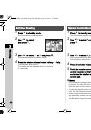
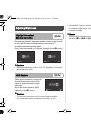
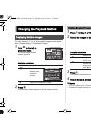
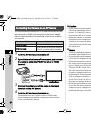
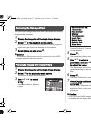
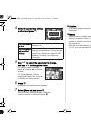
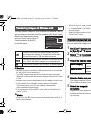
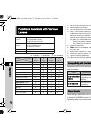
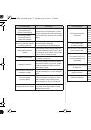
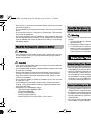
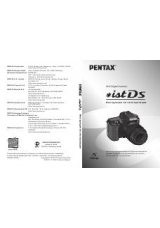
Press
B
, and use
V
to
compensate the flash output.
Press
M
to reset the value.
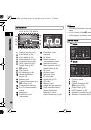
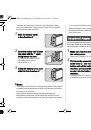
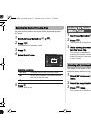
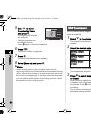
4
Press
E
.
The camera returns to standby mode.
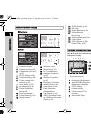
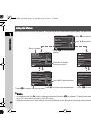
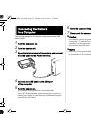
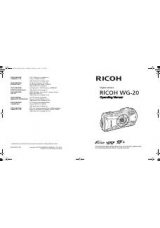
5
Slide the flash pop-up
switch.
u
Caution
• Be sure to retract the built-in flash if not planning to use it.
Be careful not to get your fingers pinched when retracting
the flash.
• The built-in flash discharges even when retracted, which may
cause vignetting to occur depending on the lens being used.
If you do not want to let the built-in flash discharge while it is
retracted, set [11. Flash When Retracted] in the
E
2 menu.
• You cannot take pictures while the flash is being charged.
If you want to take pictures while charging the flash, set
[12. Release While Charging] in the
E
2 menu.
• Depending on the lens being used, the use of the built-in flash
may be limited. (p.72)
t
Memo
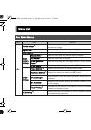
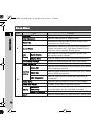
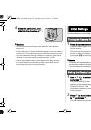
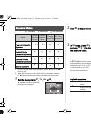
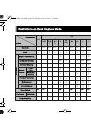
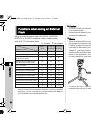
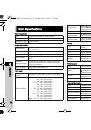
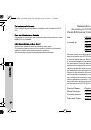
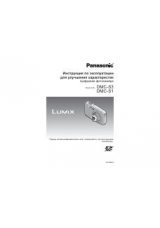
• The flash modes that can be selected vary depending
on the capture mode.
*1 Fixed to
J
for some
S
modes.
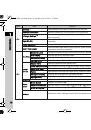
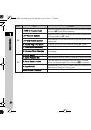
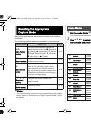
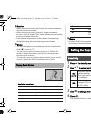
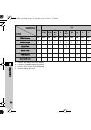
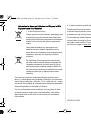
• The built-in flash is optimum for a subject at a distance from
approx. 0.7 m to 5 m. Vignetting may occur when used at
a distance closer than 0.7 m (this distance varies slightly
depending on the lens being used and the sensitivity setting).
• For details on using an external flash, refer to “Functions
when Using an External Flash” (p.74).
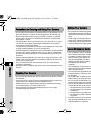
Auto Flash Discharge
Auto Flash Discharge
Cancel
Cancel
OK
OK
OK
MENU
+0.7
+0.7
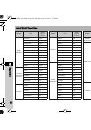
Capture Mode
Selectable Flash Mode
R
,
S
*1
A
,
J
U
A
,
B
,
C
,
D
,
J
G
,
J
A
,
B
,
C
,
D
,
E
,
F
,
H
,
J
I
A
,
B
,
C
,
D
,
G
,
J
L
C
,
D
,
G
,
J
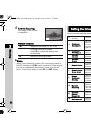
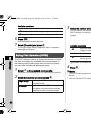
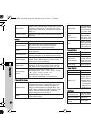
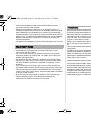
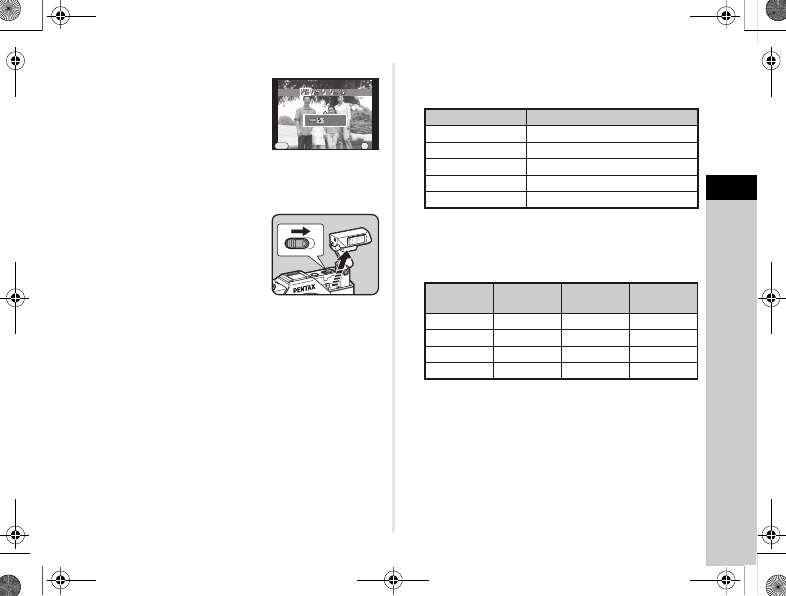
Sensitivity
Guide
Number
Sensitivity
Guide
Number
ISO 100
Approx. 4.9
ISO 1600
Approx. 20
ISO 200
Approx. 7
ISO 3200
Approx. 28
ISO 400
Approx. 10
ISO 6400
Approx. 40
ISO 800
Approx. 14
ISO 12800
Approx. 56
Q-7_OPM_eng.book Page 35 Tuesday, July 30, 2013 1:56 PM