English - 18
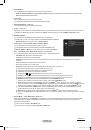
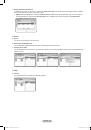
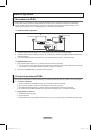
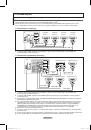
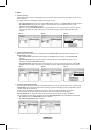
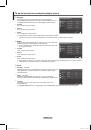
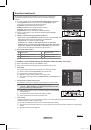
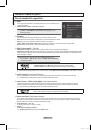
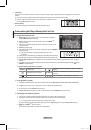
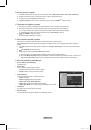
White Balance
You can adjust the colour temperature for more natural picture colours.
R-Offset / G-Offset / B-Offset / R-Gain / G-Gain / B-Gain
: Changing the adjustment value will refresh the adjusted screen.
Reset
: Resets the default white balance.
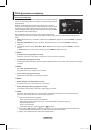
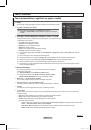
Flesh Tone
You can adjust the flesh tone to be more or less red.
Changing the adjustment value will refresh the adjusted screen.
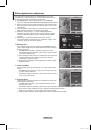
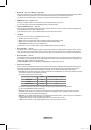
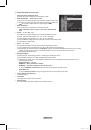
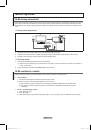
Edge Enhancement →
→
Off / On
You can emphasize object boundaries in the picture.
xvYCC → Off / On
Setting the xvYCC mode to on increases detail and colour space when watching movies from an external device (i.e. DVD player).
xvYCC
is available when the picture mode is set to
Movie
, and the external input is set to
HDMI
or
Component
mode.
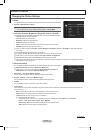
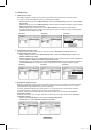
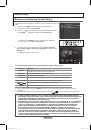
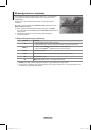
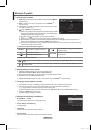
Picture Options
You can customize the additional picture settings to suit your preference.
In
PC
mode, you can only make changes to the
Colour Tone,
Size
and
Screen
Burn Protection
from among the items in
Picture Options
.
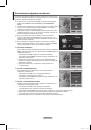
Colour Tone →
→
Cool / Normal / Warm1 / Warm / Warm3
You can select the most comfortable colour tone to your eyes.
The adjusted values are stored according to the selected
Picture
mode.
Warm1, Warm,
or
Warm3
is only activated when the picture mode is
Movie
.
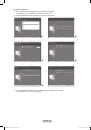
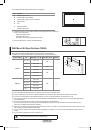
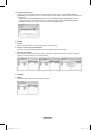
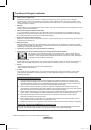
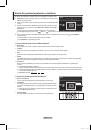
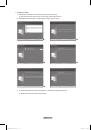
Size → Auto Wide / 16:9 / Wide Zoom / Zoom / 4:3 / Screen Fit
You can select the picture size which best corresponds to your viewing requirements.
Auto Wide
: Sets the picture in Auto Wide format.
16:
: Sets the picture to the 16:9 aspect ratio.
Wide Zoom
: Select this menu to view 4:3 aspect ratio pictures over a 16:9 aspect ratio TV by stretching the 4:3 picture
vertically.
Zoom
: Stretches the 16:9 aspect ratio picture vertically.
4:3
: Sets the picture to the 4:3 aspect ratio.
Screen Fit
: Displays the full native HD signal that cannot be viewed using a normal TV.
Depending on the input source, the picture size options may vary.
The items available may differ depending on the selected mode.
In
PC
Mode, only 16:9 and 4:3 mode can be adjusted.
When Double ( , ) mode has been set in PIP, the Picture Size cannot be set.
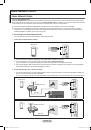
Settings can be adjusted and stored for each external device you have connected to an input of the TV.
Temporary image retention may occur when viewing a static image on the set for more than two hours.
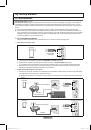
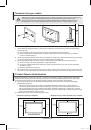
Wide Zoom
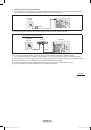
: Press the ► button to select
Position
, then press the
ENTER
E
button.
Press the ▲ or ▼ button to move the screen up / down. Then press the
ENTER
E
button.
Zoom
: Press the ► button to select
Position
, then press the
ENTER
E
button. Press the ▲ or ▼ button to move the
picture up and down. Then press the
ENTER
E
button. Press the ► button to select
Size
, then press the
ENTER
E
button.
Press the ▲ or ▼ button to magnify or reduce the picture size in the vertical direction. Then press the
ENTER
E
button.
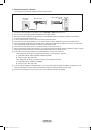
After selecting
Screen Fit
in
HDMI
(1080i / 1080p) or
Component
(1080i / 1080p) mode: Select
Position
by pressing
the ◄ or ►button. Use the ▲, ▼, ◄ or ► button to move the picture.
Reset
: Press the ◄ or ► button to select
Reset
, then press the
ENTER
E
button. You can initialize the setting.
If you use the
Screen Fit
function with HDMI 720p input, 1 line will be cut at the top, bottom, left and right as in the overscan
function.
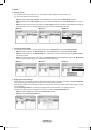
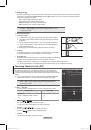
Screen Mode
→ 16:9 / Wide Zoom / Zoom / 4:3
When setting the picture size to
Auto Wide
in a 16:9 wide TV, you can determine the picture size you want to see the 4:3 WSS
(Wide Screen Service) image or nothing. Each individual European country requires different picture size so this function is
intended for users to select it.
This function is available in
Auto Wide
mode.
This function is not available in
PC
,
Component
or
HDMI
mode.
•
•
N
N
❑
N
N
N
•
•
•
•
•
•
N
N
N
N
N
N
N
N
N
N
N
N
N
Continued...
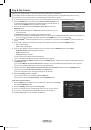
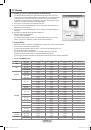
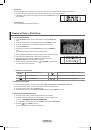
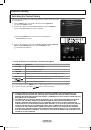
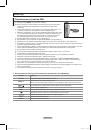
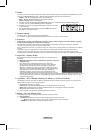
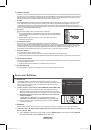
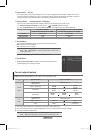
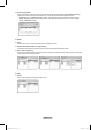
Tint (G/R)
: G50/R50
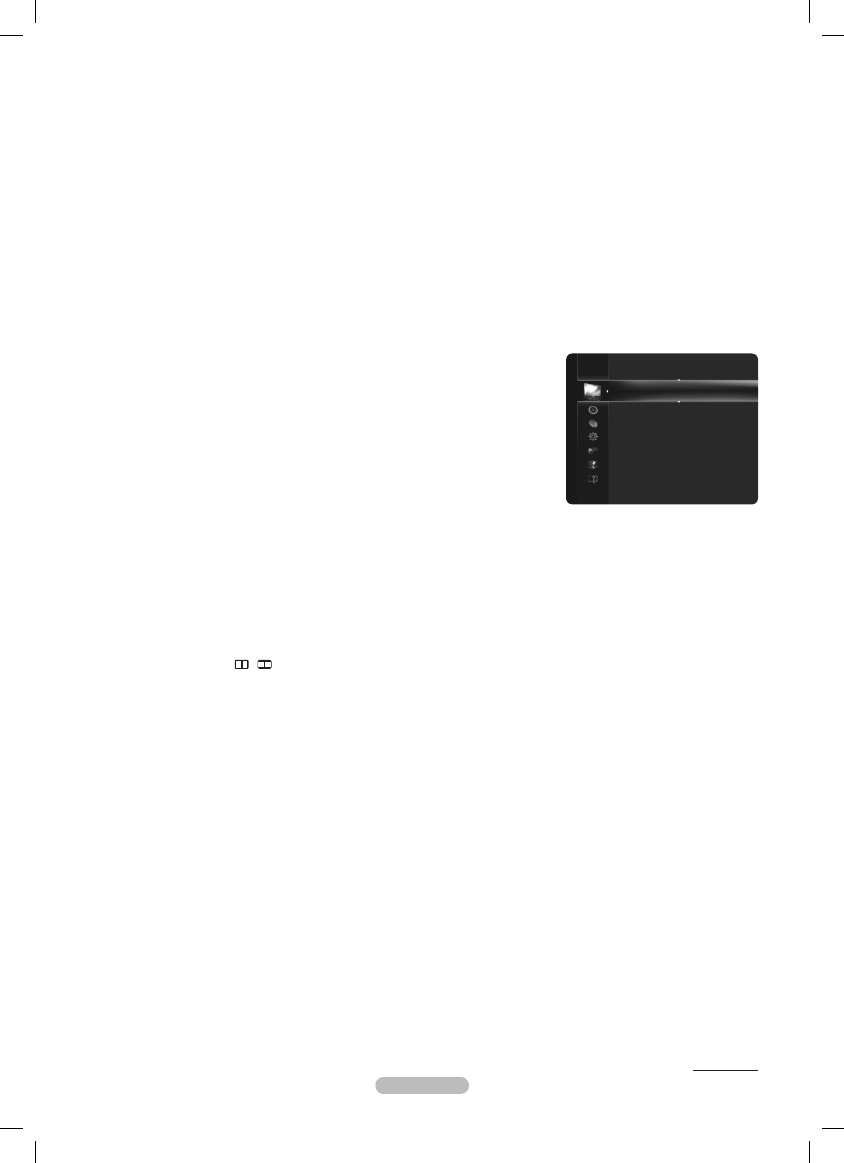
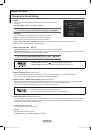
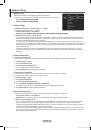
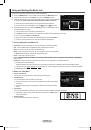
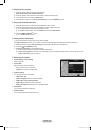
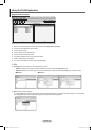
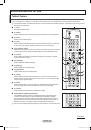
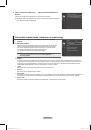
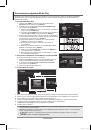
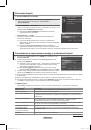
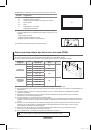
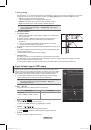
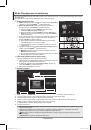
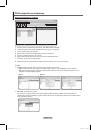
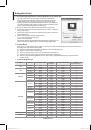
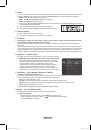
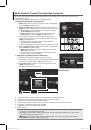
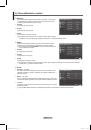
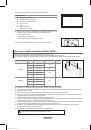
Advanced Settings
Picture Options
►
Picture Reset
Picture
BN68-02113E-Eng.indb 18
2009-04-09 오후 3:54:00
 1
1
 2
2
 3
3
 4
4
 5
5
 6
6
 7
7
 8
8
 9
9
 10
10
 11
11
 12
12
 13
13
 14
14
 15
15
 16
16
 17
17
 18
18
 19
19
 20
20
 21
21
 22
22
 23
23
 24
24
 25
25
 26
26
 27
27
 28
28
 29
29
 30
30
 31
31
 32
32
 33
33
 34
34
 35
35
 36
36
 37
37
 38
38
 39
39
 40
40
 41
41
 42
42
 43
43
 44
44
 45
45
 46
46
 47
47
 48
48
 49
49
 50
50
 51
51
 52
52
 53
53
 54
54
 55
55
 56
56
 57
57
 58
58
 59
59
 60
60
 61
61
 62
62
 63
63
 64
64
 65
65
 66
66
 67
67
 68
68
 69
69
 70
70
 71
71
 72
72
 73
73
 74
74
 75
75
 76
76
 77
77
 78
78
 79
79
 80
80
 81
81
 82
82
 83
83
 84
84
 85
85
 86
86
 87
87
 88
88
 89
89
 90
90
 91
91
 92
92
 93
93
 94
94
 95
95
 96
96
 97
97
 98
98
 99
99
 100
100
 101
101
 102
102
 103
103
 104
104
 105
105
 106
106
 107
107
 108
108
 109
109
 110
110
 111
111
 112
112
 113
113
 114
114
 115
115
 116
116
 117
117
 118
118
 119
119
 120
120
 121
121
 122
122
 123
123
 124
124
 125
125
 126
126
 127
127
 128
128
 129
129
 130
130
 131
131
 132
132
 133
133
 134
134
 135
135
 136
136
 137
137
 138
138
 139
139
 140
140
 141
141
 142
142
 143
143
 144
144
 145
145
 146
146
 147
147
 148
148
 149
149
 150
150
 151
151
 152
152
 153
153
 154
154
 155
155
 156
156
 157
157
 158
158
 159
159
 160
160
 161
161
 162
162
 163
163
 164
164
 165
165
 166
166
 167
167
 168
168
 169
169
 170
170
 171
171
 172
172
 173
173
 174
174
 175
175
 176
176
 177
177
 178
178
 179
179
 180
180
 181
181
 182
182
 183
183
 184
184
 185
185
 186
186
 187
187
 188
188
 189
189
 190
190
 191
191
 192
192
 193
193
 194
194
 195
195
 196
196
 197
197
 198
198
 199
199
 200
200
 201
201
 202
202
 203
203
 204
204
 205
205
 206
206
 207
207
 208
208
 209
209
 210
210
 211
211
 212
212
 213
213
 214
214
 215
215
 216
216
 217
217
 218
218
 219
219
 220
220
 221
221
 222
222
 223
223
 224
224
 225
225
 226
226
 227
227
 228
228
 229
229
 230
230
 231
231
 232
232
 233
233
 234
234
 235
235
 236
236
 237
237
 238
238
 239
239
 240
240
 241
241
 242
242
 243
243
 244
244
 245
245
 246
246
 247
247
 248
248
 249
249
 250
250
 251
251
 252
252
 253
253
 254
254
 255
255
 256
256
 257
257
 258
258
 259
259
 260
260
 261
261
 262
262
 263
263
 264
264
 265
265
 266
266
 267
267
 268
268
 269
269
 270
270
 271
271
 272
272
 273
273
 274
274
 275
275
 276
276
 277
277
 278
278
 279
279
 280
280
 281
281
 282
282
 283
283
 284
284