29
GB
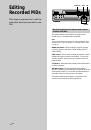
Editing Recor
ded MDs
About indication which appears while
editing
When “Protected” appears in the display
The record-protect slot is open. To edit the MD, slide the
tab to close the slot. For details, see “To prevent
accidental erasure of the recorded material” on page 15.
About indications which appear after
editing
When “TOC” lights up in the display
Editing has finished but the TOC (Table of Contents) on
the MD has not been updated to reflect the editing results.
The editing will be lost if you disconnect the AC power
cord while the indication is on. The TOC will be updated
only when you eject the MD or turn off the MD deck.
When “TOC Writing” flashes in the display
The deck is updating the TOC. Do not disconnect the AC
power cord or move the deck while the indication flashes.
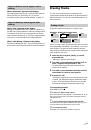
Erasing Tracks
You can erase a track or part of a track simply by
specifying the number of the track or the portion within a
track to be erased. You can also erase all the tracks on an
MD at one time.
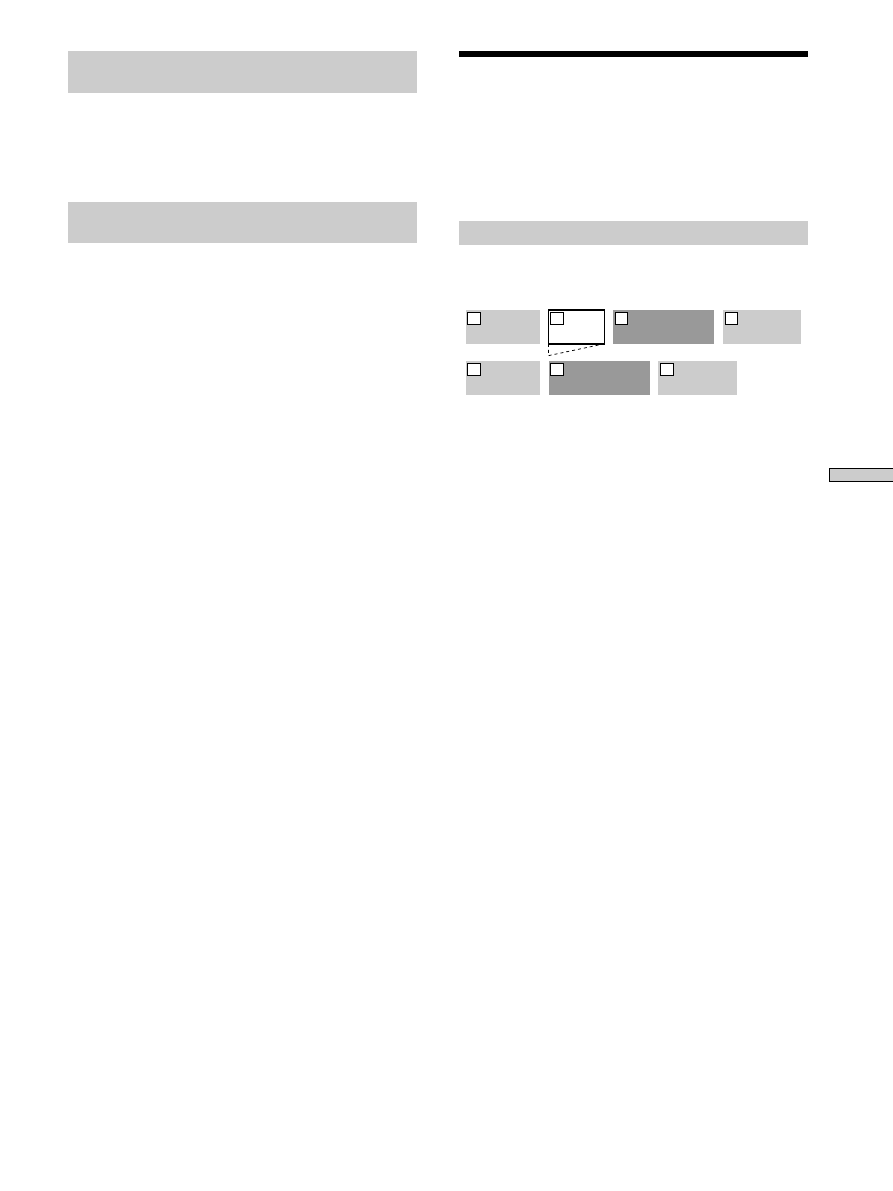
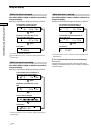
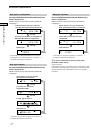
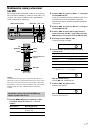
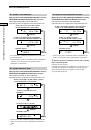
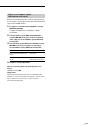
Erasing a track
Specify the number of the track you want to erase.
Example: Erasing the second track
AAA
BBB
CCC
DDD
1
2
3
4
AAA
CCC
DDD
1
2
3
When you erase a track, all the tracks after the one erased
are automatically renumbered. For example, if you erase
track number 2, the previous track number 3 becomes
track number 2 and the previous track number 4 becomes
track number 3, and so on.
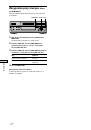
1
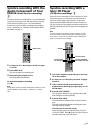
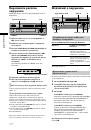
While the deck is stopped, playing, or paused,
press MENU/NO.
“Edit Menu” appears in the display.
2
Turn AMS (or press
.
/
>
repeatedly) until “Tr
Erase ?” appears, then press AMS or YES.
The deck starts to play the track indicated by the
number in the display.
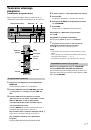
3
Turn AMS (or press
.
/
>
repeatedly) until the
track number you want to erase appears.
4
Press AMS or YES.
“Complete!!” appears for a few seconds and the track
is erased. The track following the erased track starts
to play. If the erased track is the last one on the MD,
the track preceding the erased track starts to play.
To cancel the operation
Press MENU/NO or
x
.
z
If “Erase ???” appears in step 4 above
The track has been record-protected on another MD deck. If you
still want to erase the track, press AMS or YES again while the
indication appears.
z
To avoid confusion when erasing more than one track
Start erasing from the highest numbered track. This way you’ll
avoid renumbering the tracks that you plan to erase.
z
You can undo the erasure
For details, see “Undoing the Last Edit” on page 36.
 1
1
 2
2
 3
3
 4
4
 5
5
 6
6
 7
7
 8
8
 9
9
 10
10
 11
11
 12
12
 13
13
 14
14
 15
15
 16
16
 17
17
 18
18
 19
19
 20
20
 21
21
 22
22
 23
23
 24
24
 25
25
 26
26
 27
27
 28
28
 29
29
 30
30
 31
31
 32
32
 33
33
 34
34
 35
35
 36
36
 37
37
 38
38
 39
39
 40
40
 41
41
 42
42
 43
43
 44
44
 45
45
 46
46
 47
47
 48
48
 49
49
 50
50
 51
51
 52
52
 53
53
 54
54
 55
55
 56
56
 57
57
 58
58
 59
59
 60
60
 61
61
 62
62
 63
63
 64
64
 65
65
 66
66
 67
67
 68
68
 69
69
 70
70
 71
71
 72
72
 73
73
 74
74
 75
75
 76
76
 77
77
 78
78
 79
79
 80
80
 81
81
 82
82
 83
83
 84
84
 85
85
 86
86
 87
87
 88
88
 89
89
 90
90
 91
91
 92
92
 93
93
 94
94
 95
95
 96
96
 97
97
 98
98
 99
99
 100
100
 101
101
 102
102
 103
103
 104
104
 105
105
 106
106
 107
107
 108
108
 109
109
 110
110
 111
111
 112
112
 113
113
 114
114
 115
115
 116
116
 117
117
 118
118
 119
119
 120
120
 121
121
 122
122
 123
123
 124
124
 125
125
 126
126
 127
127
 128
128
 129
129
 130
130
 131
131
 132
132
 133
133
 134
134
 135
135
 136
136
 137
137
 138
138
 139
139
 140
140