4
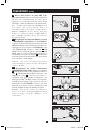
Installation
(continued)
3
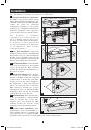
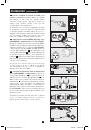
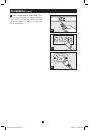
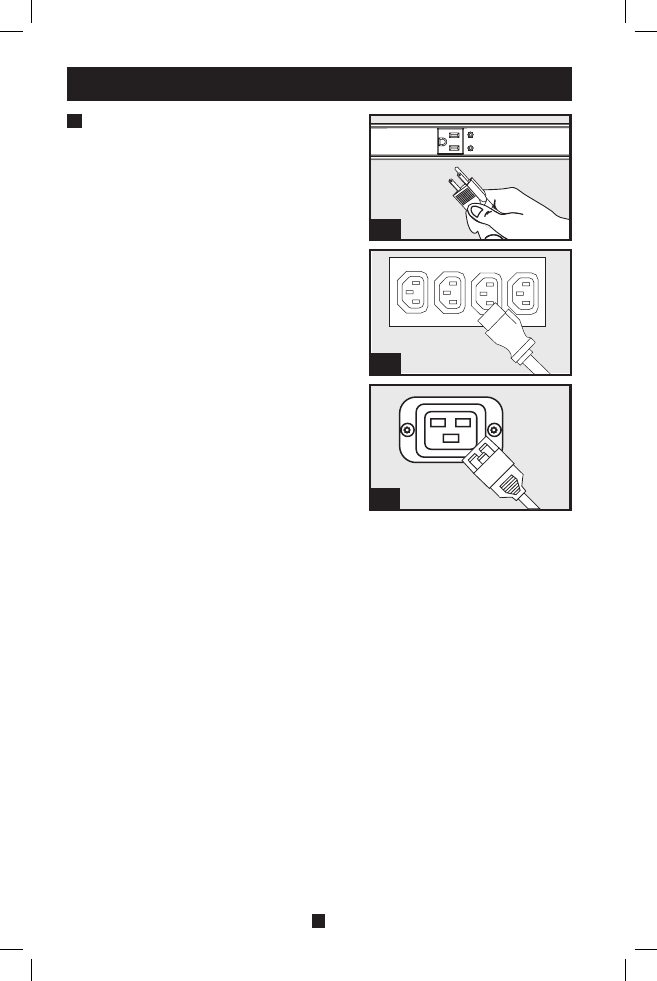
Attach equipment to the PDU. Do not exceed the
load rating of the PDU. The total electrical current
used by the PDU will be displayed on the digital meter
in amperes.
3-1
3-2
3-3
201103062 93-3059.indd 4
4/29/2011 2:33:42 PM