13
MaINTeNaNce
!
Before cleaning or maintenance cut the power.
cleaning the hood
WHEN TO CLEAN IT: clean it at least every 2 months
to prevent the risk of fire.
EXTERNAL CLEANING: use a cloth moistened in luke-
warm water and neutral detergent (for painted hoods);
use specific products for steel, copper or brass hoods.
INTERNAL CLEANING: use a cloth (or brush) soaked
in denatured ethyl alcohol.
WHAT NOT TO DO: do not use abrasive or corrosi-
ve products (e.g. metal sponges, brushes, too hard
brushes, very aggressive detergents, etc.)
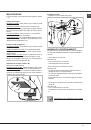
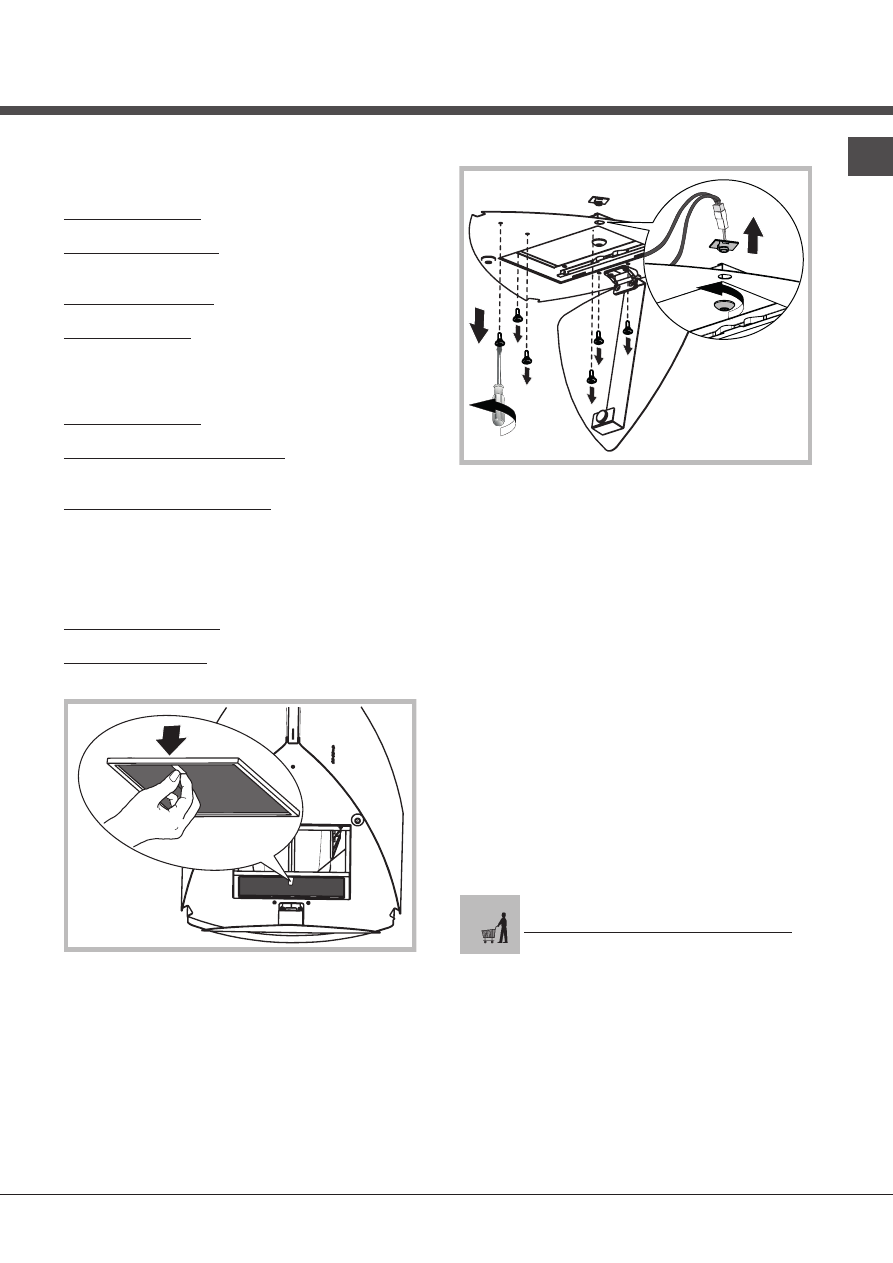
Cleaning the grease filters
WHEN TO CLEAN IT: clean it at least every 2 months to
prevent the risk of fire.
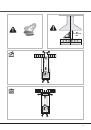
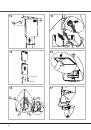
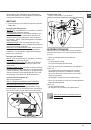
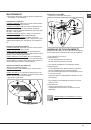
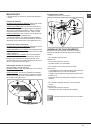
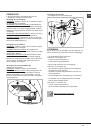
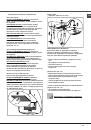
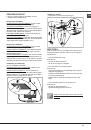
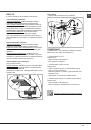
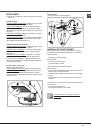
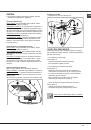
HOW TO REMOVE THE FILTERS: push the catch near
the handle towards the rear of the hood and pull the
filter downwards
HOW TO CLEAN THE FILTERS: hand wash or in the
dishwasher using a neutral detergent. If washing in the
dishwasher, possible discoloration of the filters does not
in any way compromise their functioning.
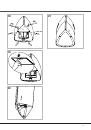
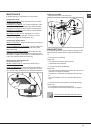
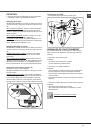
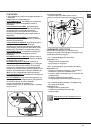
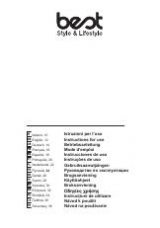
Replacing the charcoal filter (P)
(for filtering version only)
WHEN TO REPLACE IT: replace it at least every 6
months.
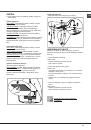
HOW TO REMOVE IT:
if using the hood in the filtering
version, the charcoal filter has to be replaced. To remo
-
ve it, pull the catch outside and turn the filter downward.
replacing the ledS
- Replace with leds of the same type.
MalFUNcTIoNS
If something appears not to be working properly, do the
following simple checks before calling Technical Servi-
ce:
• If the hood is not working:
Check that:
- The power has not been disconnected.
- A speed has been selected.
• If the hood performs inefficiently:
Check that:
- The motor speed selected is sufficient for the amount
of smoke and vapours released.
- The kitchen is sufficiently ventilated to allow air inta
-
ke.
- The charcoal filter is not worn (hood in filtering ver
-
sion).
• If the hood has turned off during normal functioning:
Check that:
- The power has not been disconnected.
- the omnipolar disconnection device has not tripped.
Components not provided with the product
eN