35
TES55. | 05/2013
en
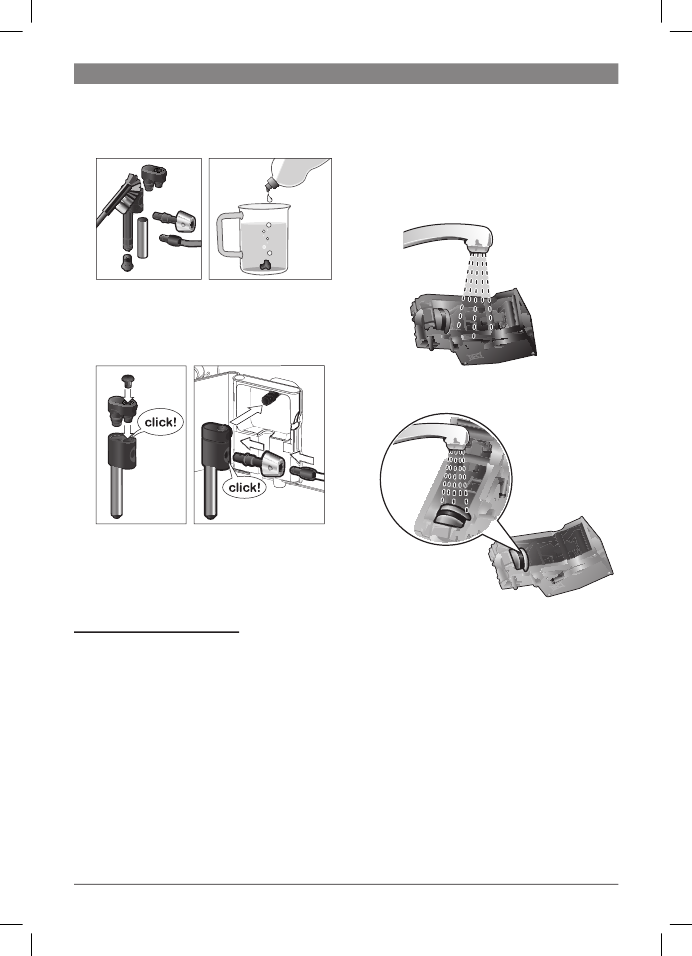
3. Clean the individual parts with a deter-
gent solution and a soft brush. If neces-
sary, soak in a warm detergent solution.
4. Rinse all parts with clear water and dry
them.
5. Reassemble all the parts and replace
fully in the appliance.
¡
Risk of scalding!
Use this appliance only after the milk frother
(6) has been fully assembled and installed.
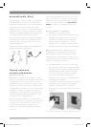
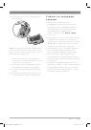
Cleaning the brewing unit
Clean the brewing unit regularly!
To pre-clean the brewing unit automatically:
1. Select
e
by turning the rotary knob (15).
2. Place an empty glass under outlet (6a).
3. Press the
start button (10).
The appliance rinses.
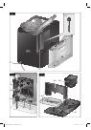
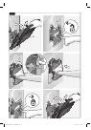
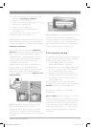
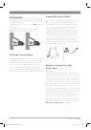
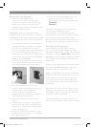
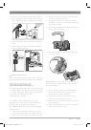
In addition to the automatic cleaning
programme, the brewing unit (5a) should
be removed regularly for cleaning.
(See
fi gure E at the start of the operating
instructions.)
1. Switch the appliance off at the power
on/off switch
O / I (9). No buttons are lit.
2. Open the door (5b) to the brewing unit.
3. Slide the red lock (5e) on the brewing
unit completely to the left.
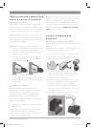
4. Press the red button (5d), grasp the
brewing unit by the recessed grips and
remove carefully.
5. Rinse the brewing unit (5a) thoroughly
under running water.
6. Hold the brewing unit sieve under the
running water.
Important: Do not clean with detergent or
other cleaning agents and do not put it in
the dishwasher.
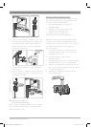
7. Wipe out the inside of the appliance
thoroughly with a damp cloth and
remove any coffee residues.
8. Allow the brewing unit (5a) and the
inside of the appliance to dry.
9. Reinsert the brewing unit (5a) fully into
the appliance.
10. Slide the red lock (5e) fully to the right
and close the door (5b).
TES556M1RU_559M1RU.indb 35
04.06.2013 14:30:35