- 75 -
Appendix
C. Configuring RAID set in RAID BIOS
Enter the RAID BIOS setup utility to configure a RAID array. Skip this step and proceed with the installation of
Windows operating system for a non-RAID configuration.
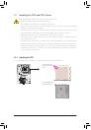
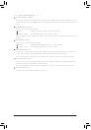
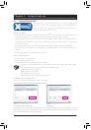
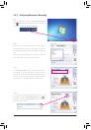
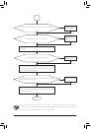
Step 1:
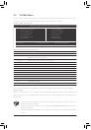
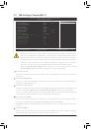
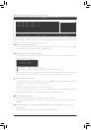
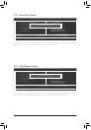
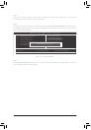
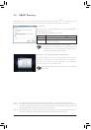
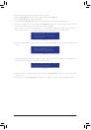
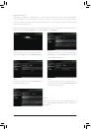
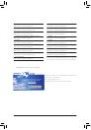
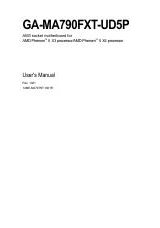
After the POST memory test begins and before the operating system boot begins, look for a message which
says "Press <Ctrl-F> to enter RAID Option ROM Utility" (Figure 2). Press <Ctrl> + <F> to enter the RAID
BIOS setup utility.
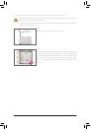
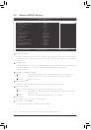
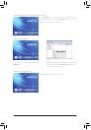
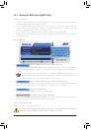
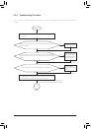
Step 2:
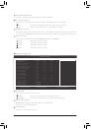
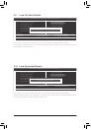
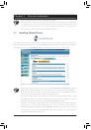
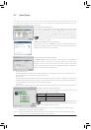
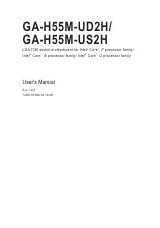
Main Menu
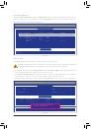
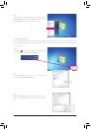
This is the first option screen when you enter the BIOS RAID Setup utility. (Figure 3).
To view the disk drives assigned to arrays, press <1> to enter the View Drive Assignments window.
To create an array, press <2> to enter the LD View/LD Define Menu window.
To delete an array, press <3> to enter the Delete LD Menu window.
To view controller settings, press <4> to enter the Controller Configuration window.
Figure 3
RAID Option ROM Version 3.2.1020.39
(c) 2010 Advanced Micro Devices, Inc. All rights reserved.
No Array is defined..
Press <Ctrl-F> to enter RAID Option ROM Utility...
Figure 2
View Drive Assignments........................... [ 1 ]
LD View/ LD Define Menu...................... [ 2 ]
Delete LD Menu....................................... [ 3 ]
Controller Configuration............................ [ 4 ]
Option ROM Utility (c) 2010 Advanced Micro Devices, Inc.
Press 1..4 to Select Option
[ESC] Exit
[ Keys Available ]
[ Main Menu ]