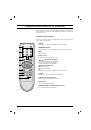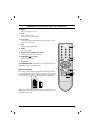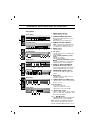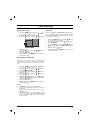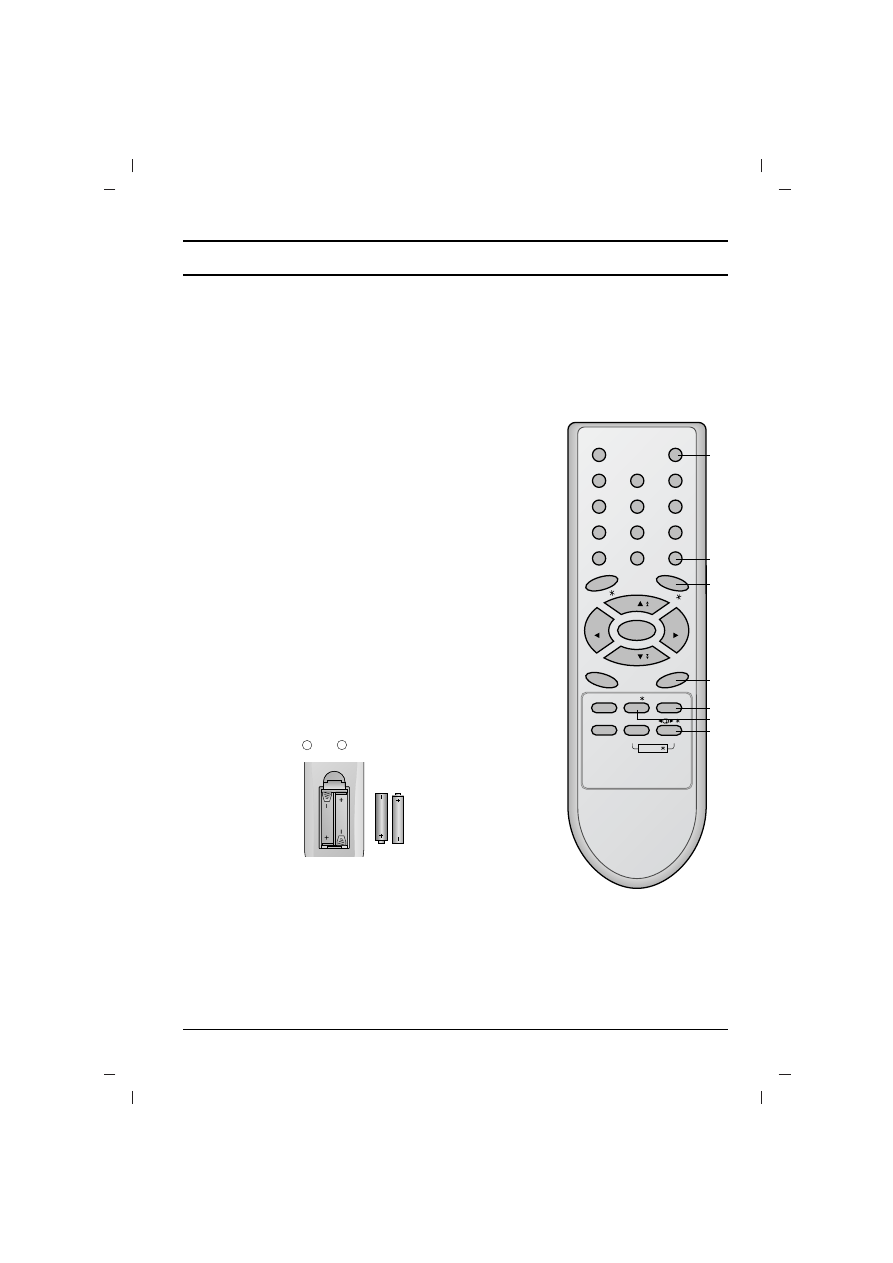
Location and function of controls
5
10. MUTE
switches the sound on or off.
11. TV/AV
selects TV or AV mode.
switches the set on from standby.
12. I/II/
*
(option)
selects the language during dual language broadcast. (option)
selects the sound output.
13. LIST
displays the programme table.
14. SLEEP
sets the sleep timer.
15. SSM/
*
(Sound Status Memory) (option)
recalls your preferred sound setting.
16. SURROUND (
º
º
/
*
) (option)
selects surround sound.
*
: No function
COLOURED BUTTONS :
These buttons are used for teletext (only
TELETEXT models) or programme edit.
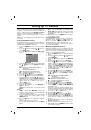
Battery installation
The remote control handset is powered by two AAA type batteries.
To load the batteries, turn the remote control handset over and
open the battery compartment. Install two batteries as indicated by
the polarity symbols ( and ) marked inside the compartment.
Note :
To avoid damage from possible battery leakage, remove the
batteries if you do not plan to use the remote control handset for an
extended period of time.
+
-
POWER
MUTE
1
2
3
4
5
6
7
8
9
MENU
TV/AV
0
EYE/
Q.VIEW
LIST
I / II /
( )
PR
( )
PR
OK
VOL
VOL
PSM
SSM/
SLEEP
PICTURE
SOUND
/
TURBO/
FAVOURITE
10
11
12
13
14
16
15