In case of the maximum amount of food to be frozen (see
type plate):
u
wait about 24 h.
u
Remove top drawers and place produce directly on the top
shelves.
w
SuperFrost is automatically deactivated after about 65 h.
w
The SuperFrost button extinguishes once freezing is
completed.
u
Place produce in the drawers and push the latter back in
again.
w
The appliance continues to operate in the energy-saving,
normal mode.
5.4.5 Drawers
Note
The energy consumption increases and the cooling perform-
ance decreases if there is insufficient ventilation.
For appliances with NoFrost:
u
Leave the bottom drawer in the appliance!
u
Always keep the air slits of the fan free at the rear wall!
u
To store frozen food directly on the shelves: pull the drawer
forwards and lift it out.
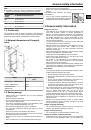
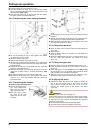
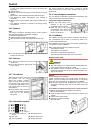
5.4.6 Shelves
u
To remove the shelf: lift up at the front
and pull out.
u
To put the shelf back: simply push in as
far as it will go.
5.4.7 VarioSpace*
Apart from being able to remove
the drawers, you can also
remove the shelves, creating
space for large items of frozen
food. Poultry, meat, large pieces
of game and high bakery prod-
ucts can be frozen in one piece
and prepared.
u
The maximum load of frozen
food for the drawers is 25 kg
each and for the shelves
35 kg each.
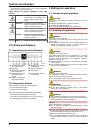
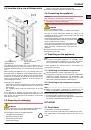
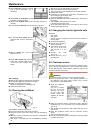
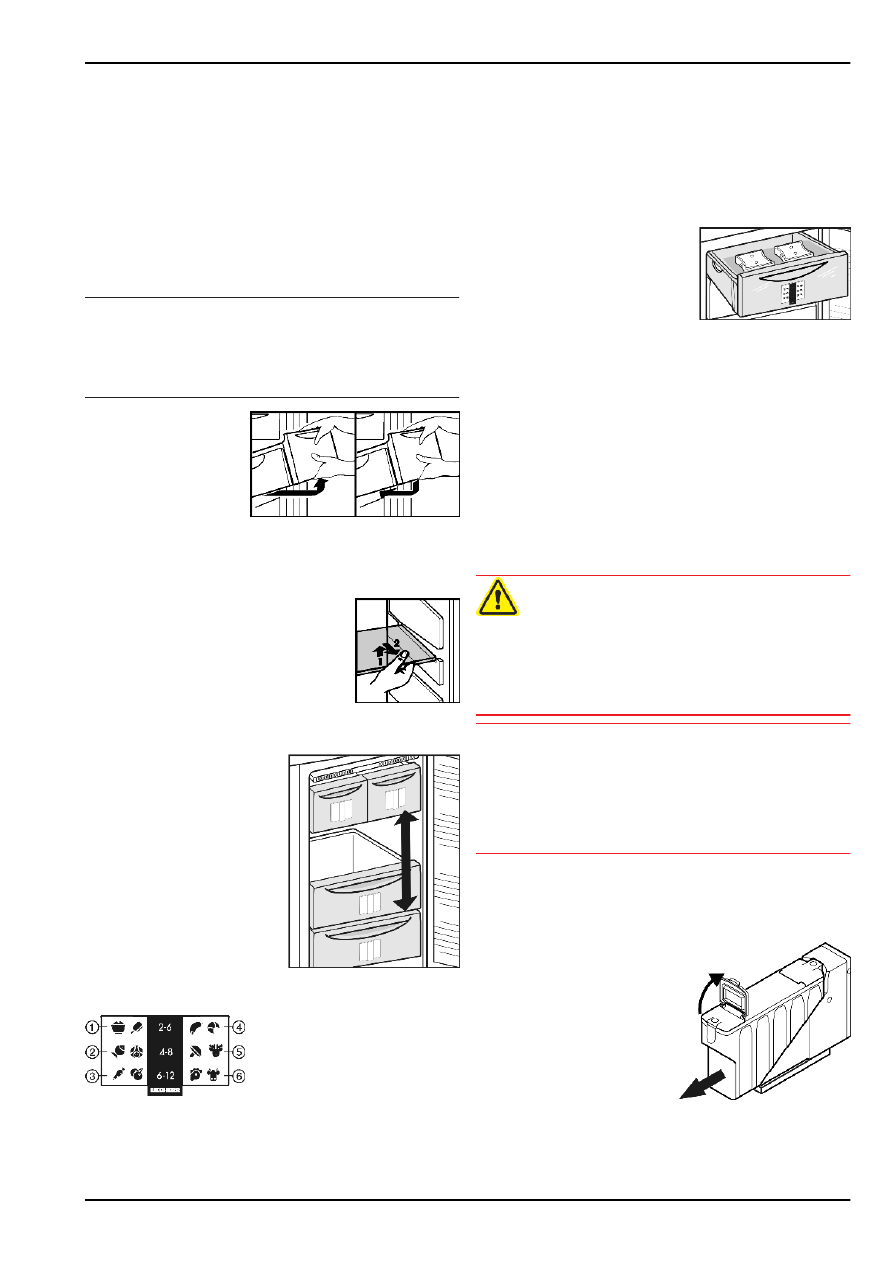
5.4.8 Information system*
Fig. 11
(1) Ready-made meals, ice
cream
(4) Sausages, bread
(2) Pork, fish
(5) Game, mushrooms
(3) Fruit, vegetables
(6) Poultry, beef/veal
The figures indicate the storage time in months for several
types of frozen food in each case. Storage times given are
guide times.
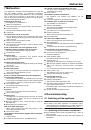
5.4.9 Cold storage accumulators*
The cold storage accumulators prevent the temperature from
rising too fast in the event of power failure.
Using cold storage accumulators*
u
Place the cold storage accu-
mulators in the top freezer
compartment to save space.
u
Place the frozen cold storage
accumulators on the frozen food
in the upper front area of the
freezer compartment.
5.4.10 IceMaker*
The IceMaker and the water reservoir situated in the refriger-
ator compartment can be used to produce ice cubes or to
provide chilled drinking water.
The IceMaker is in the top drawer of the freezer compartment.
The drawer is marked "IceMaker".
Make certain that the following conditions are met:
-
The appliance is level.
-
The appliance is connected.
-
The freezer compartment is switched on.
-
The water tank was cleaned with water and is filled.
Filling the water tank*
WARNING
Risk of poisoning!
u
The water quality has to comply with the drinking water ordi-
nance of the respective country (e.g. 98/8
u
The IceMaker serves exclusively for making ice cubes in
household quantities and has to be operated with water suit-
able for the purpose.
NOTICE
Risk of damage to the IceMaker!
Liquids containing sugar, such as soft drinks, fruit juices or
similar, gum up the pump and therefore lead to total pump
failure and, as a consequence, to damage to the IceMaker.
u
Fill the water reservoir with drinking water only! Do not use
any liquids containing sugar, such as soft drinks, fruit juices
or similar!
The IceMaker is supplied with water from a water tank in the
refrigerator compartment (see Appliance at a glance).
Before initial operation:
u
clean the water tank thoroughly with water to remove any
dust etc.
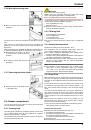
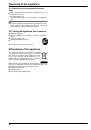
u
Pull the water tank forwards.
u
Open the front flap and fill the
tank with water.
Control
10