12
Daily operation
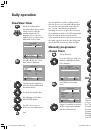
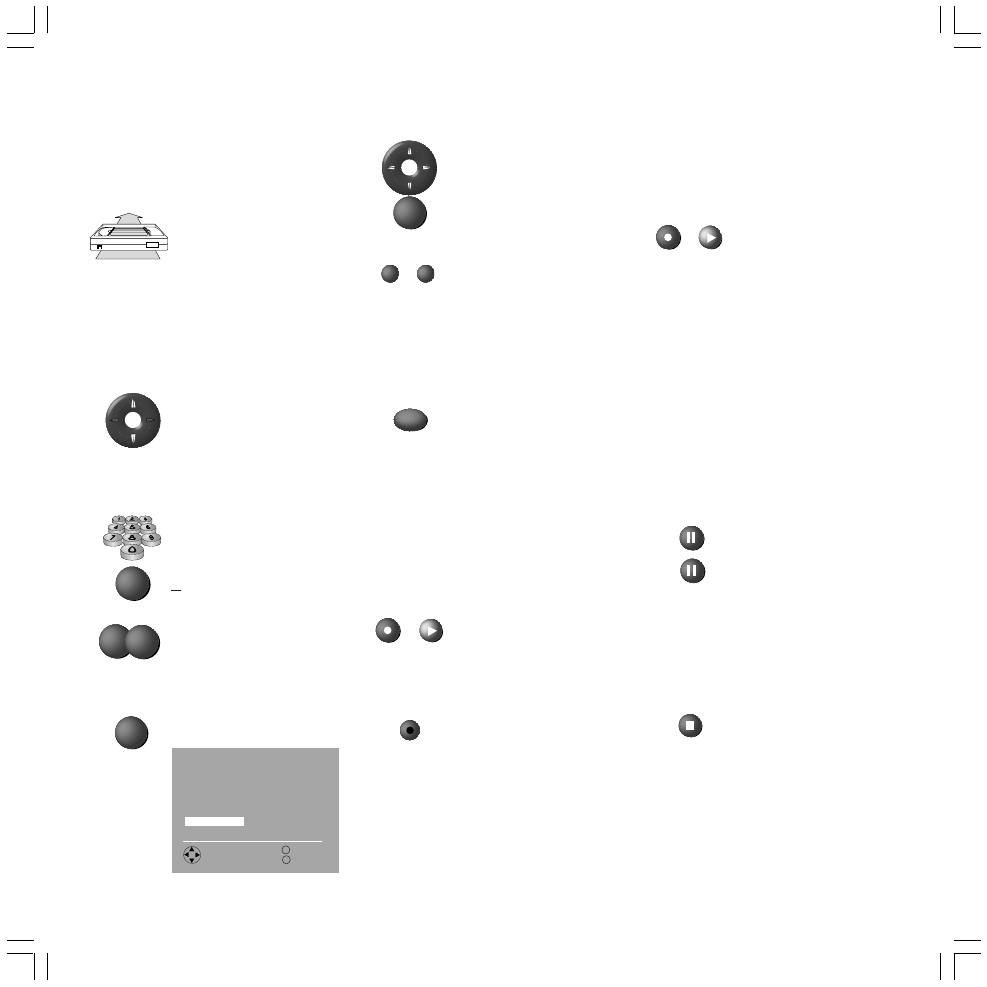
Recording a TV broadcast
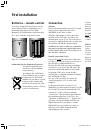
Insert cassette without record protection
Insert a cassette without record
protection (tab still in place) into
the cassette compartment.
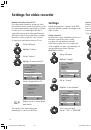
Select station
If you want to start the recording manually then
you must first select the television station on the
video recorder. If recording is in progress, it is not
possible to change the station on the video
recorder. The selected station is shown in the
display on the video recorder.
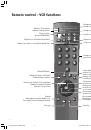
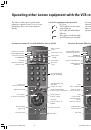
... with the arrow keys on the remote control
Station up/down
Display on video recorder
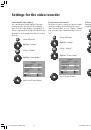
... with the numerical keys of the remote
control
1 digitstation
Press keys 0 – 9 for one second,
and the station changes
instantly.
or press keys 0 – 9 briefly, and
the station will change after
two seconds.
2 digit station
Press the two numerical keys
quickly one after the other and
the station changes.
Highlight station
Switch to highlighted station
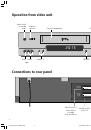
...on the video recorder
with the keys P+ and P– under the
flap.
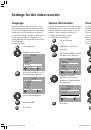
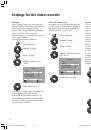
Select recording speed
Use the
LP
key on the remote control to select the
recording speed. ”Standard-Play”(SP) is normally
used. If you select ”Long Play” (LP), the recording
time of the cassette is doubled.
Press the key to switch between
SP and LP.
LP or SP for a cassette without record protection
is shown in the display of the video recorder and
in the status display. For Long Play (LP), the
picture and sound quality will be reduced. When
playing, the video recorder will detect the
recording speed.
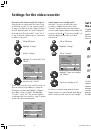
Start recording
You can start the recording by using the remote
control or on the video recorder.
... using the remote control
Keep the record key
pressed,
then press the play key
.
Note: if Digital Link Plus is active and the video
recorder is on standby, the station selected on the
TV will be recorded.
...on the video recorder
Open the flap.
Press the record key REC.
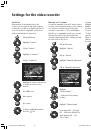
Display on video recorder
Tape counter display on VCR
The red REC display appears on the video recorder
display when recording is in process.
Limit recording time
After starting the recording you can limit the
recording time in 30 minutes steps.
Keep the record key
pressed
when recording, then press the
play key
.
Display on video recorder
on next press on
etc.
You can set up to 4 hours 30 minutes recording
time, for Long Play up to 9 hours. Finally, the
remaining recording time is displayed.
Interrupt recording
You can interrupt the recording for a maximum
of five minutes, by pressing the Pause key
. The
tape is stopped in front of the rotating video
heads. On re-pressing the Pause key
the
recording continues without noticeable
interference.
Pause recording
Continue recording.
If five minutes pause is exceeded the video
recorder switches automatically to STOP.
During a pause in recording, the station for the
video recorder can be switched. The recording
can also be continued by re-starting recording.
End recording
End recording (STOP)
When the tape reaches the end, the recording
stops and the tape is rewound and ejected.
P–
P+
OK
LP
REC
0:30
1:00
+
0:00:12
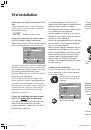
... via the station list
Call up station list.
VHS
long
short short
7
2 7
ZDF
OK
Record
–––––––––––
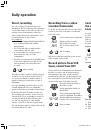
Station list
––––––––––
M
E
Back
End
AVS
04
BR
AV3
05
HR
AV2
06
N 3
AV1
07
MDR 3
01
ARD
08
BR-AL
02
ZDF
09
PHOEN
03
WDR
10
3SAT
Select, change
with OK
OK
+
BA_VCR_31251_020EU_GB2
17.04.2003, 15:29 Uhr
12