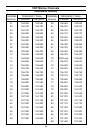
29
Example:
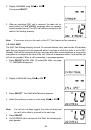
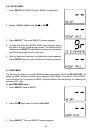
OF
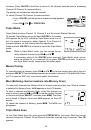
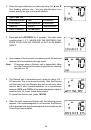
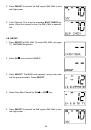
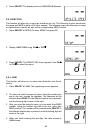
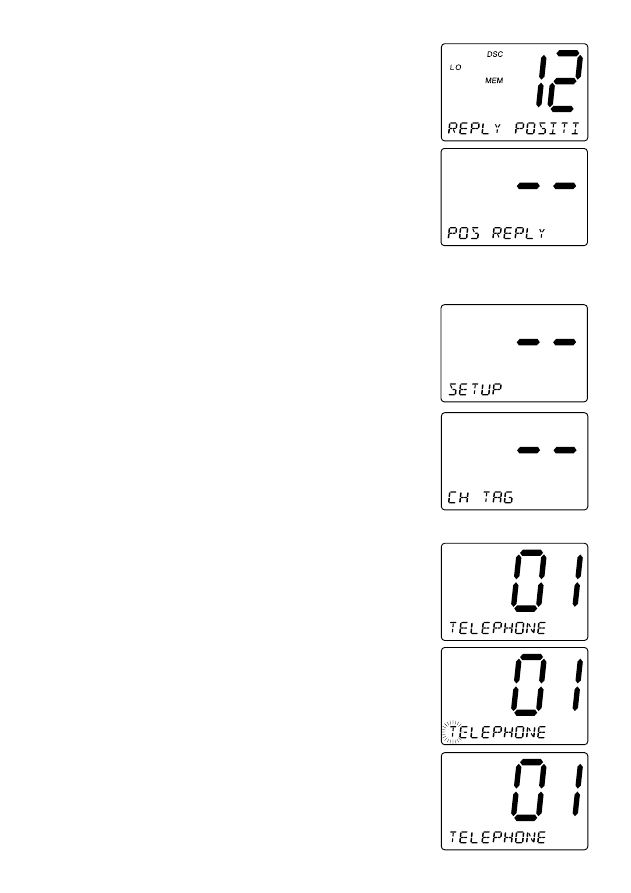
When the radio receives a position request, the following screen
appears. You can select whether reply the request or not. If you
wants to reply press
SELECT
.
5. Press
SELECT
. The radio returns to the
POS REPLY
screen.
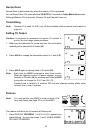
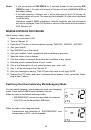
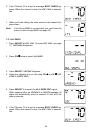
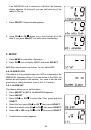
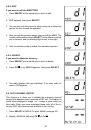
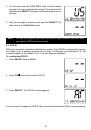
2-G. CH TAG
This feature allows you to name each marine channel.
1. Press
SELECT
at
SETUP
(To enter
SETUP
, see page 23).
2. Display
CH TAG
using
CH
▲
▲
▲
▲
▲
or
CH
▼
▼
▼
▼
▼
.
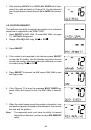
3. Press
SELECT
. The channels and its names appear.
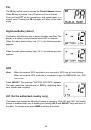
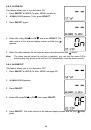
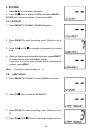
4. Press
CH
▲
▲
▲
▲
▲
or
CH
▼
▼
▼
▼
▼
repeatedly to select the channel that
you would like to EDIT.
Note:
The MC-8000 DSC radio comes pre-programmed with default channel names.
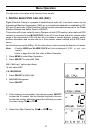
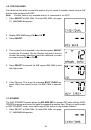
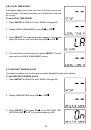
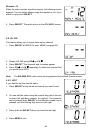
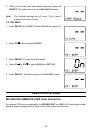
2-G-1. EDIT
If you want to edit the channel name
1. Press
SELECT
at the individual channel you want to edit.
2. You can edit the name using the number key pad on the mic
to select the alphabet, numeric, or symbols. The character
will be entered when
SELECT
or the different number key is
pressed, and the blinking digit moves to the right.
3. Press and hold
SELECT
when you enter the last digit.
4. Press
MENU
to exit.