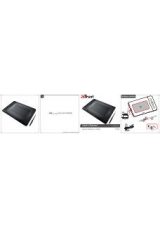
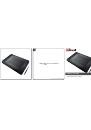
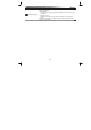
Tablet
– User’s Manual
3
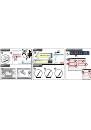
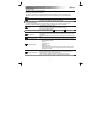
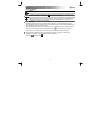
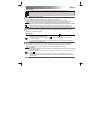
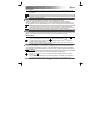
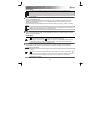
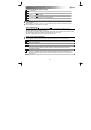
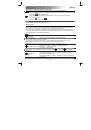
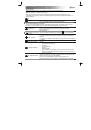
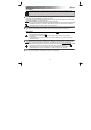
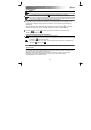
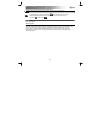
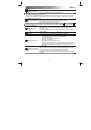
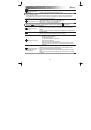
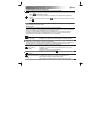
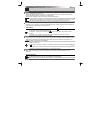
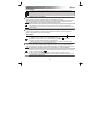
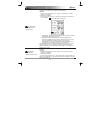
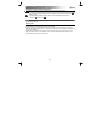
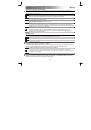
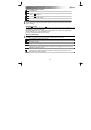
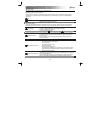
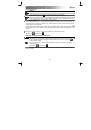
Draw (Draw)
Open a drawing program (For example, Artweaver is available on the Trust CD-ROM: select “Install
ArtWeaver” from the menu to install it.)
Create a new document (File > New)
Set the attributes of your new document, press OK
Select a tool that supports Pen Pressure Sensitivity (Ex: in Artweaver: default brush)
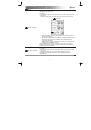
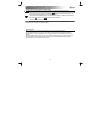
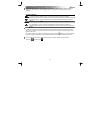
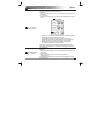
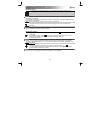
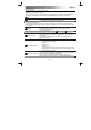
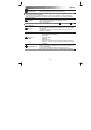
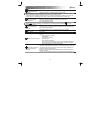
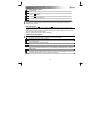
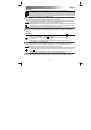
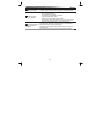
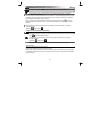
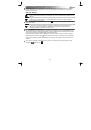
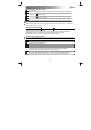
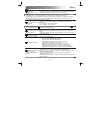
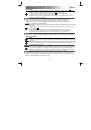
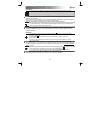
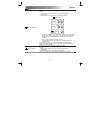
With the pen’s pressure levels, you can use your brush the way you would use a real pencil and draw the
thickness and opacity you desire.
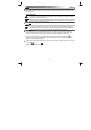
The pen can detect 2048 levels of pressure, and use the variation in levels to automatically change the size, the
color, or various settings of the tool you are currently using.
This allows for flexibility and gives a very intuitive feeling to your graphic work.
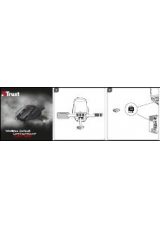
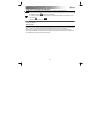
Move the pen in the tablet’s working area: the cursor will follow the movements. Hovering the pen tip at
about 5 mm from the surface will allow you to move the cursor on your screen. When you touch the
tablet’s surface, your brush will start drawing on the new document.
The color panel allows you to select different colors.
By default in most drawing programs, the color your brush is applying is black. Depending on the pressure you
exert with the pen on the tablet’s surface, your brush will paint in nuances going from white (no pressure) to
black (full pressure).
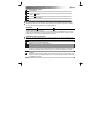
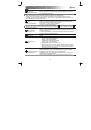
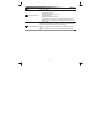
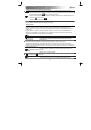
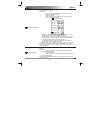
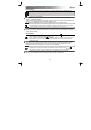
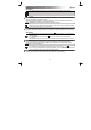
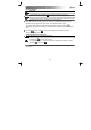
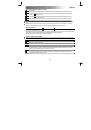
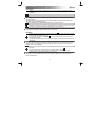
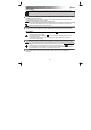
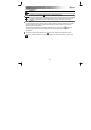
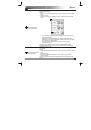
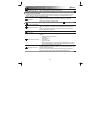
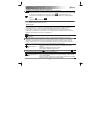
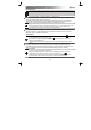
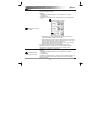
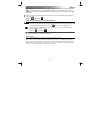
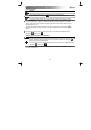
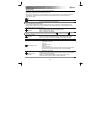
Write (Write)
Open the Input Panel (tap the docked input panel (
), on the side of the screen, or tap the text input
floating bar
).
Your handwriting will be converted into text (
). You can correct, erase or modify the proposed
conversion.
Then click or tap Insert to have the text you handwrote entered into the active document / text input
field.
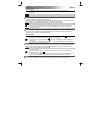
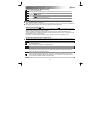
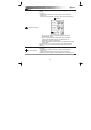
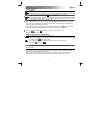
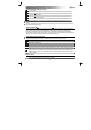
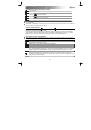
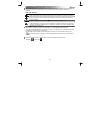
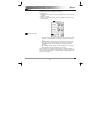
Handwriting recognition is a feature of Windows Vista and Windows 7 that converts what you write into text you
can then format like any other text. The Handwriting Input Panel appears automatically when you start using
the tablet. If it does not show, or only appears as a virtual keyboard, please consult trust.com/17939/FAQ.
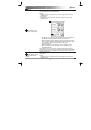
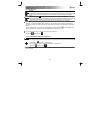
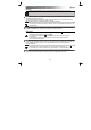
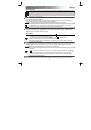
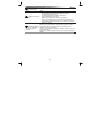
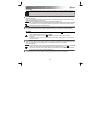
After installing and connecting your tablet, the handwriting feature of Live Messenger is activated.
It can be accessed, while in Live conversation, by clicking the corresponding button:
(
)
You can then draw and send messages in your own handwriting, and use the six formatting buttons
that appear in the conversation window to personalize your messages.
To send handwritten messages you must have Windows 7, Windows Vista, or Windows XP with Service Pack 3
or later installed. The latest version of Live Messenger is also required.
 1
1
 2
2
 3
3
 4
4
 5
5
 6
6
 7
7
 8
8
 9
9
 10
10
 11
11
 12
12
 13
13
 14
14
 15
15
 16
16
 17
17
 18
18
 19
19
 20
20
 21
21
 22
22
 23
23
 24
24
 25
25
 26
26
 27
27
 28
28
 29
29
 30
30
 31
31
 32
32
 33
33
 34
34
 35
35
 36
36
 37
37
 38
38
 39
39
 40
40
 41
41
 42
42
 43
43
 44
44
 45
45
 46
46
 47
47
 48
48
 49
49
 50
50
 51
51
 52
52
 53
53
 54
54
 55
55
 56
56
 57
57
 58
58
 59
59
 60
60
 61
61
 62
62
 63
63
 64
64
 65
65
 66
66
 67
67
 68
68
 69
69
 70
70
 71
71
 72
72
 73
73
 74
74
 75
75
 76
76
 77
77
 78
78
 79
79
 80
80
 81
81
 82
82
 83
83
 84
84
 85
85
 86
86
 87
87
 88
88
 89
89
 90
90
 91
91
 92
92
 93
93
 94
94
 95
95
 96
96
 97
97
 98
98
 99
99
 100
100
 101
101
 102
102
 103
103
 104
104
 105
105
 106
106
 107
107
 108
108
 109
109
 110
110
 111
111
 112
112
 113
113
 114
114
 115
115
 116
116
 117
117
 118
118
 119
119
 120
120
 121
121
 122
122
 123
123
 124
124