14
6.2
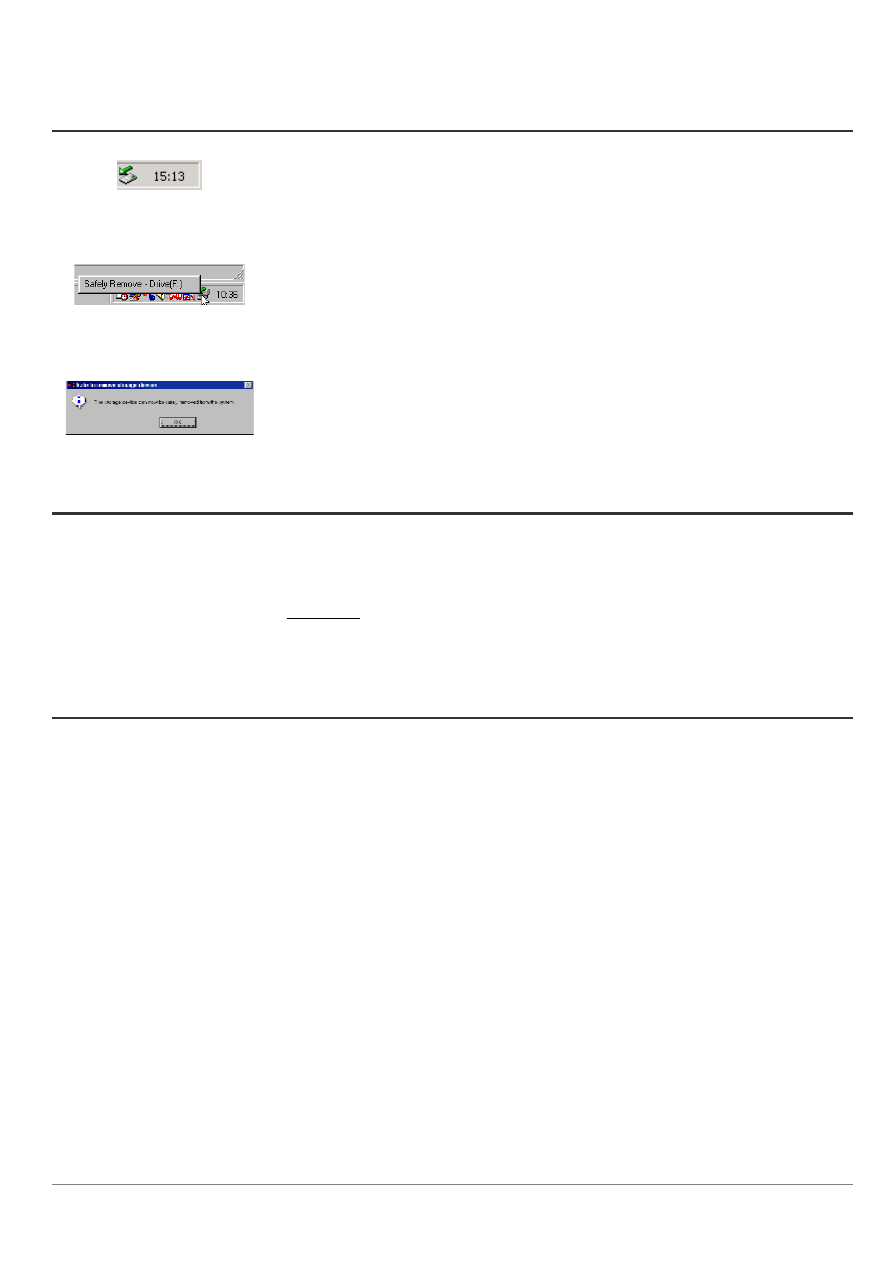
Disconnecting the Ondio from a PC
1. Safe remove icon here
2. Safe remove button
3. Safe remove message
If you are running Windows 98 SE, you can simply disconnect the USB cable from the Ondio and then
use the Ondio as normal.
Attention
: Make sure you do not disconnect the Ondio while data is being
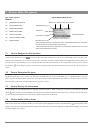
transferred to or from it. Ondio displays the message
BUSY
under the USB graphic when it is transferring
data. You should close all programs that are accessing the Ondio while it is connected.
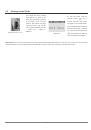
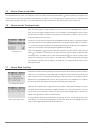
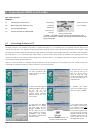
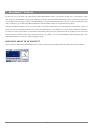
For Windows ME, 2000, and XP, you must remove the Ondio in a special ‘safe’ manner. You will see a
small card icon with a green arrow in the system tray (bottom right of screen [1]). Click on this icon and
then click again on the “Remove Safely” message [2]. Wait a few seconds and a message will appear on
the center of the screen [3] saying that you can remove the storage device. You can now safely unplug the
Ondio’s USB cable.
Warning:
Failure to safely disconnect the Ondio as explained above may cause the operating system or
Ondio to freeze and/or lose data.
6.3
Use the Ondio file format
The format of the data structure inside the Ondio’s flash memory is the same as that of a small hard drive (FAT). Using the Windows
defragmenting tool will not corrupt the data on the Ondio. However, because there is only 128 megabytes of memory on the Ondio, doing this is
really not necessary. If you think there may be problems with the memory, you can reformat the Ondio’s Flash memory. Make sure that you
format it in FAT format (same as FAT16),
NOT FAT32
. The Windows® XP and 2000 version defaults to an NTFS format. Do not format it with
this type either. Always make sure you are formatting it to FAT or FAT16. You will, of course, lose all of your data if you do not back it up on
your computer’s hard drive beforehand.
6.4
Connecting the Ondio to your Macintosh
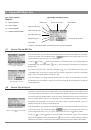
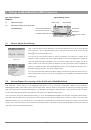
The Ondio connects to your Macintosh via the USB 1.1 standard. Thus either a 1.1 or 2.0 USB port on your computer will work. Start up your
computer and make sure it has completely booted up the Mac operating system (Either OS 9.2 and greater or OS 10.2.4 and greater). Connect the
included USB cable to your computer’s USB port (larger end of cable) and then the other side (mini USB connector) to the Ondio’s mini USB port
(right side). You should connect the cable to the Ondio while it is on. After a short wait, the Mac will automatically recognize the Ondio as a mass
storage device and place an icon on your desktop representing the Ondio. You can now drag and drop files as if it were another hard drive.
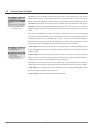
Warning:
Before disconnecting the Ondio from your Macintosh, drag the Ondio icon to the trash in order to unmount it from the operating
system. Failure to do so could lead to unpredictable results including data loss.