●
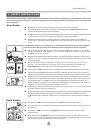
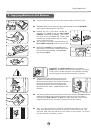
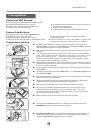
Only the Follower Winbot requires installation of batteries.
●
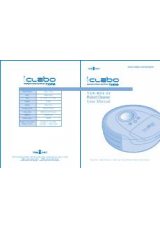
Remove the two screws and remove the cover.
●
When installing the two AA batteries, be sure to note the directions of
positive and negative polarities.
●
Slide the cover back on and reinsert the two screws.
●
When the batteries are low on energy, please replace both batteries so
Winbot will work properly.
Installing Follower Auxiliar y Batteries
●
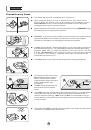
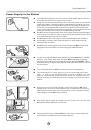
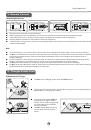
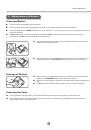
Only the Drive Winbot's battery has to be charged.
●
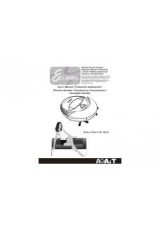
When charging the Winbot,
▶
do NOT put close to a water source
▶
do NOT place close to an edge where a child could grasp the cord and
pull the unit down on to and hurt themselves.
●
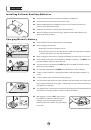
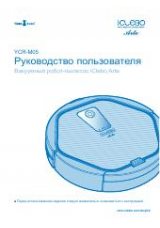
Before using for the first time, charge the Winbot for a minimum of 12 hours.
●
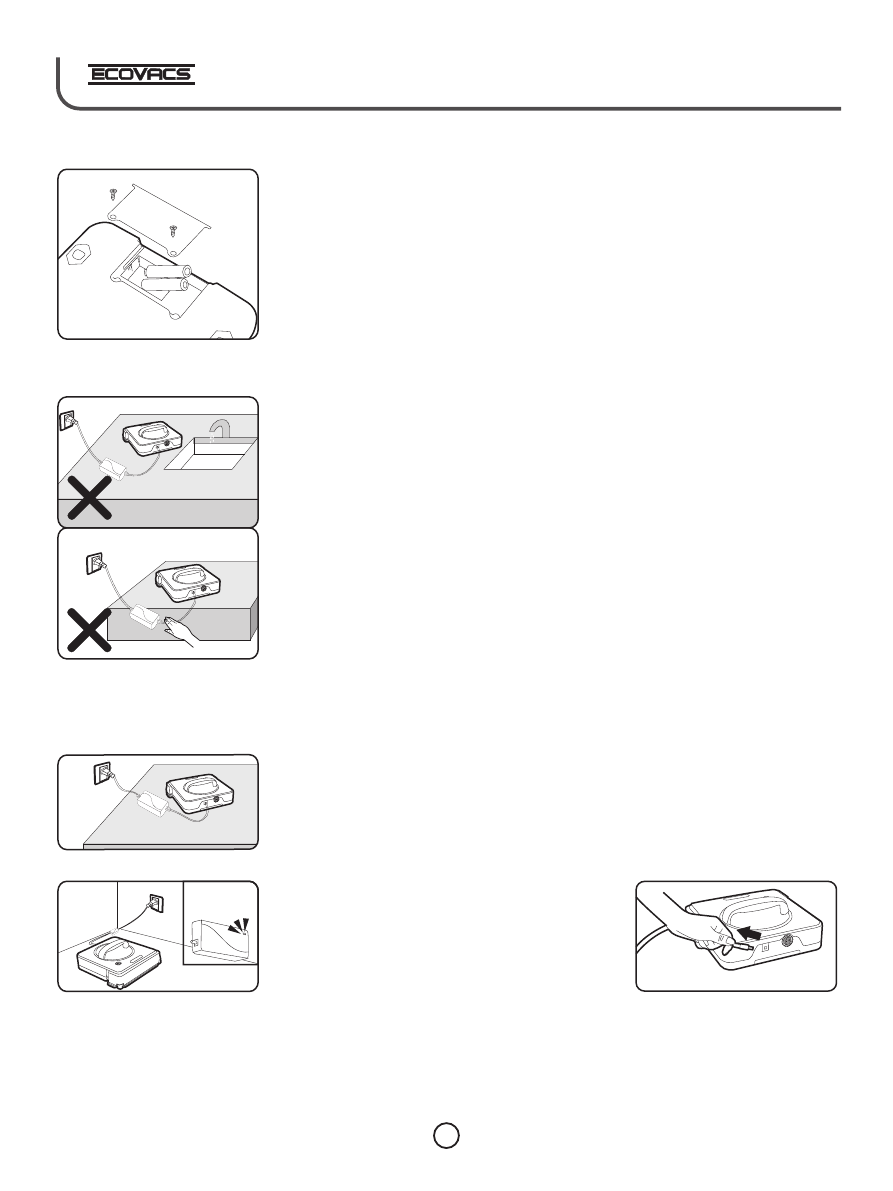
On the back of the unit is a receptacle for Supply Cord Plug. You
MUST
turn
the switch
ON
in order to charge the unit.
●
You will notice on the Charger a
RED
light will come
ON
. This tells you the
Winbot is being charged.
●
The Charger light will turn
GREEN
when the battery is fully charged.
●
Under normal conditions, charging the battery will take approximately 2.5
hours.
●
A cool or warm room will affect the charging time.
●
You should use the Winbot to clean windows until the battery runs down and
then charge the battery once again. Repeating this one more time will bring
the battery to full power.
●
The W555 Driver can be left connected to the Charger as it will automatically
decrease the charging power so it will not harm the battery.
Charging W inbot’s Batter y
●
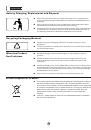
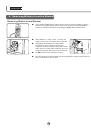
We suggest, if you are
NOT
going to use
the Winbot for awhile,to disconnect the
Charger from the receptacle and the
Winbot and store in a safe, dry place away
from heat.
12