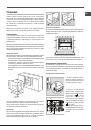
• The socket can withstand the maximum power of the appliance, which is
indicated on the data plate (see below).
• The voltage must be in the range between the values indicated on the
data plate (see below).
• The socket is compatible with the plug of the appliance. If the socket is
incompatible with the plug, ask an authorised technician to replace it. Do
not use extension cords or multiple sockets.
!
Once the appliance has been installed, the power supply cable and the
electrical socket must be easily accessible.
!
The cable must not be bent or compressed.
!
The cable must be checked regularly and replaced by authorised technicians
only (see Assistance).
!
The manufacturer declines any liability should these safety measures not
be observed.
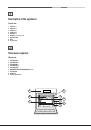
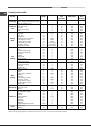
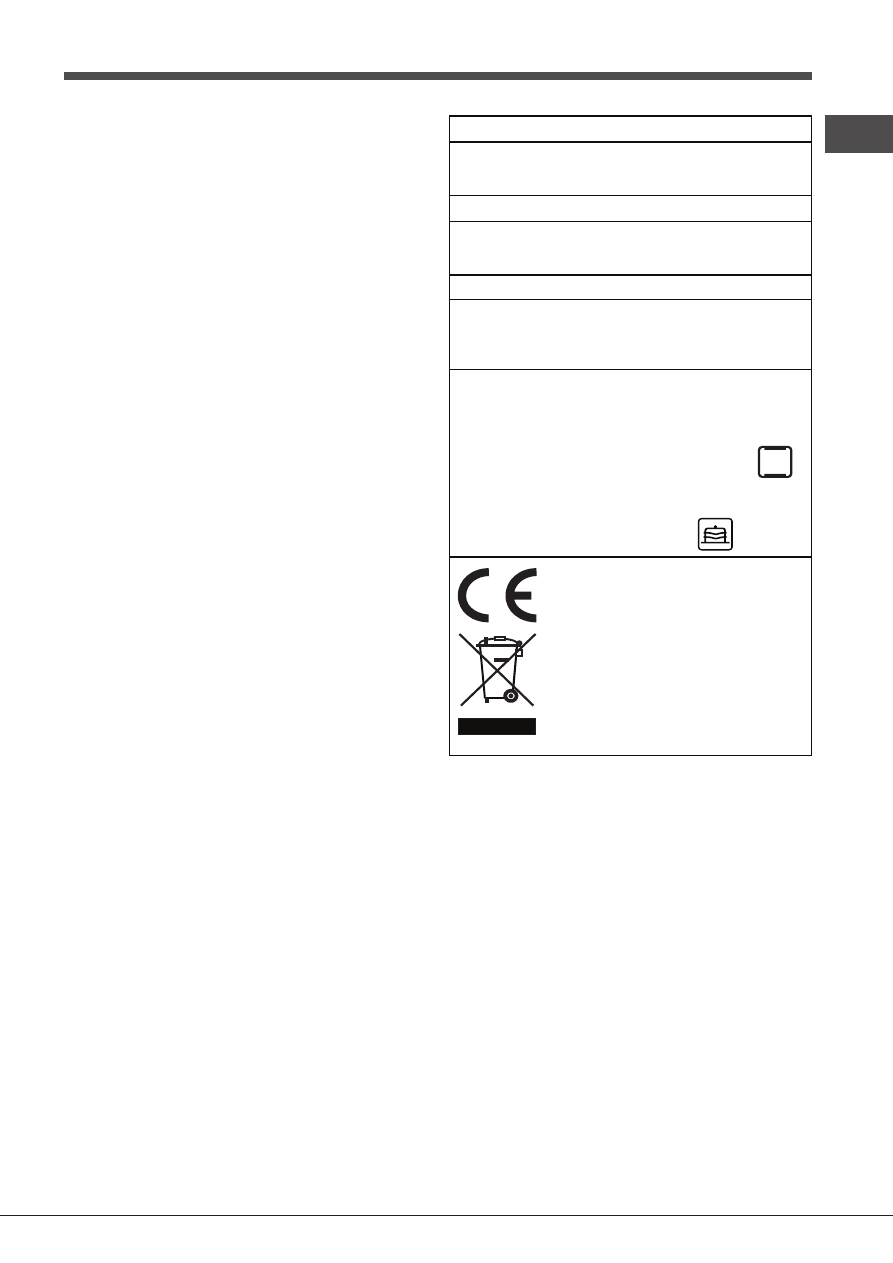
APPLIANCE SPECIFICATIONS
Dimensions*
width 43.5 cm
height 32,4 cm
depth 41.5 cm
Volume*
59 l
Dimensions**
width 45.5 cm
height 32,4 cm
depth 41.5 cm
Volume**
62 l
Electrical
connections
voltage: 220 - 240 V~ 50/60 Hz
or 50 Hz (see data plate)
maximum power absorbed
2800 W
* Only for models with drawn rails.
** Only for models with wire rails.
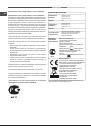
ENERGY
LABEL
Directive 2002/40/EC on the label of
electric ovens. Standard EN 50304
Energy consumption for Natural
convection – heating mode:
Traditional mode
Declared energy consumption for
Forced convection Class – heating
mode: Baking
This appliance conforms to the
following European Economic
Community directives: 2006/95/EEC
dated 12/12/06 (Low Voltage) and
subsequent amendments –
2004/108/EEC dated 03/05/89
(Electromagnetic Compatibility) and
subsequent amendments -
93/68/EEC dated 22/07/93 and
subsequent amendments.
2012/19/EC and subsequent
amendments.
- 1275/2008 standby/off mode
GB
7