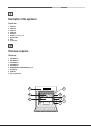
Start-up and use
WARNING!
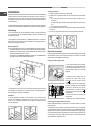
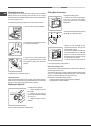
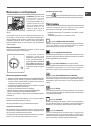
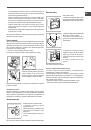
The oven is provided
with a stop system to extract the
racks and prevent them from coming
out of the oven (1). As shown in the
drawing, to extract them completely,
simply lift the racks, holding them on
the front part, and pull (2).
!
The first time you use your
appliance, heat the empty oven with its door closed at its maximum
temperature for at least half an hour. Make sure that the room is well ventilated
before switching the oven off and opening the oven door. The appliance may
emit a slightly unpleasant odour caused by protective substances used during
the manufacturing process burning away.
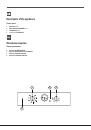
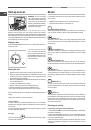
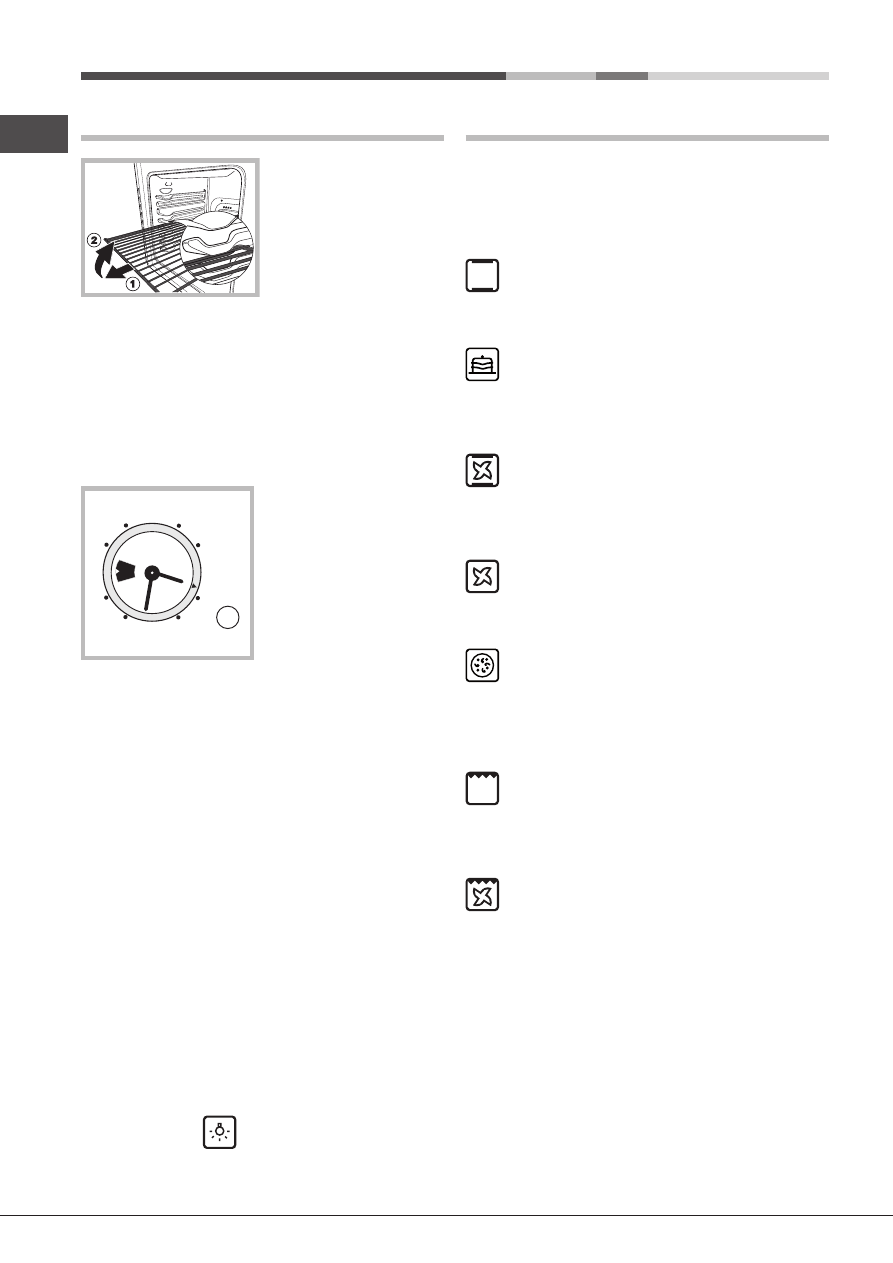
Setting the time
Press the PROGRAMMER knob and turn it in an anticlockwise direction to
set the correct time.
!
The clock can only be set if the
oven is connected to the electricity
mains. In case of a power failure, the
PROGRAMMER will stop: the correct
time will need to be reset once the
power has returned.
Starting the oven
1. Select the desired cooking mode by turning the SELECTOR knob.
2. Select the desired temperature with the THERMOSTAT knob. See the
Cooking advice table for cooking modes and the suggested cooking
temperatures (
see Cooking Modes
).
3. When lit, the THERMOSTAT indicator light indicates that the oven is heating
up to the temperature set.
4. You may do the following during cooking:
- change the cooking mode by turning the SELECTOR knob.
- change the temperature by turning the THERMOSTAT knob.
- stop cooking by turning the SELECTOR knob to the “0” position.
!
Never put objects directly on the oven bottom to avoid damaging the enamel
coating.
!
Always place cookware on the rack(s) provided.
Cooling ventilation
In order to cool down the external temperature of the oven, some models
are fitted with a cooling fan that blows out air between the control panel and
the oven door.
!
Once the cooking has been completed, the cooling fan remains on until the
oven has cooled down sufficiently.
Oven light
It goes on when selecting
with the SELECTOR knob. It stays on when
a cooking mode is selected.
12
3
9
6
9
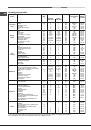
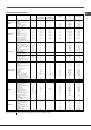
Modes
!
A temperature value can be set for all cooking modes between 60°C and
Max, except for
• BARBECUE (recommended: set only to MAX power level);
• GRATIN (recommended: do not exceed 200°C).
TRADITIONAL OVEN
mode
When using this traditional cooking mode, it is best to use one cooking rack
only; if more than one rack is used, the heat will be distributed unevenly.
BAKING
mode
This mode is ideal for baking and cooking temperature sensitive foods
such as cakes that need to rise and to prepare certain tartlets on 3 shelves
simultaneously.
FAST COOKING
mode
This mode is especially recommended for cooking pre-packed food quickly
(frozen or pre-cooked). The best results are obtained if you use one cooking
rack only.
MULTI-COOKING
mode
Since the heat remains constant throughout the oven, the air cooks and
browns food uniformly. A maximum of two racks may be used at the same time.
PIZZA
mode
This combination heats the oven rapidly by producing a considerable amount
of heat, particularly from the bottom element. If you use more than one rack
simultaneously, switch the position of the dishes halfway through the cooking
process.
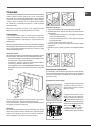
BARBECUE
mode
The high and direct temperature of the grill is recommended for dishes that
require a high temperature on the surface. Always cook in this mode with the
oven door closed.
GRATIN
mode
This combination of features increases the effectiveness of the unidirectional
thermal radiation of the heating elements through forced circulation of the air
throughout the oven. This helps prevent food from burning on the surface,
allowing the heat to penetrate right into the food. Always cook in this mode
with the oven door closed.
Planning your cooking
Programming cooking time with immediate start
1. Turn the PROGRAMMER knob in an anticlockwise direction until the desired
cooking time is displayed.
2. Pull the PROGRAMMER knob and turn it in an anticlockwise direction
until the marker corresponds with the current time. A click will indicate the
end of the programming phase.
3. Select the desired cooking mode using the SELECTOR knob. The oven
switches on immediately and remains on for the entire duration of the set
cooking time.
8
GB