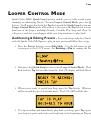
Looper Control Mode
5•4
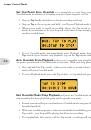
Set Out-Point/ Arm Overdub –
to accurately set your loop out-point and arm
Overdub mode in advance of recording your next layer of guitar, try this:
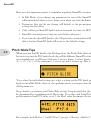
• Step on
Tap
briefly and release to begin recording your loop
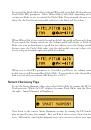
• Step on
Tap
at the out point and hold - you’ll enter Playback mode immediately
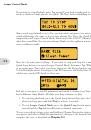
• When you’re ready to record an overdub, release the Tap switch to enter Overdub
mode; if you continue to let your loop roll, each time it loops around you’ll be adding
another overdub layer
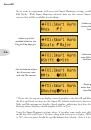
• To exit Overdub mode and immediately enter Playback mode, briefly step on the
Tap
switch; if you’d rather stop playback, step on the
Tap
switch and hold
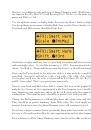
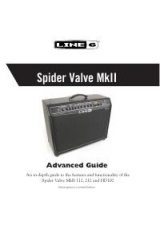
Arm Overdub From Playback –
after you’ve recorded your initial loop and set the
out-point, you can enter Overdub mode at any time. With your loop playing back:
• Press and hold the Tap switch - when you’re ready to record, release the Tap switch
and you’ll enter Overdub mode
• To enter Playback mode, press the Tap switch - to stop playback, press Tap again
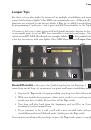
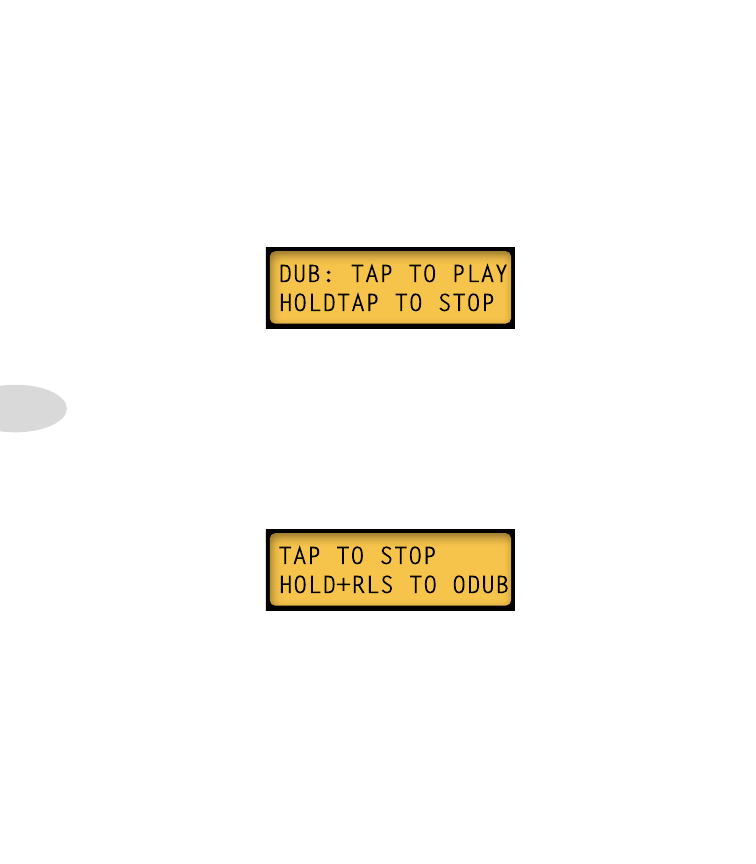
Exit Overdub Mode/ Stop Playback –
if you’re in Overdub mode and you’d like to
stop recording but keep playback going until a specific stop point:
• Record your initial loop as usual and enter Overdub mode using any of the previously
described methods
• With your overdub in progress, when you’re finished overdubbing, press and hold the
Tap switch - your loop will be playing back but not recording
• To stop playback, lift your foot off the Tap switch - your loop will stop immediately