Appendix A: MIDI
A•4
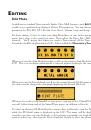
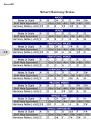
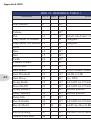
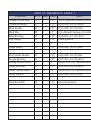
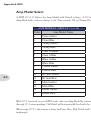
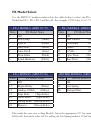
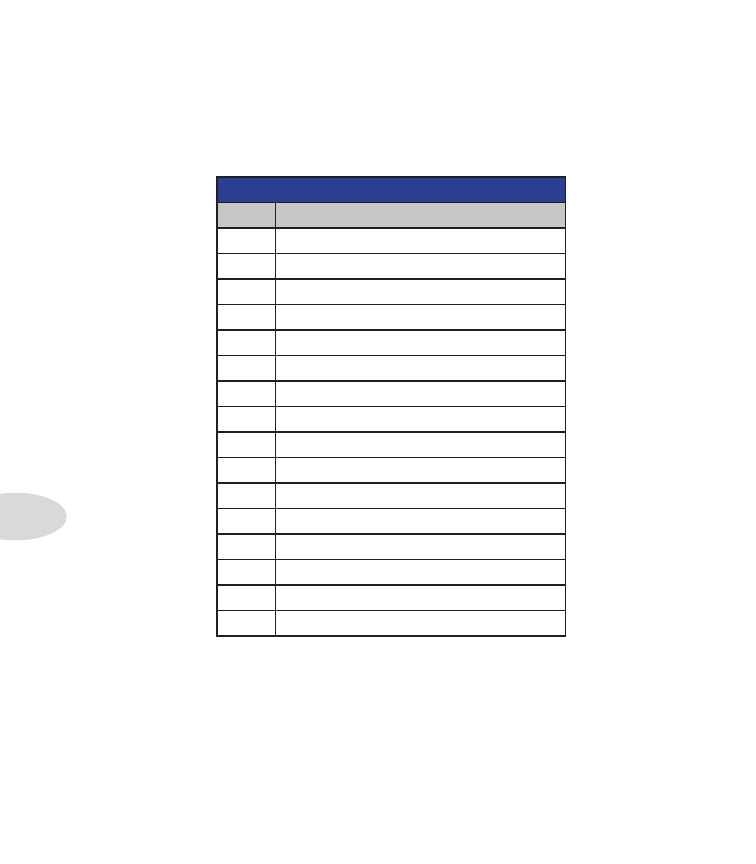
AMP MODELS (MIDI CC 11 or 12)
Value
Amp Model Name
0
Clean Amber
1
Clean Blue
2
Twang Amber
3
Twang Blue
4
Class A Amber
5
Class A Blue
6
Blues Amber
7
Blues Blue
8
Crunch Amber
9
Crunch Blue
10
Hi Gain Amber
11
Hi Gain Blue
12
Metal Amber
13
Metal Blue
14
Insane Amber
15
Insane Blue
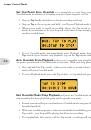
Amp Model Select
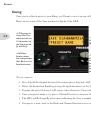
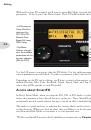
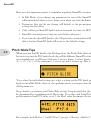
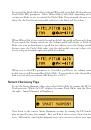
A MIDI CC of 11 Selects the Amp Model with Default settings. A CC of 12 selects the
Amp Model only, with no change to the Tone controls, FX or Channel Volume.
With CC 11 inserted on your MIDI track, select an Amp Model by entering a value of 0
through 15. A corresponding Cab Model will automatically load with the Amp Model.
When using CC 12, the current settings for Drive, Bass, Mid, Treble and Ch Vol remain
unchanged.