Appendix A: MIDI
A•1
a
PPendiX
a: midi
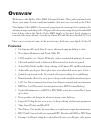
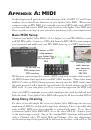
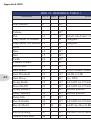
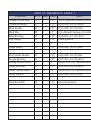
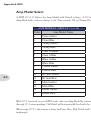
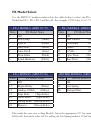
In this chapter we’ll provide you with reference tables of MIDI CC and Program Change
numbers that control basic functions of your Spider Valve MkII. When connected to a
computer using an FBV MkII foot controller (or using MIDI cables and a MIDI interface),
you can send and receive MIDI messages between your Spider Valve MkII and sequencer.
Here’s a guide to setting up your gear when interfacing with your computer work station.
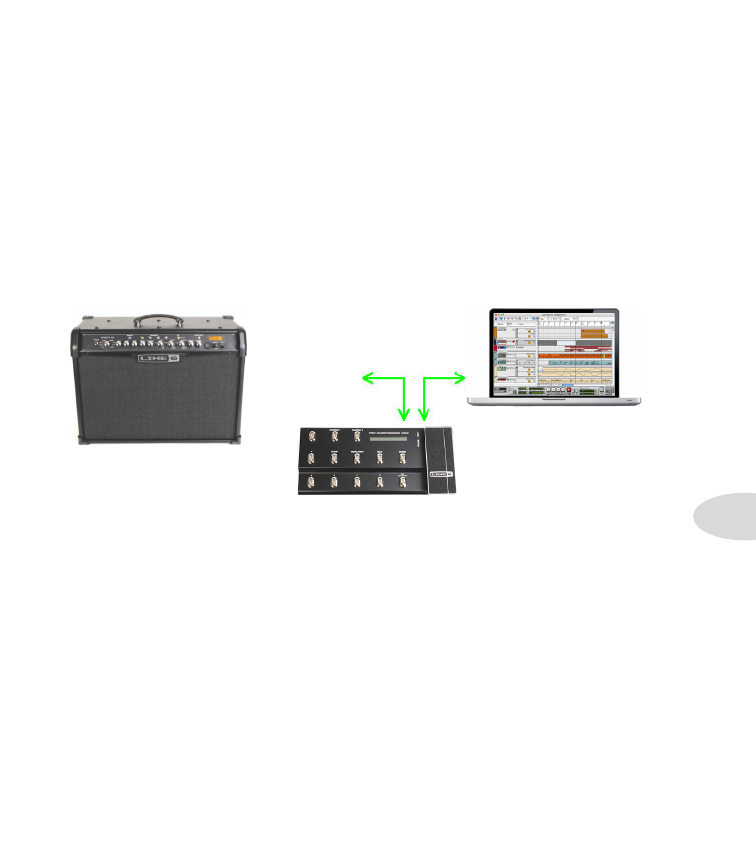
Connect your Spider Valve MkII (v1.18 or higher) to your FBV MkII foot controller using
an RJ45 FBV cable. Connect a USB cable from the FBV MkII to your computer. Launch
your sequencer and make sure your FBV MkII shows up as a MIDI input/output port.
Within your sequencer project, create a MIDI track with its inputs and outputs assigned to
the MIDI channel that represents your FBV Mk II interface. Then either manually insert
MIDI CC values or PGM Change messages directly into the MIDI track’s timeline, or put
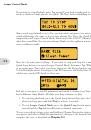
the track in record, roll it from the top and make the desired changes on the Spider Valve
MkII itself. As your song plays, you’ll see your actions appear in the MIDI track.
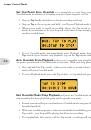
Once your MIDI commands are recorded, simply put the track in playback mode and play
back the track. Your Spider Valve MkII will respond to all the recorded MIDI commands.
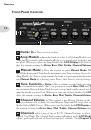
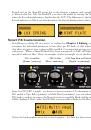
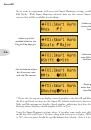
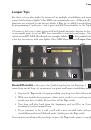
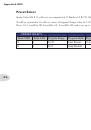
Connect an FBV*
cable between
your Spider Valve
MkII and your FBV
MkII
Connect a USB
cable between
your computer
and your
FBV MkII
Basic MIDI Setup
*Or you can use
MIDI cables and a
MIDI interface
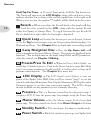
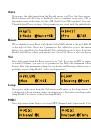
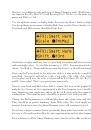
Amp Daisy Chaining
For those of you who might like to use two Spider Valve MkII amps in your stage rig, we’ve
implemented MIDI to enable multi-amp daisy chaining. This is especially effective when
using an FBV MkII series foot controller to control both amps. To set this up, connect
your master Spider Valve MkII MIDI Out to the slave MIDI In. Connect your FBV MkII
to the master amp as usual. Any of the standard FBV functions will control both amps,
such as Channel select, FX on/off, Wah and Volume. Also, any adjustments you make
on the master amp’s front panel will be reflected in the slave, such as FX or Tone tweaks.