Overview
1•4
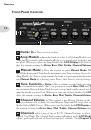
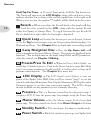
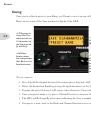
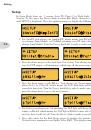
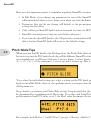
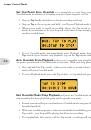
Hold Tap For Tuner
–
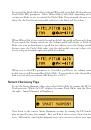
To enter Tuner mode, hold the Tap button for a few seconds.
The Tuner will appear in the
LCD Display
, along with each note you’re tuning. It will
indicate whether you’re sharp or flat via the graphic lines to the right or left, respectively.
When you’re in tune, the graphic
**
symbols will be lined up in the center of the LCD.
9
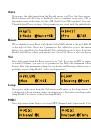
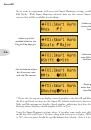
Reverb –
When you adjust the Reverb knob, a bar graph
will display the Reverb
Mix level for a few seconds in the
LCD
, along with the current Reverb Model name,
either Lux Spring or Vintage Plate. To toggle between the two Reverb Models, turn the
Presets knob left or right while the bar graph is displayed.
10
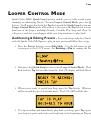
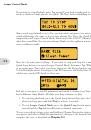
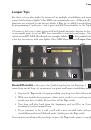
Quick Loop –
Pressing this button puts you in Looper Control Mode. When
it’s lit, the
Tap
button becomes your one-button control for Recording, Overdubbing, loop
Playback and Stop. *See
Chapter 5
for in-depth info on recording and playing loops.
11
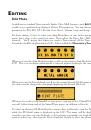
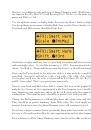
4-way Navigation Disc –
Press the
Up
,
Down
,
Left
, or
Right
arrows to
select a parameter that you’d like to change. The arrows are displayed in the LCD for each
function. *For in-depth info on the many Amp Model and FX parameters you can access
with this control, see
Chapter 3 Editing
.
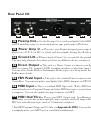
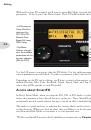
12
Presets/Press To Edit –
When in Preset Select Mode, turn this knob to
scroll thru 32 banks of presets. Push in the Presets knob to enter Edit Mode. This enables
you to set various parameters for all your FX, as well as select settings in Setup Mode and
perform other functions. *See
Chapter 3
for more info.
13
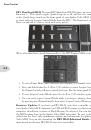
LCD Display –
The LCD (
liquid crystal display
) is your window into the
power of the Spider Valve MkII. Here you’ll see various “pages” as you adjust the various
controls, including Momentary Tone Display, Momentary FX Display, and numerous other
Parameter menus as you fine-tune your guitar sounds. The LCD is designed to give you
instant feedback on any parameter you’re currently adjusting.
14
Presence –
This is a Presence control for the tube power amp. It works even if
you plug a POD X3 into the power amp, for example, using the Power Amp In jack.
15
Master Volume –
Sets the Master output level of your Spider Valve MkII
power amp. This also controls the level of the
Direct Output
in Performance Mode.
16
Standby Switch –
This switch puts the amp in standby mode when desired.
17
Power Switch –
Flick this switch to power up your Spider Valve MkII.