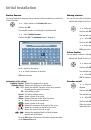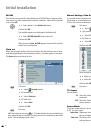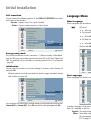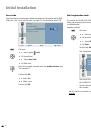
9 -
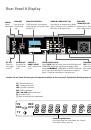
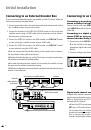
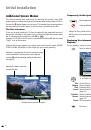
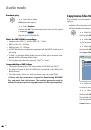
HDMI (DVI) connection
The HDMI connection (High Definiton Multimedia Interface) allows digital picture
and sound transmission via a connecting cable, e.g. to Loewe Flat TV sets. The
digital picture and sound data are transmitted without data compression and there-
fore lose none of their quality. In the equipment connected, no analogue/digital
conversion is necessary, which might also have lead to losses in quality.
DVI signals can be also be reproduced by the HDMI connection using a DVI/HDMI
adapter cable. This is possible because HDMI is based on DVI and is downwardly
compatible. That means that the digital video signals are transmitted via HDMI
- no audio signals are transmitted, though. In addition, both use the same copy
protection method HDCP (High Definition Content Protection).
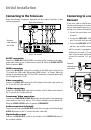
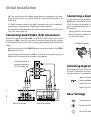
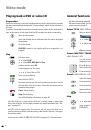
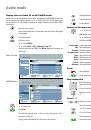
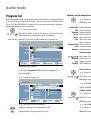
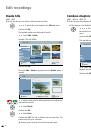
Switch off the TV set/monitor with HDMI connection and
recorder.
Connect recorder to TV set/monitor via HDMI connection as
described on page 13.
Switch on the TV set/monitor.
Switch on the recorder after 30 seconds.
Log in the HDMI connection in the connection wizard of the TV
set (see user guide TV set).
➠
DVI: If a DVI-HDMI adapter cable is used for transmission,
connect the analog or digital audio outputs on the recorder with
the corresponding inputs of the TV set as described on pages 13
and 14.
Leave the existing SCART connection as it is to record from the TV.
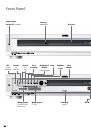
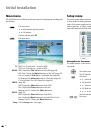
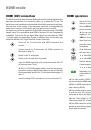
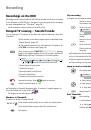
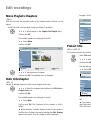
HDMI operation
Switch the TV set over to the HDMI AV input (takes place auto-
matically in connection with a -Loewe Flat-TV set, see page 13).
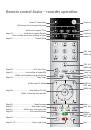
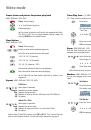
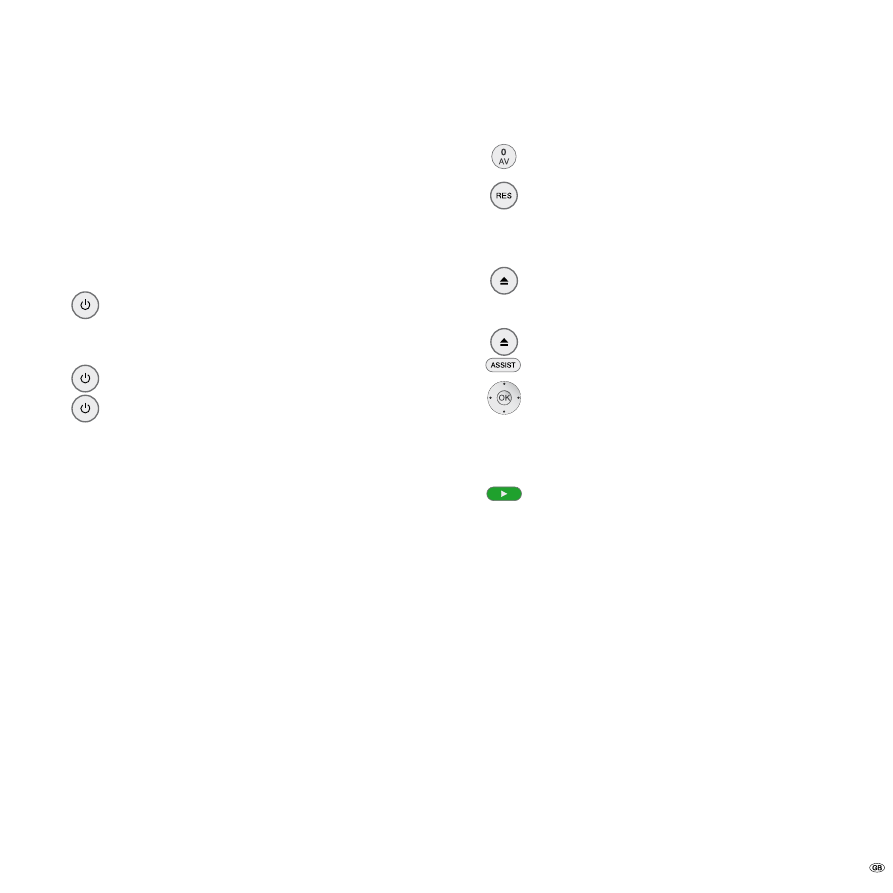
Press the
RES
button on the recorder repeatedly to set the desired
picture resolution (e.g.
576i
,
576p
,
720p
,
1080i
).
➠
You can only set resolutions which your TV set/monitor is
capable of. For optimum picture quality, select the resolution
1080i
on the recorder.
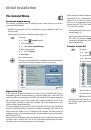
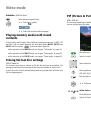
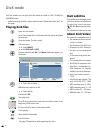
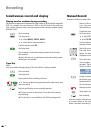
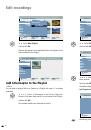
Open the disc drawer.
Insert the selected disc in the drawer with the side to be played
facing down.
Close the drawer.
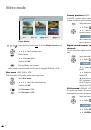
Call main menu.
34
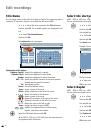
Select
FILM
.
56
Select
HDD, HDD DivX
or
Disc
.
Confirm selection with
OK
.
A menu appears on the screen.
5
634
Select title on DVD.
Depending on the medium, playing starts automatically or is
started with the Play button or you have to make entries in the
menu.
➠
The other sockets (VIDEO OUT, S-Video and Component Video) have no
function during the HDMI mode.
➠
With an HDMI connection the audio scanning frequency is only 48 kHz, even
when selecting 96 kHz.
➠
This recorder performs no internal (-channel) decoding of DTS soundtracks.
In order to enjoy DTS multi-channel surround sound, this recorder must be
connected by one of the digital audio outputs to a DTS-compatible receiver.
➠
If the “Dolby Digital” or “MPEG” option has not been set to “PCM” in the
Sound menu (page ), no sound is output through the TV set.
➠
The HDMI connection to the recorder is operated as a signal output. Please
proceed as described on page 44 if you want to record from an external signal
source with the recorder.
HDMI mode