45 -
Recording
Digital camcorders can usually record audio as 16 bit/48 kHz stereo or twin
stereo tracks with 1 bit/3 kHz. This recorder can only record one stereo audio
track. Set “DV Rec Audio“ as required or Audio 1 or Audio (page 5).
The sampling rate of the digital sound input to the
DV IN
socket must be either
3 or 48 kHz (not 44.1 kHz).
Recording may suffer from interference if the camcorder stops playing back, if a
part of the tape that has not been recorded on is played back, if the electricity
supply to the camcorder is cut off, or if the DV cable comes out.
When “DV Rec Audio“ is set to “Audio “ and there is no Audio signal, “DV
Audio“ will automatically be set to “Audio 1“.
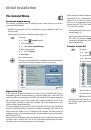
DV messages
When you are using the
DV IN
socket, the following messages may appear on
the screen.
Not connected to camcorder:
The camcorder is not properly connected, or
the camcorder is switched off.
Too many devices connected:
This recorder‘s DV socket only supports the
connection of one camcorder.
Check tape:
There is no tape in the device that is connected.
Incompatible device:
The recorder is unable to control the camcorder.
Information is being reloaded:
The camcorder is updating data for DV.
Camera mode:
The camcorder is set to camera mode.
Troubleshooting
If you are not receiving images and/or sound via the DV IN socket, check the
following:
The DV cable must be properly connected.
Switch off the camcorder that is connected, and switch it back on.
Tune the audio input in to the recorder.
➠
This recorder cannot necessarily control every camcorder that is connected to it.
•
•
•
•
•
•
•
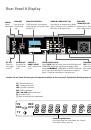
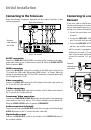
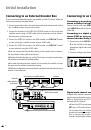
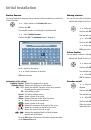
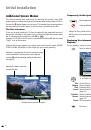
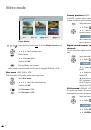
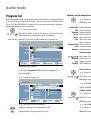
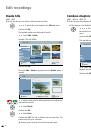
Recording from a digital camcorder
You can record from a camcorder that is connected to the
DV IN
socket in the
recorder‘s front panel. You can use the recorder‘s remote to control a cam-corder
and the recorder. Before recording, make sure that the audio input has been set
up for the DV IN socket (page 5).
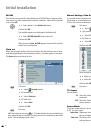
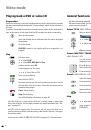
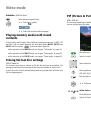
The digital camcorder must be connected to the DV IN socket at
the front of the housing. Further information can be found on
page15.
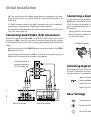
You can choose from between Audio 1 (original audio) and Audio
(overdubbed audio).
The DV input is set using the “DV Rec Audio“ submenu of the
main menu (page 5).
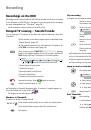
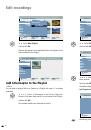
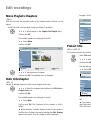
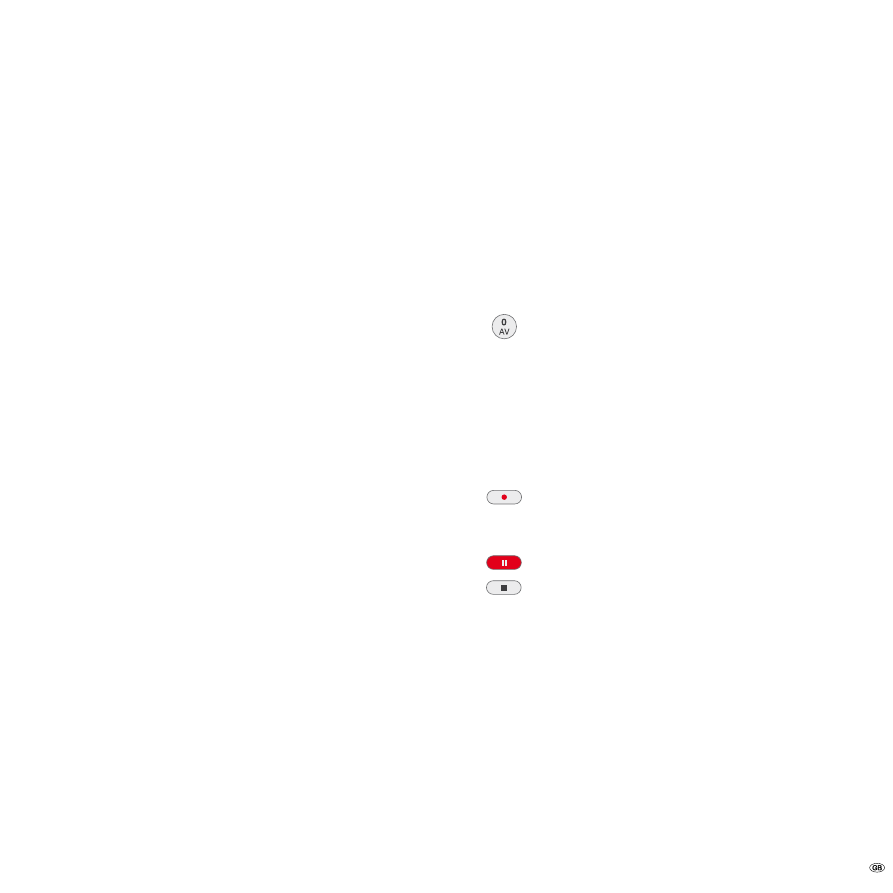
Select DV input.
“DV” is displayed in the display window of the recorder and on
the screen.
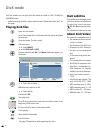
Search the position on the camcorder tape from which you want
to record.
For optimum results, interrupt play-back of the camcorder at the
point from which you want to record. Depending on the
camcorder you can operate the functions
STOP
,
PLAY
and
PAUSE
with this recorder.
Start recording.
The recording is stopped automatically when the recorder detects
no signal.
Interrupt recording. Press again to continue.
End recording.
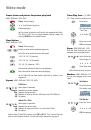
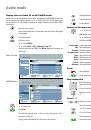
➠
You cannot use the recorder to control the camcorder while
recording is in progress.
➠
In Video mode, the last frame of the recording is shown on
the screen for a short time after recording has ended.
➠
For timer recordings to work properly on this recorder, the
digital camcorder should be switched on and operational.