14
GB
3
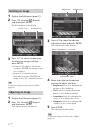
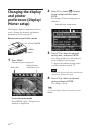
Press ENTER.
The frame is fixed in the current
position.
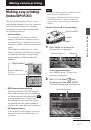
To change the size of the
adjustment frame
Press
g
/
G
to select
(Enlarge) or
(Reduce) and press ENTER.
Each time you press ENTER, the
frame becomes larger or smaller.
You can also enlarge or reduce the
size by pressing (zoom in) or
(zoom out) buttons on the printer.
Tip
Make the size of the adjustment frame two
to seven times as large as the eye size.
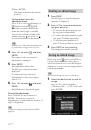
4
Press
g
/
G
to select
and press
ENTER.
The range of red-eye correction
adjustment is enlarged.
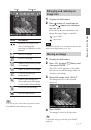
5
Press ENTER.
The adjustment takes effect.
The Red-eye correction menu is
displayed.
To make a red-eye correction
adjustment for other eyes, repeat
steps 3 to 5.
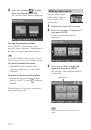
6
Press
g
/
G
to select
and press
ENTER.
The Edit menu is displayed again.
To reset the adjustment
Press CANCEL in step 5 instead of
ENTER. The red-eye correction
adjustment is canceled and the window of
step 2 is displayed.
Tip
To print the image previewed, press PRINT
(page 14).
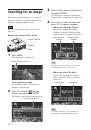
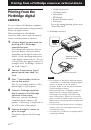
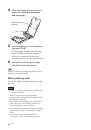
Printing an edited image
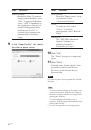
1
Press PRINT.
The dialog box to specify the print
quantity is displayed.
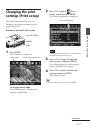
2
Press
f
/
F
to increase or decrease
the print quantity.
• To increase the print quantity one
by one, press
f
repeatedly.
• To reduce the print quantity one by
one, press
F
briefly repeatedly.
• To reset the print quantity to 1,
press
F
for more than two seconds.
3
Press PRINT to start printing.
The image previewed is printed.
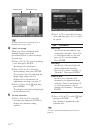
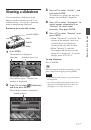
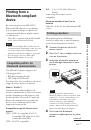
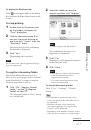
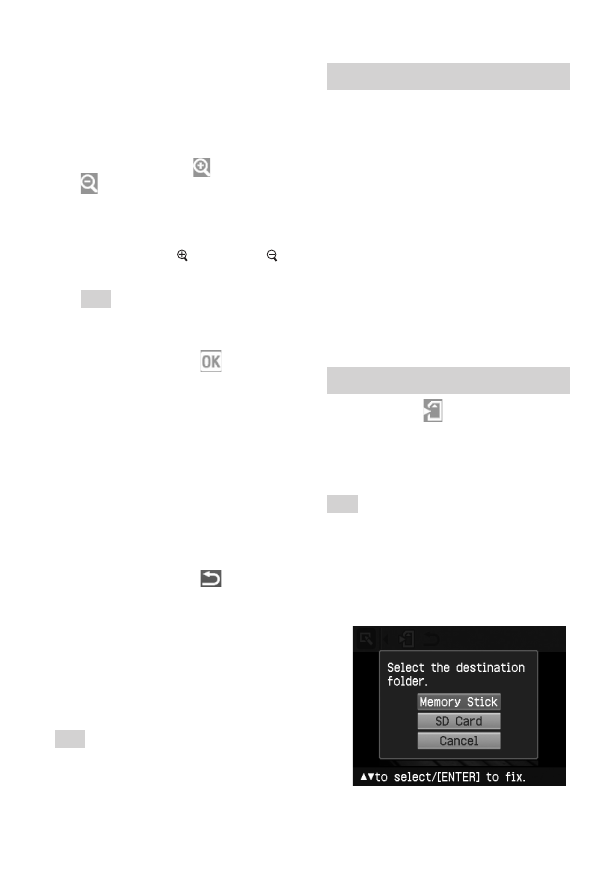
Saving an edited image
When you select
(save) in the Edit or
Creative Print menu, the dialog box to
select the destination to save the image is
displayed. You can save the image under a
new image number.
Tip
The selected image will not be overwritten.
1
Select the destination to save an
image.
Press
f
/
F
to select the media
(“Memory Stick”, or “SD Card”) and
press ENTER.