25
GB
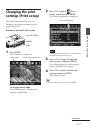
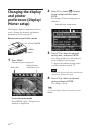
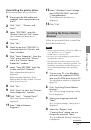
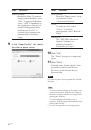
Making various printing
Item
Settings
Contents
Date Print
On
Prints the date of shooting with an image when the
image is a file recorded in the DCF (Design rule for
Camera File system) format. To make a print with
the date of shooting, shoot an image in the DCF file
format.
When the image is saved with the printer, the date of
saving is printed.
Off*
Prints an image without the date.
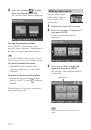
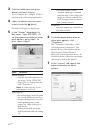
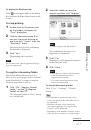
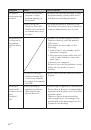
Color Setting
Adjusts the colors and sharpness of a print. Press
g
/
G
to select a color element ( “R” (red), “G“ (green), or
“B” (blue)) or “S” (Sharpness), and then press
f
/
F
to
set the level. You can set the levels for R, G, B in the
range from +4 to –4 and for S in the range from +7 to
0.
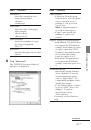
R:
Adjusts the red and blue elements. The higher
you set the level, the more reddish the picture
becomes as if it receives red light. The lower you
set the level, the darker the picture becomes as if
light blue is added.
G:
Adjusts the green and purple elements. The
higher you set the level, the more greenish the
picture becomes as if it receives green light. The
lower you set the level, the darker the picture
becomes as if red purple is added.
B:
Adjusts the blue and yellow elements. The higher
you set the level, the more bluish the picture
becomes as if it receives blue light. The lower you
set the level, the darker the picture becomes as if
yellow is added.
S:
The higher you set the level, the more distinct the
outlines become.
(*R: 0/G:0/B:0/S:0)
*: Factory settings