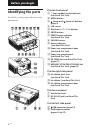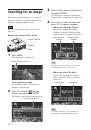
38
GB
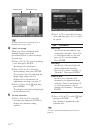
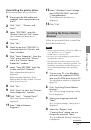
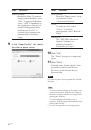
•Print date taken: When
checked, an image is printed
with the date of shooting if the
image is a file recorded in the
DCF (Design rule for Camera
File system) format.
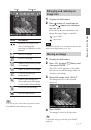
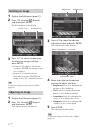
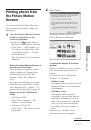
Properties
Specifies paper size, orientation,
and other details.
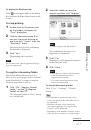
6
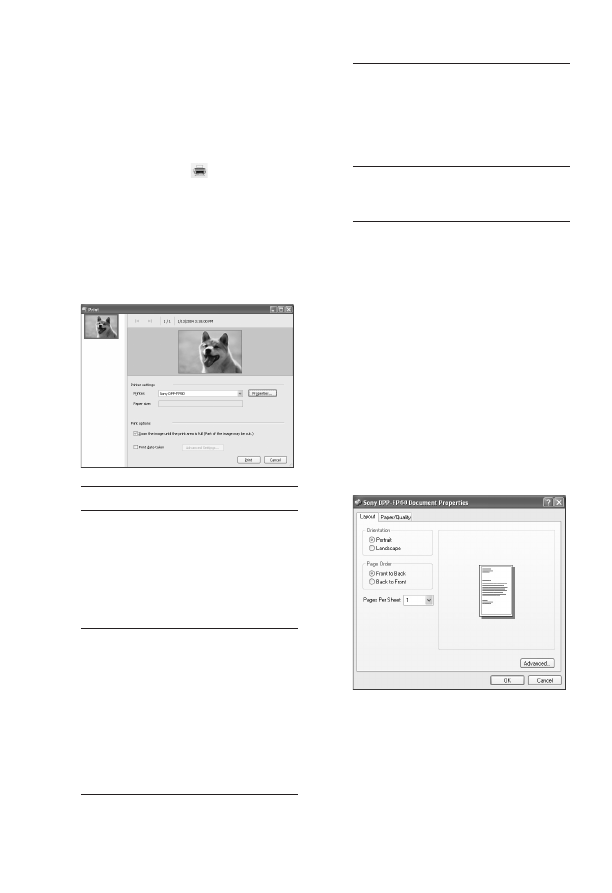
To set the paper orientation or
other print options, click
“Properties”.
The “Properties” dialog box of the
selected printer is displayed. The
printer driver of the printer utilizes
the Universal Printer Driver, a
Microsoft common printer driver . In
the dialog boxes, there are some items
that are not used in the printer.
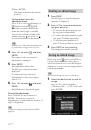
7
In the “Layout” tab, specify the
paper orientation or other
options.
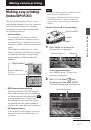
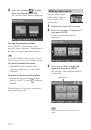
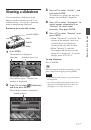
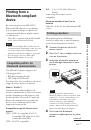
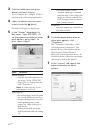
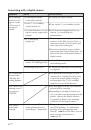
3
Click the folder containing the
photos you want to print.
As an example, the “sample” folder is
selected in the following explanation.
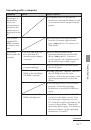
4
Select the photos that you want
to print and click
(print).
The Print dialog box is displayed.
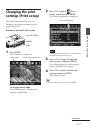
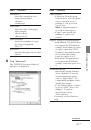
5
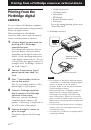
In the “Printer” drop-down list
box, select “Sony DPP-FP60”. To
set the paper orientation or other
print options, go to step 6. To
print, skip to step 11.
Items
Functions
Printer Settings
• Printer: Select the printer you
are using: “Sony DPP-FP60”
•Paper size: To change the size,
click “Properties”.
Note:
In some regions, L size
print paper is not sold.
Print Options
•Zoom the image until the print
area is full: When checked, an
image will be printed over the
entire printing area of the
paper. An edge of the photo
may be cut.
When unchecked, an image
will be printed without cutting
off.