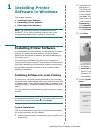
Installing Printer Software in Windows
7
Installing Software for Network
Printing
When you connect your printer to a network, you must first
configure the TCP/IP settings for the printer. After you have
assigned and verified the TCP/IP settings, you are ready to
install the software on each computer on the network.
You can install the printer software using the typical or custom
method.
Typical Installation
This is recommended for most users. All components necessary
for printer operations will be installed.
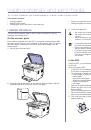
1
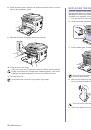
Ensure that the printer is connected to your network and
powered on. For details about connecting to the network,
see the Getting started chapter.
2
Insert the supplied
Drivers and Utilities
CD into your
computer’s optical drive.
The CD should automatically run, and an installation
window appears.
If the installation window does not appear, click
Start
and
then
Run
. Type
X:\Setup.exe
, replacing “
X
” with the
letter which represents your drive and click
OK
.
If you use Windows Vista, click
Start
→
All programs
→
Accessories
→
Run
, and type
X:\Setup.exe
.
If the
AutoPlay
window appears in Windows Vista, click
Run
Setup.exe
in
Install or run program
field, and
click
Continue
in the
User Account Control
window.
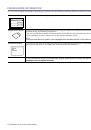
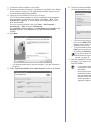
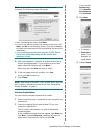
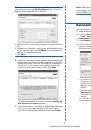
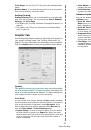
3
Click
Next
.
• If necessary, select a language from the drop-down list.
•
View User’s Guide
: Allows you to view the User’s
Guide. If your computer does not have Adobe
®
Acrobat
®
, click on this option and it will automatically
install Adobe
®
Acrobat
®
Reader for you.
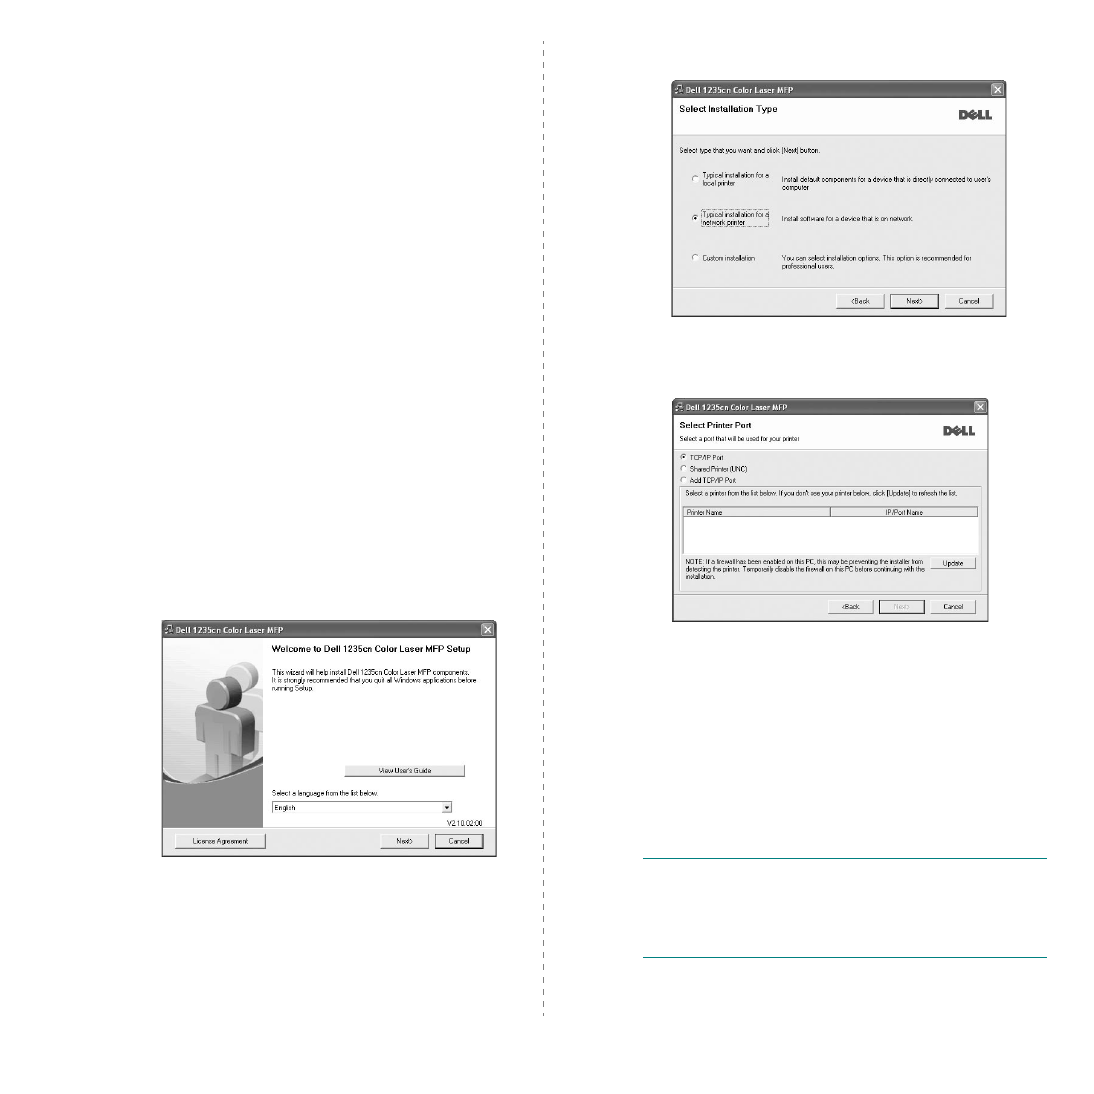
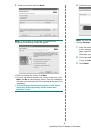
4
Select
Typical installation for a network printer
. Click
Next
.
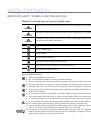
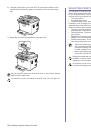
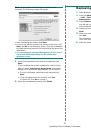
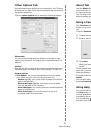
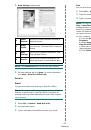
5
The list of printers available on the network appears.
Select the printer you want to install from the list and then
click
Next
.
• If you do not see your printer on the list, click
Update
to
refresh the list, or select
Add TCP/IP Port
to add your
printer to the network. To add the printer to the
network, enter the port name and the IP address for the
printer.
To verify your printer’s IP address or the MAC address,
print a Network Configuration page.
• To find a shared network printer (UNC Path), select
Shared Printer [UNC]
and enter the shared name
manually or find a shared printer by clicking the
Browse
button.
N
OTE
: If you cannot find your machine in the network, turn off
the firewall and click
Update
.
For Windows operating system, click
Start
→
Control Panel
and start windows firewall, and set this option unactivated. For
other operating system, refer to its on-line guide.
 1
1
 2
2
 3
3
 4
4
 5
5
 6
6
 7
7
 8
8
 9
9
 10
10
 11
11
 12
12
 13
13
 14
14
 15
15
 16
16
 17
17
 18
18
 19
19
 20
20
 21
21
 22
22
 23
23
 24
24
 25
25
 26
26
 27
27
 28
28
 29
29
 30
30
 31
31
 32
32
 33
33
 34
34
 35
35
 36
36
 37
37
 38
38
 39
39
 40
40
 41
41
 42
42
 43
43
 44
44
 45
45
 46
46
 47
47
 48
48
 49
49
 50
50
 51
51
 52
52
 53
53
 54
54
 55
55
 56
56
 57
57
 58
58
 59
59
 60
60
 61
61
 62
62
 63
63
 64
64
 65
65
 66
66
 67
67
 68
68
 69
69
 70
70
 71
71
 72
72
 73
73
 74
74
 75
75
 76
76
 77
77
 78
78
 79
79
 80
80
 81
81
 82
82
 83
83
 84
84
 85
85
 86
86
 87
87
 88
88
 89
89
 90
90
 91
91
 92
92
 93
93
 94
94
 95
95
 96
96
 97
97
 98
98
 99
99
 100
100
 101
101
 102
102
 103
103
 104
104
 105
105
 106
106
 107
107
 108
108
 109
109
 110
110
 111
111
 112
112
 113
113
 114
114
 115
115
 116
116