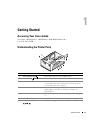
Getting Started
17
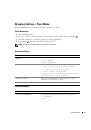
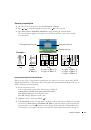
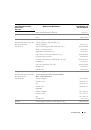
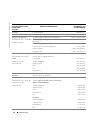
Changing Settings—Press Menu
Press the
Menu
button to customize your photo and printer settings.
Select Menu Items
1
Press the
Menu
button.
2
Press
until the menu heading you want appears on the display, then press
Select
( ).
3
Continue scrolling
until the option you want is highlighted.
4
Press
Select
( ) and follow the directions on the LCD.
NOTE:
The option currently selected is noted with a checkmark.
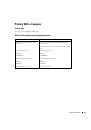
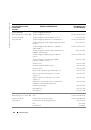
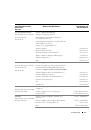
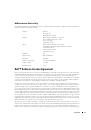
Print Options Menu
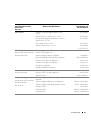
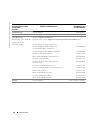
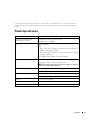
Photo Quality Menu
From the Print Options sub-menu:
You can:
Specify a print mode:
•
Color
(default)
•
Black and White
LAYOUT
Specify a print layout for an entire print job:
•
1 4x6 (10 x 15 cm) photo/sheet
(default)
•
1 3.5x5 (9 x 13 cm) photo/sheet
•
2 photos/sheet (54 x 85 mm)
•
4 photos/sheet (wallet setting, 51 x 76 mm)
•
9 photos/sheet (34 x 50.7 mm)
PRINT INDEX
Prints an index (thumbnail) of all photos on your card
(maximum 25 thumbnails per sheet).
PRINT ALL
Print all photos on your memory card.
From the Photo Quality sub-menu:
You can:
AUTO BRIGHTNESS
Specify automatic brightness control for all your photos:
•
On
(default)
•
Off


Инструкции и руководства похожие на DELL 540