Enhance
Red eyes
Settings
Option
Setting
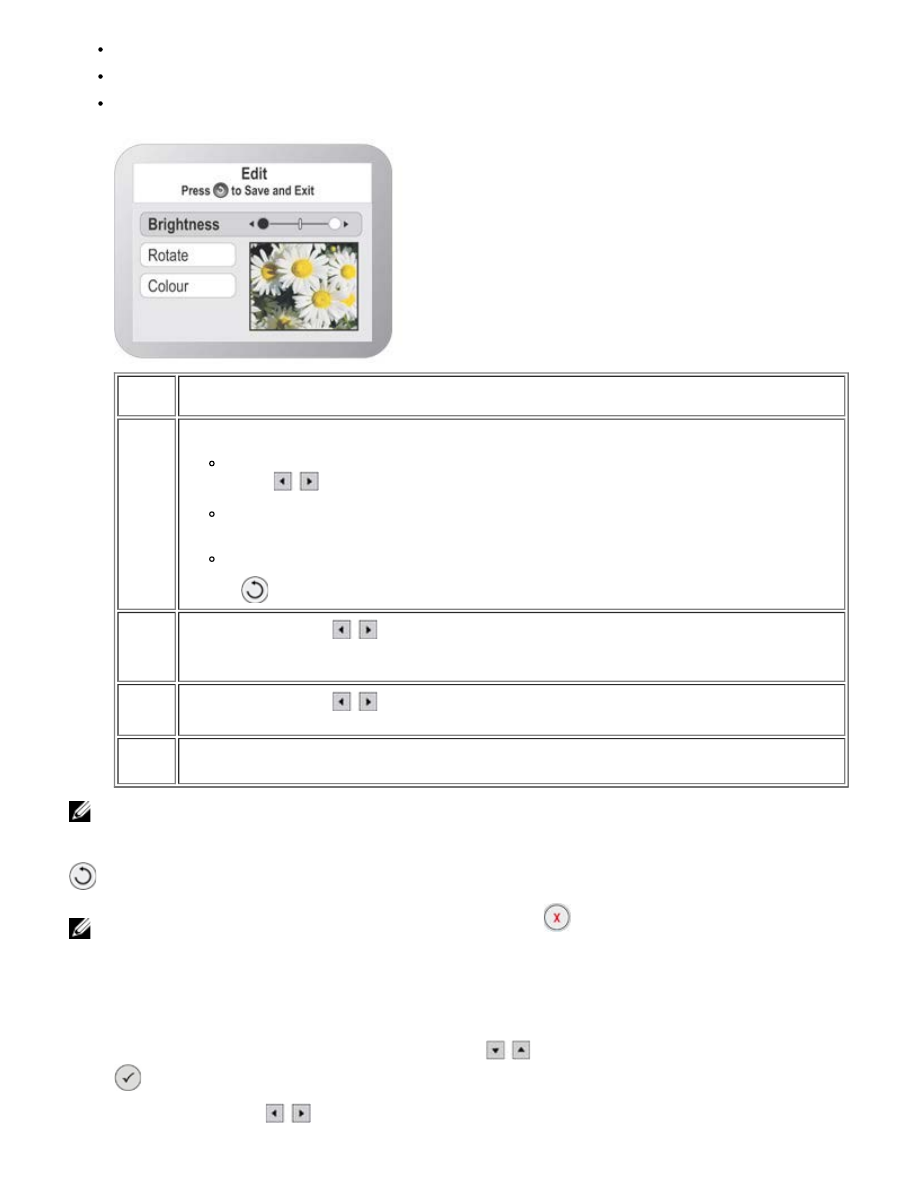
Edit
Allows you to modify these characteristics of the selected photo:
Brightness: Allows you to set the brightness level from the seven levels available. Use the
Arrow
buttons
to increase or decrease the level.
Rotate: Apply an automatic rotation of 0° or 90°. The display shows the result of the operation that will
be applied to the photo.
Colour: Choose between Colour, B&W and Sepia.
Press the
button to save the changes and exit.
Enhance
Press the
Arrow
buttons
to select
On
or
Off
. If you choose
On
, automatic image correction is
performed on the image brightness, contrast and definition. This operation does not damage the original photo
in any way as it is only temporary and is not applied to the original.
Red
eyes
Press the
Arrow
buttons
to select
On
or
Off
. If you choose
On
, the Red Eyes correction filter is
automatically applied.
Settings
From the
Settings
sub menu you can set Border, Layout, Quality and Paper Type. For more information, see
"
NOTE:
The selections applied to the photo are not shown correctly on the display but can only be seen when the photo is
printed. You must therefore print the photo to see the results of your modifications.
On exiting from the
Options
sub menu, you can save the changes made to the photo by pressing the
Back
button
.
NOTE:
To cancel the changes made using in Edit mode, press the Cancel
button.
Defining the Photo Setup
When browsing your photos, you can define the print settings you want used when a given photo is printed.
1. In
Photo
mode on the operator panel, use the
Arrow
buttons
to highlight
Browse
then press the
Select
button
.
2. Press the
Arrow
buttons
to scroll through the photos on the memory card or USB memory pen until you find the


