Voice
Voice L
Voice R
22
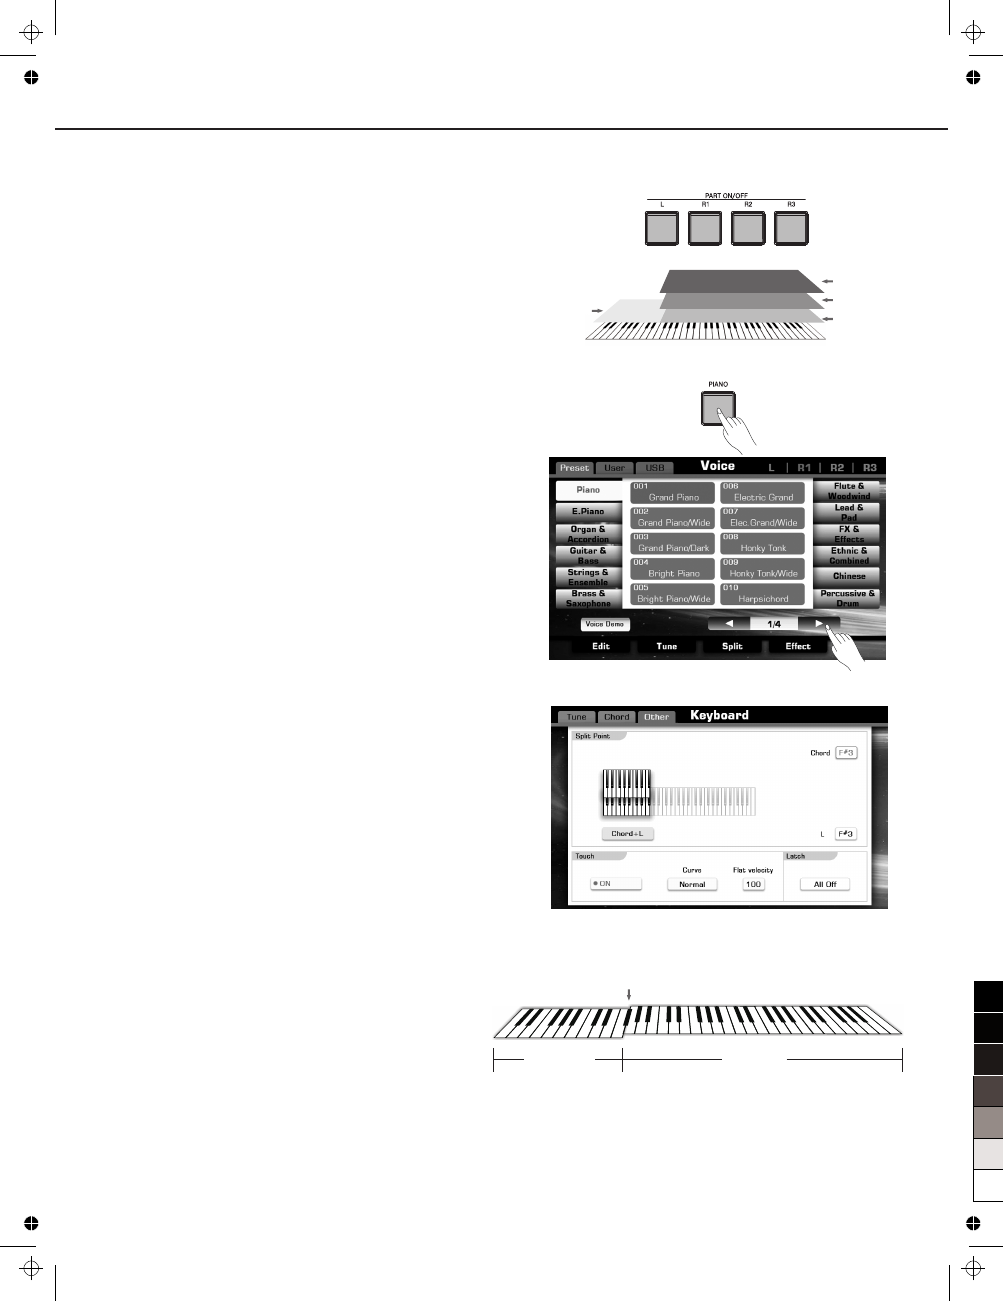
Left Part
Right 1 Part
Right 2 Part
Right 3 Part
Split Point
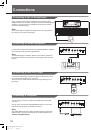
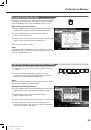
Playing Different Voices with the Left and
Right Hands
You can combine these four parts to create a rich, ensemble sound.
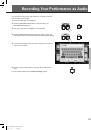
1.
Turn on different parts as you like.
The most complicated situation is turning 4 parts on.
See
picture
on
the
right
.
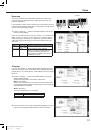
2.
Select different voices for each part
.
We are following introduce the Left part as an example:
A. Press one of the voice category buttons to call up the voice
selection display. Or you can also by touching the screen to
achieve all procedures that we are going to describe.
B. Select an exactly voice.
Use the DATA DIAL, [+] / [-]
button
to
move
cursor
,
and screen
page up or
page
down
button
to
turn
page
up
and
down
.
C. The last voice you have selected will be saved as final voice
setting.
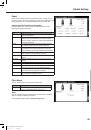
3.
Set split point.
The point on the keyboard that separates L and R1/R2/R3 is called
the “split point”
.
The
split
point
is
set
to
F#3
at
the
factory
setting, however
you
can
set this to any key you wish.
A. Pressing “SPLIT POINT” on main display or pressing “Split” on
voice selection display. Call up the Split Setting display.
B. Press Left area and make the left split point selected.
Use the DATA DIAL, the [+] / [-] button or press the key directly to
set your desired split point.
4.
Play the keyboard and enjoy the fantastic voice.
0
5
25
75
95
100
aw_A1000_Manual_G13_141128_PB
2014
12
1
14:46:31