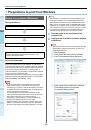
SENDING/RECEIVING A FAX
- 71 -
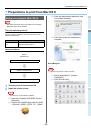
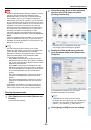
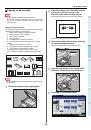
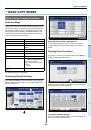
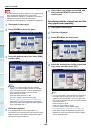
1
2
3
4
5
6
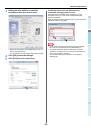
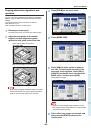
2
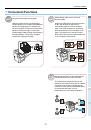
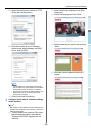
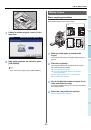
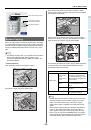
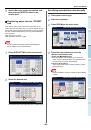
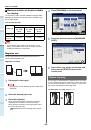
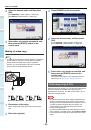
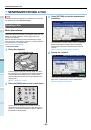
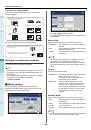
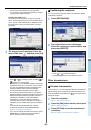
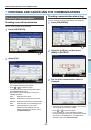
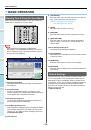
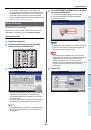
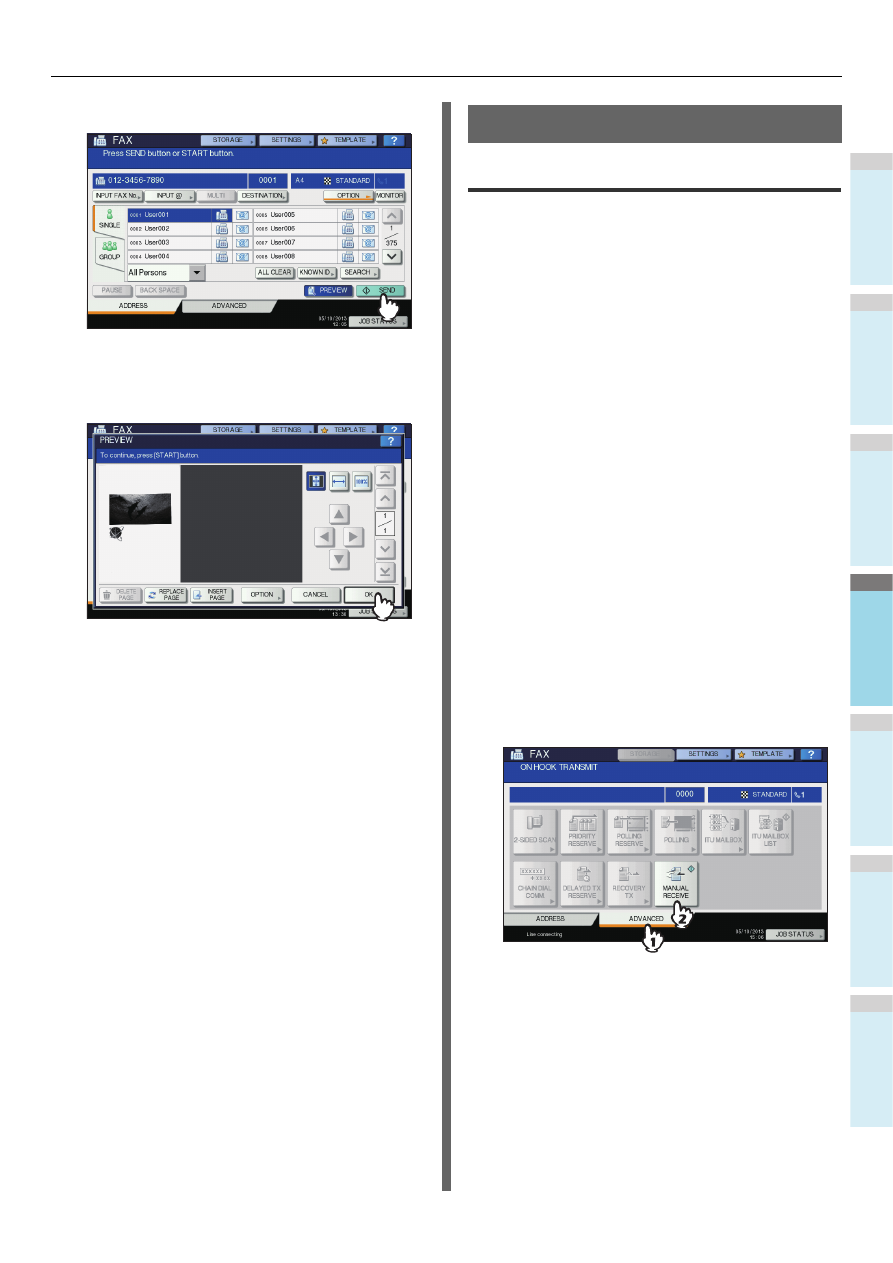
Press [SEND].
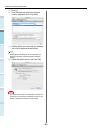
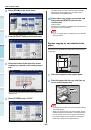
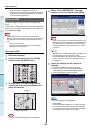
3
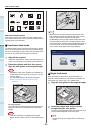
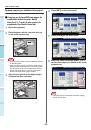
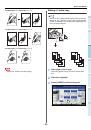
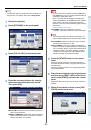
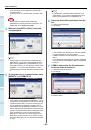
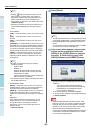
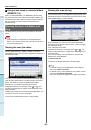
Check the fax image after the preview is
displayed. Press [OK] if you send it without
any change. The fax will then be sent.
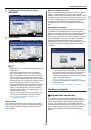
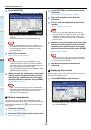
• To send another original, place it on the original glass
or RADF (Reversing Automatic Document Feeder),
and then press the [START] button on the control
panel.
• To delete the page being previewed, press [DELETE
PAGE].
• To replace the page being previewed with another
page, press [REPLACE PAGE].
• To insert another scan before the page being
previewed, press [INSERT PAGE].
• Press [OPTION] to change the setting.
P.64 "Setting the transmission conditions"
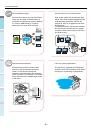
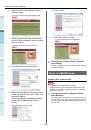
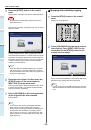
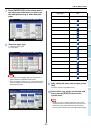
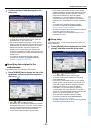
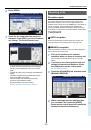
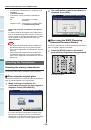
Receiving a Fax
Reception mode
This section describes how to receive a fax. Refer to the
appropriate section for your current reception mode. The
reception mode can be set on the ADMIN menu. For details of
the current setting, ask your administrator. Besides the
receiving methods described in this page, there are various
useful ways to receive a fax. These procedures are described
in the following Guide.
Advanced Guide
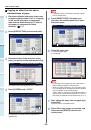
AUTO reception
Faxes are automatically received during an incoming call.
Users do not have to do anything when receiving a fax.
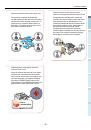
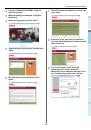
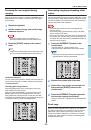
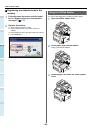
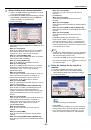
MANUAL reception
Faxes are manually received by using an external telephone
when you have an incoming call.
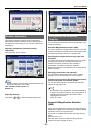
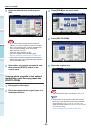
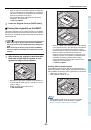
1
Pick up the handset of the external
telephone when you have an incoming call.
If the incoming call is a telephone call, you can start
talking.
2
If you hear a tone (fax signal) through the
handset of the external telephone, press
the [FAX] button on the control panel.
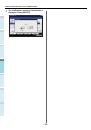
3
Press the [ADVANCED] tab, and then press
[MANUAL RECEIVE].
4
When a message appears indicating that
you can send a fax, press the [START]
button on the control panel and replace the
handset of the external telephone.