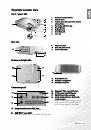
21
Using the projector and remote control
Eng
lish
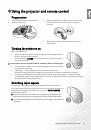
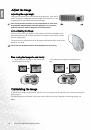
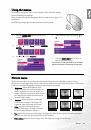
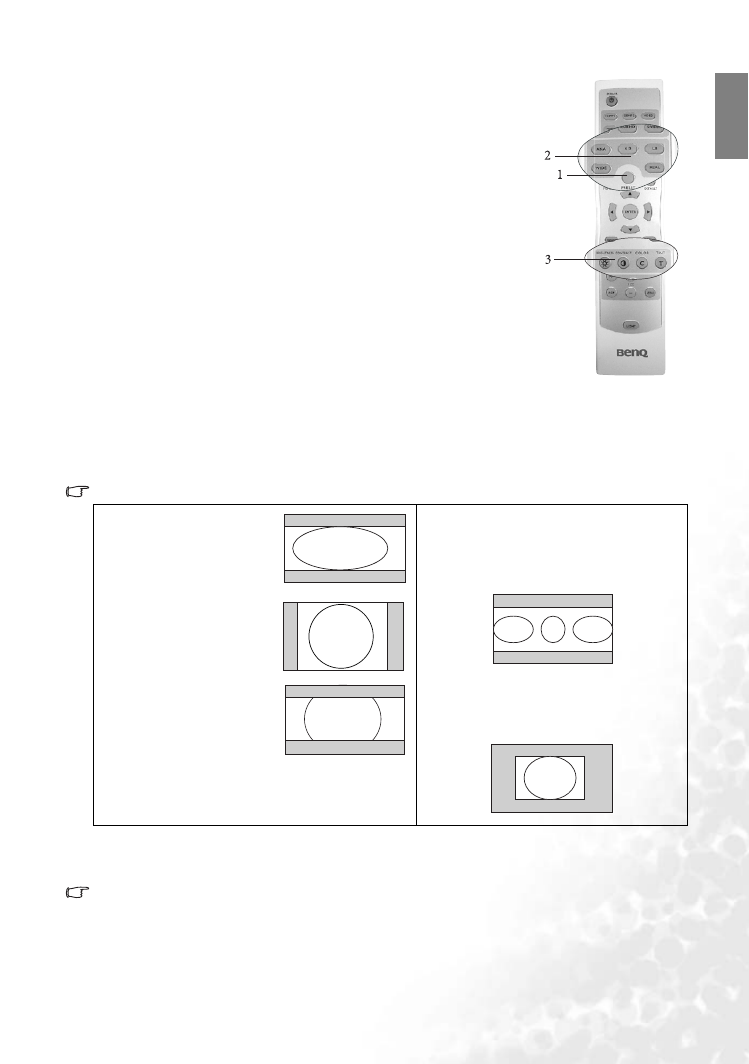
1. Selecting a preset mode
Select a preset mode on the remote control, or in Picture > Preset Mode menu.
There are 5 modes available for each input. These modes consist of preset values
suitable for various projection situations as described below.
Q
Preset Cinema Mode: with well-balanced color saturation and contrast
but lowest brightness. It is suitable for enjoying movie in a totally dark
environment (as you would find in a commercial cinema).
Q
Preset Home Theater Mode: is slightly brighter than Cinema Mode. A
little bit ambient light is allowed when using the projector with this mode.
Q
Preset Family Room Mode: Brightness is emphasized in this mode. It is
good for watching TV program, playing games or seeing bright movies.
Q
Preset Photo Mode: designed for viewing digital pictures in a living room.
Q
Preset Gaming Mode: is suitable for playing video games in a bright living
room.
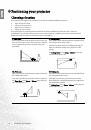
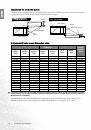
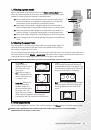
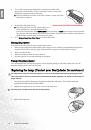
2. Selecting the aspect ratio
The “aspect ratio” is the ratio of the image width to the image height. Digital TV
and most DVDs are usually in 16:9 ratio, which is the default for this projector.
Most analog TV signals are in 4:3 ratio.
You can change the projected image ratio (no matter what aspect the source is) by using the Aspect buttons on
the remote control or in the Display > Aspect Ratio OSD menu. Select an aspect ratio to suit the format of the
video signal and your display requirements. There are five aspect ratios available:
In the pictures below, the black portions are inactive areas and the white portions are active areas.
3. Other adjustments
You can adjust Brightness, Contrast, Color, and Tint settings in the Picture menu or with the remote control.
Some picture adjustments are available only when certain input ports are in use. Unavailable
adjustments are not shown on the screen.
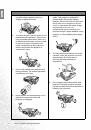
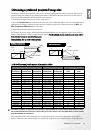
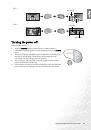
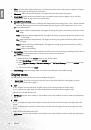
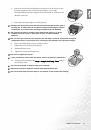
1.
Anamorphic: Scales an
image so that it is
displayed in the center of
the screen with a 16:9
aspect ratio.
2.
4:3: Scales an image so
that it is displayed in the
center of the screen with
a 4:3 aspect ratio.
3.
Letter Box: Enlarges an
image with letterbox
format to display it in
full-screen format with a
16:9 aspect ratio. The
upper and lower portions
of the image are cropped. Use this setting for
Cinemascope and Vista video wide screen formats.
4.
Wide: A 4:3 aspect ratio image is enlarged
NON-linearly in horizontal direction to
accommodate 16:9 full-screen display. This
stretches only the right and left sides of the
image; the central part is unchanged.
5.
Real: One-to-one mapping is performed on
the input signal without any scaling with
the image displayed at the center of the
screen.