Introduction | 13
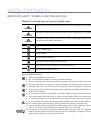
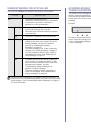
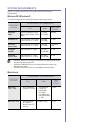
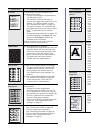
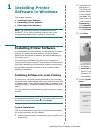
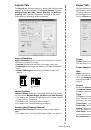
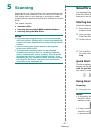
UNDERSTANDING THE STATUS LED
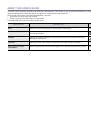
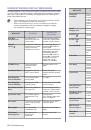
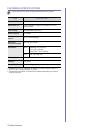
The color of the Status LED indicates the printer's current status.
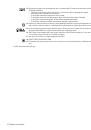
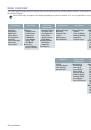
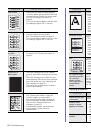
ACKNOWLEDGING THE STATUS OF THE
TONER CARTRIDGE
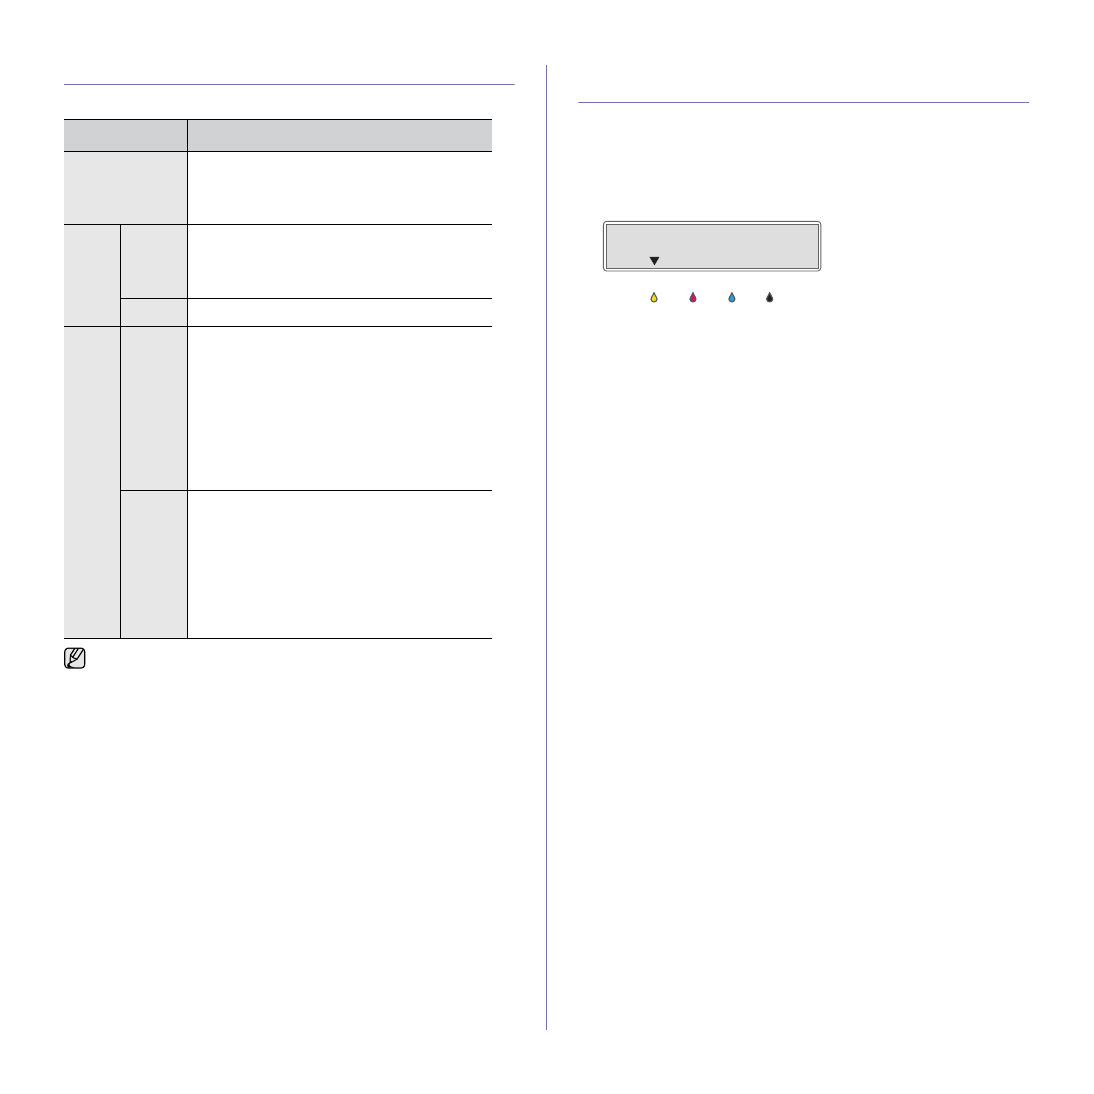
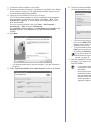
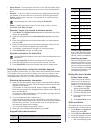
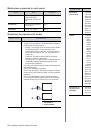
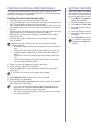
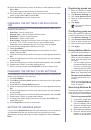
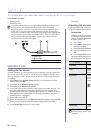
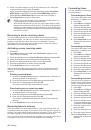
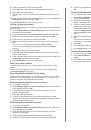
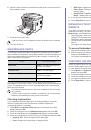
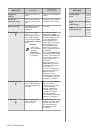
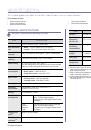
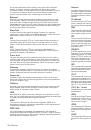
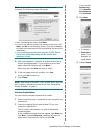
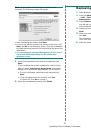
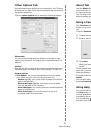
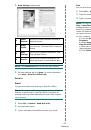
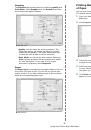
The status of toner cartridges is indicated by the Status LED and the LCD
display. If the toner cartridge is low or needs to be replaced, the Status LED
turns red and the display shows the message. However the arrow mark
shows which color toner is of concern or needs replacement with a new
cartridge.
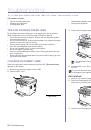
Example:
The above example shows the yellow cartridge status indicated by the
arrow. Check the message to find out what the problem is and how to solve
it. See "Understanding display messages" on page 62 for more information
on error messages.
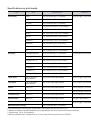
STATUS
DESCRIPTION
Off
•
The printer is powered off-line.
•
The printer is in power save mode. When data
is received, or any button is pressed, it
switches to on-line automatically.
Green
Blinking
•
When the green LED blinks slowly, the printer
is receiving data from the computer.
•
When the green LED blinks rapidly, the printer
is printing data.
On
•
The printer is powered on and can be used.
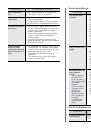
Red
Blinking
•
A minor error has occurred and the printer is
waiting for the error to be cleared. Check the
display message, and solve the problem
referring to "Understanding display
messages" on page 62.
•
The toner cartridge is low. Order a new toner
cartridge, see "Ordering supplies" on page 71.
You can temporarily improve print quality by
redistributing the toner. See "Replacing the
toner cartridge" on page 53.
On
•
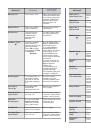
A problem has occurred such as a paper jam,
cover is open or no paper in the tray, so that
the printer cannot continue the job. Check the
message on the display, and see
"Understanding display messages" on
page 62 to solve the problem.
•
The toner cartridge is empty, exhausted, or
needs to be changed. See "Understanding
display messages" on page 62.
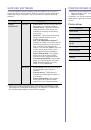
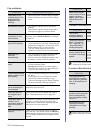
Always check the message on the display to solve the problem. The
instruction in the Troubleshooting section will guide you to operate the
printer properly. See "Understanding display messages" on page 62
for more information.
 1
1
 2
2
 3
3
 4
4
 5
5
 6
6
 7
7
 8
8
 9
9
 10
10
 11
11
 12
12
 13
13
 14
14
 15
15
 16
16
 17
17
 18
18
 19
19
 20
20
 21
21
 22
22
 23
23
 24
24
 25
25
 26
26
 27
27
 28
28
 29
29
 30
30
 31
31
 32
32
 33
33
 34
34
 35
35
 36
36
 37
37
 38
38
 39
39
 40
40
 41
41
 42
42
 43
43
 44
44
 45
45
 46
46
 47
47
 48
48
 49
49
 50
50
 51
51
 52
52
 53
53
 54
54
 55
55
 56
56
 57
57
 58
58
 59
59
 60
60
 61
61
 62
62
 63
63
 64
64
 65
65
 66
66
 67
67
 68
68
 69
69
 70
70
 71
71
 72
72
 73
73
 74
74
 75
75
 76
76
 77
77
 78
78
 79
79
 80
80
 81
81
 82
82
 83
83
 84
84
 85
85
 86
86
 87
87
 88
88
 89
89
 90
90
 91
91
 92
92
 93
93
 94
94
 95
95
 96
96
 97
97
 98
98
 99
99
 100
100
 101
101
 102
102
 103
103
 104
104
 105
105
 106
106
 107
107
 108
108
 109
109
 110
110
 111
111
 112
112
 113
113
 114
114
 115
115
 116
116
Инструкции и руководства похожие на DELL 1235cn