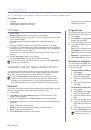
Troubleshooting | 67
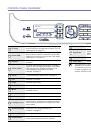
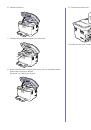
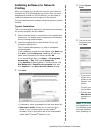
Dropouts
If faded areas, generally rounded, occur
randomly on the page:
•
A single sheet of paper may be defective.
Try reprinting the job.
•
The moisture content of the paper is
uneven or the paper has moist spots on its
surface. Try a different brand of paper.
See "Selecting print media" on page 24.
•
The paper lot is bad. The manufacturing
processes can cause some areas to reject
toner. Try a different kind or brand of
paper.
•
Change the printer option and try again. Go
to printer properties, click Paper tab, and
set type to Thick Paper. Refer to the
Software section for details.
If these steps do not correct the problem,
contact a service representative.
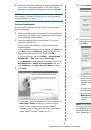
White Spots
White spots appear on the page:
•
The paper is too rough and a lot of dirt from
the paper falls to the inner devices within
the printer, which means the transfer belt
may be dirty. Clean the inside of your
printer. Contact a service representative.
•
The paper path may need cleaning.
Contact a service representative.
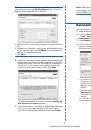
Vertical lines
If black vertical streaks appear on the page:
•
The drum inside the toner cartridge has
probably been scratched. Remove the
toner cartridge and install a new one.
See "Replacing the toner cartridge" on
page 53.
If white vertical streaks appear on the page:
•
The surface of the LSU part inside the
printer may be dirty. Clean the LSU,
contact a service representative.
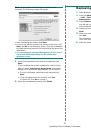
Color or Black
background
If the amount of background shading becomes
unacceptable:
•
Change to a lighter weight paper.
See "Selecting print media" on page 24.
•
Check the printer’s environment: very dry
(low humidity) or high humidity (higher than
80% RH) conditions can increase the
amount of background shading.
•
Remove the old toner cartridge and install
a new one. See "Replacing the toner
cartridge" on page 53.
Toner smear
•
Clean the inside of the printer.
See "Cleaning the inside" on page 50.
•
Check the paper type and quality.
See "Selecting print media" on page 24.
•
Remove the toner cartridge and install a
new one. See "Replacing the toner
cartridge" on page 53.
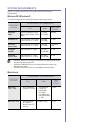
CONDITION
SUGGESTED SOLUTIONS
AaBbCc
AaBbCc
AaBbCc
AaBbCc
AaBbCc
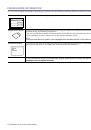
Vertical repetitive
defects
If marks repeatedly appear on the printed side
of the page at even intervals:
•
The toner cartridge may be damaged. If a
repetitive mark occurs on the page, print a
cleaning sheet several times to clean the
cartridge. After the printout, if you still have
the same problems, remove the toner
cartridge and install a new one.
See "Replacing the toner cartridge" on
page 53.
•
Parts of the printer may have toner on
them. If the defects occur on the back of
the page, the problem will likely correct
itself after a few more pages.
•
The fusing assembly may be damaged.
Contact a service representative.
Background scatter
Background scatter results from bits of toner
randomly distributed on the printed page.
•
The paper may be too damp. Try printing
with a different batch of paper. Do not open
packages of paper until necessary so that
the paper does not absorb too much
moisture.
•
If background scatter occurs on an
envelope, change the printing layout to
avoid printing over areas that have
overlapping seams on the reverse side.
Printing on seams can cause problems.
•
If background scatter covers the entire
surface area of a printed page, adjust the
print resolution through your software
application or the printer properties.
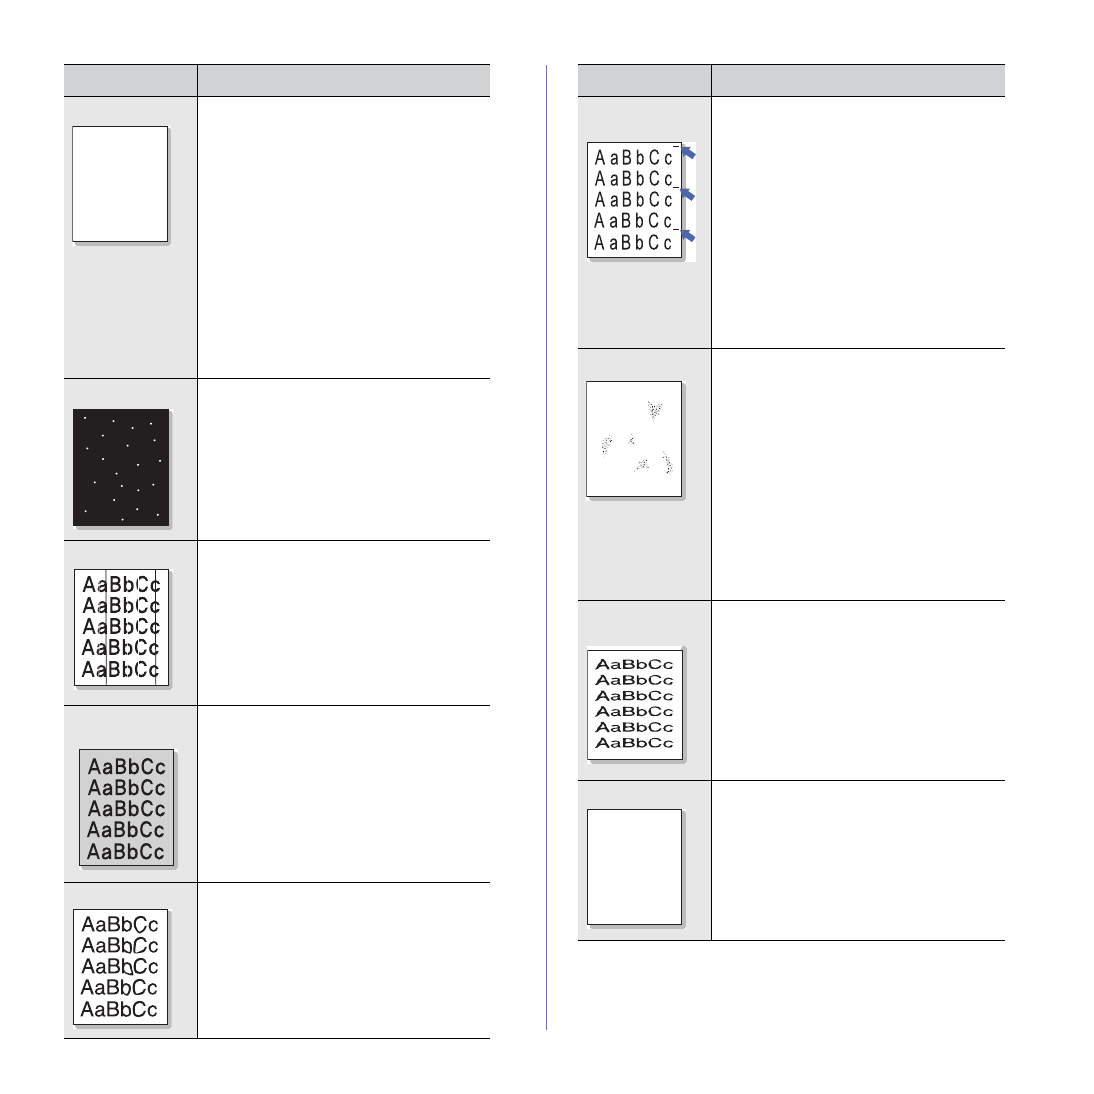
Misformed
characters
•
If characters are improperly formed and
producing hollow images, the paper stock
may be too slick. Try a different paper.
See "Selecting print media" on page 24.
•
If characters are improperly formed and
producing a wavy effect, the scanner unit
may need service. For service, contact a
service representative.
Page skew
•
Ensure that the paper is loaded properly.
•
Check the paper type and quality.
See "Selecting print media" on page 24.
•
Ensure that the paper or other material is
loaded correctly and the guides are not too
tight or too loose against the paper stack.
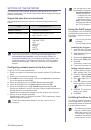
CONDITION
SUGGESTED SOLUTIONS
A
AaBbCc
AaBbCc
AaBbCc
AaBbCc
AaBbCc
 1
1
 2
2
 3
3
 4
4
 5
5
 6
6
 7
7
 8
8
 9
9
 10
10
 11
11
 12
12
 13
13
 14
14
 15
15
 16
16
 17
17
 18
18
 19
19
 20
20
 21
21
 22
22
 23
23
 24
24
 25
25
 26
26
 27
27
 28
28
 29
29
 30
30
 31
31
 32
32
 33
33
 34
34
 35
35
 36
36
 37
37
 38
38
 39
39
 40
40
 41
41
 42
42
 43
43
 44
44
 45
45
 46
46
 47
47
 48
48
 49
49
 50
50
 51
51
 52
52
 53
53
 54
54
 55
55
 56
56
 57
57
 58
58
 59
59
 60
60
 61
61
 62
62
 63
63
 64
64
 65
65
 66
66
 67
67
 68
68
 69
69
 70
70
 71
71
 72
72
 73
73
 74
74
 75
75
 76
76
 77
77
 78
78
 79
79
 80
80
 81
81
 82
82
 83
83
 84
84
 85
85
 86
86
 87
87
 88
88
 89
89
 90
90
 91
91
 92
92
 93
93
 94
94
 95
95
 96
96
 97
97
 98
98
 99
99
 100
100
 101
101
 102
102
 103
103
 104
104
 105
105
 106
106
 107
107
 108
108
 109
109
 110
110
 111
111
 112
112
 113
113
 114
114
 115
115
 116
116