27
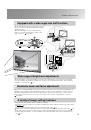
Using Cinema Color Editor
Ad
ju
stin
g
p
ro
jected
i
m
a
g
es u
s
in
g
a
comp
uter
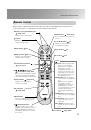
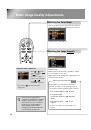
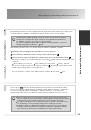
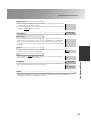
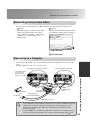
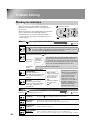
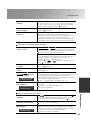
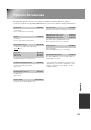
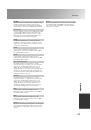
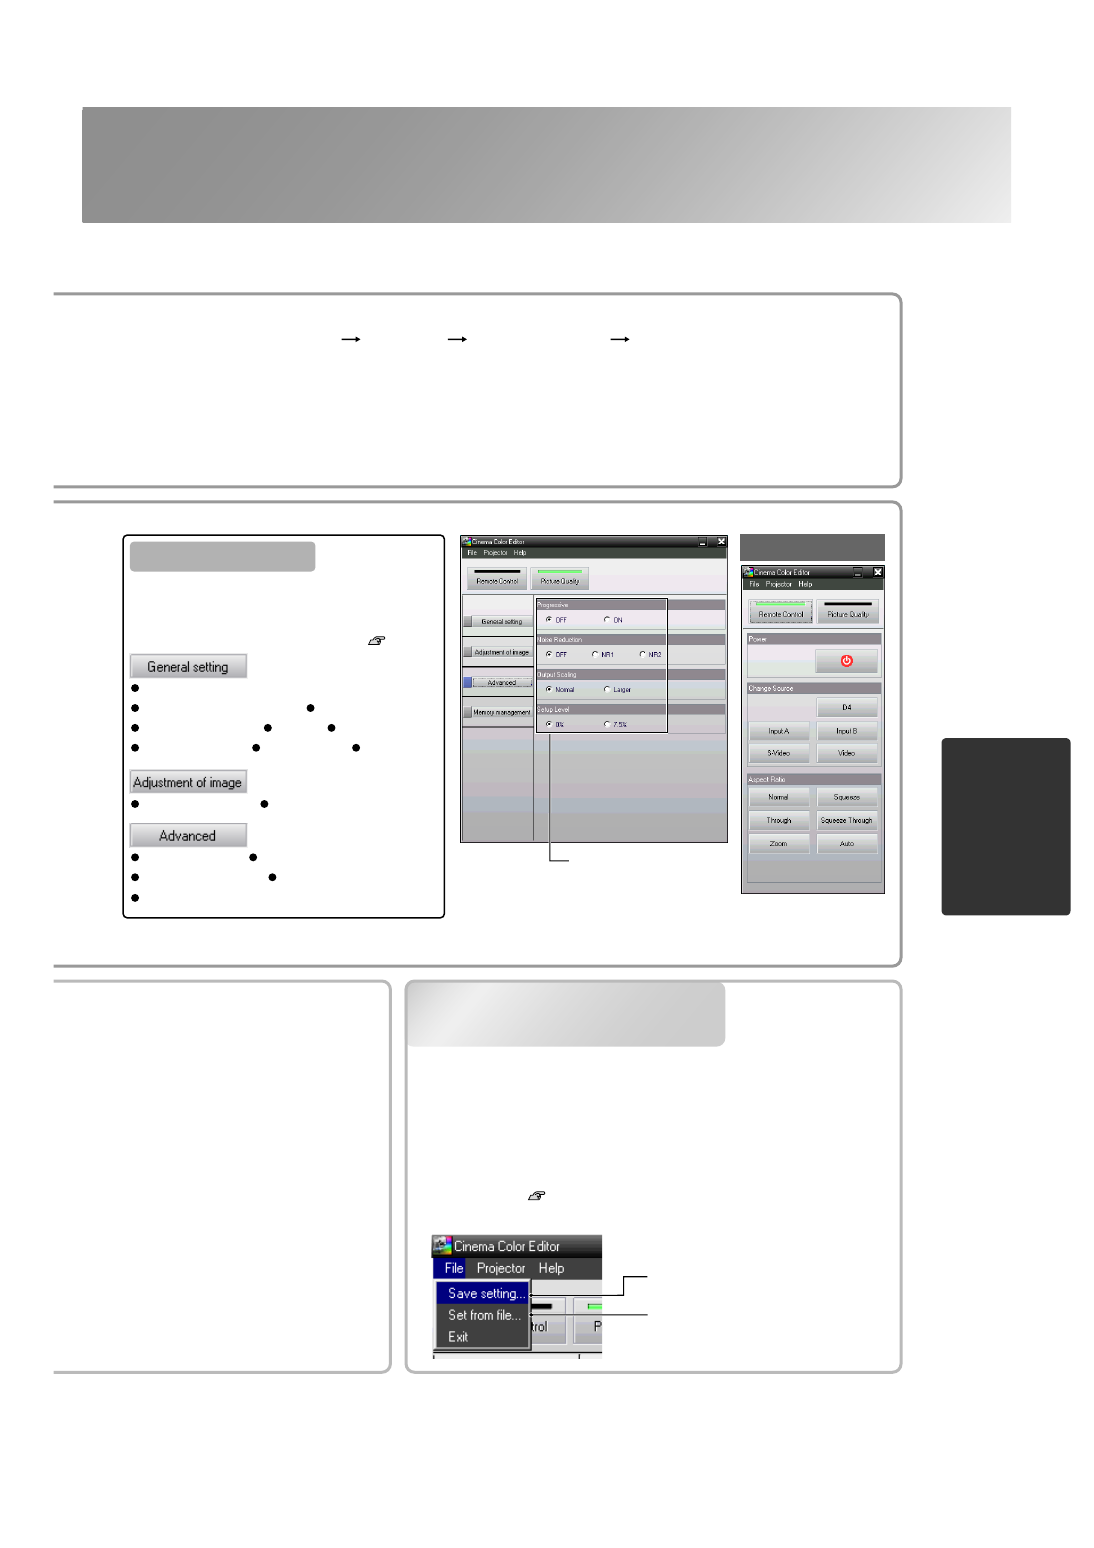
Saving adjustments/Loading
adjustments from a file
White Level/Black Level
Input Level/Contrast Brightness
Color Intensity Tint Sharpness
Color Temp. Tracking Sync.
Click a button to carry out the same operation
as the remote control button.
* "Change Source" switches between ports
and does not switch the image signal format.
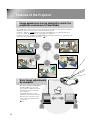
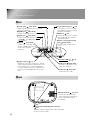
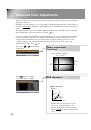
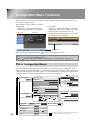
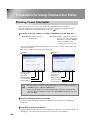
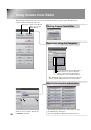
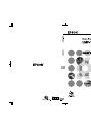
Check that the power for the projector to be adjusted is turned on, then start Cinema Color Editor.
For Windows :
Click "Start" "Programs" "EPSON Projector" "Cinema Color Editor" in that order.
For Macintosh :
Click the "Finder" icon on the dock, then click "Macintosh HD" and then "Applications", and
then double-click "CCEditor V*.*" and "Cinema Color Editor" in that order.
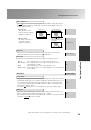
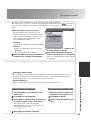
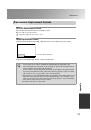
After the opening screen is displayed, the connection screen shown left will be displayed.
The screen shows a list of connected projectors. Select target projectors and then click [Connect].
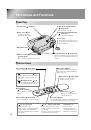
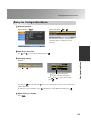
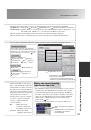
Projector image adjustments and remote control operations can be carried out easily using a mouse.
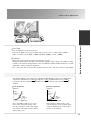
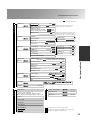
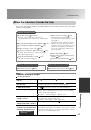
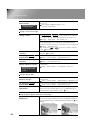
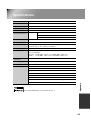
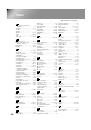
Cinema Color Editor can be used to
make colour adjustments such as hue
and saturation for red (R), green (G),
blue (B), cyan (C), magenta (M) and
yellow (Y) colours in order to obtain
the preferred colours for images. You
can reproduce the colours for a
favourite movie to appear as though
you are in a cinema, or adjust the
colours to completely different
colours if desired.
Saves current projector settings in
a file
Click the item to be set.
Adjustment values saved in the file
are applied to the currently
projected images.
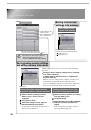
Remote control window
Hue
: Adjusts the overall
coloration of the images
towards blue, green or red.
Saturation : Adjusts the overall
brightness of the images.
Progressive Noise Reduction
Output Scaling Setup Level
Auto Setup
Color Mode
Color Adjustment
Items that can be set
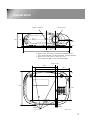
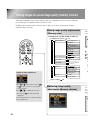
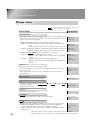
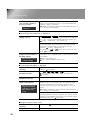
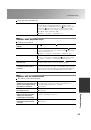
The adjustment settings of the projected images can be saved as
computer files. The adjustments stored in these files can then
be reloaded and applied to the projected images. In addition,
these files can be sent to other people so that they can view the
effects of your adjustments. You can also load the adjustment
settings from a computer file into projector memory and
retrieve them.
p.28
Saving files and applying settings is done from the "File" menu.
Saving adjustments/Loading
adjustments from a file
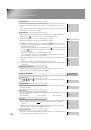
Click a button at the left of the window to
carry out the following adjustments. The same
adjustment as the corresponding configuration
menu command can be carried out. p.14