13
•
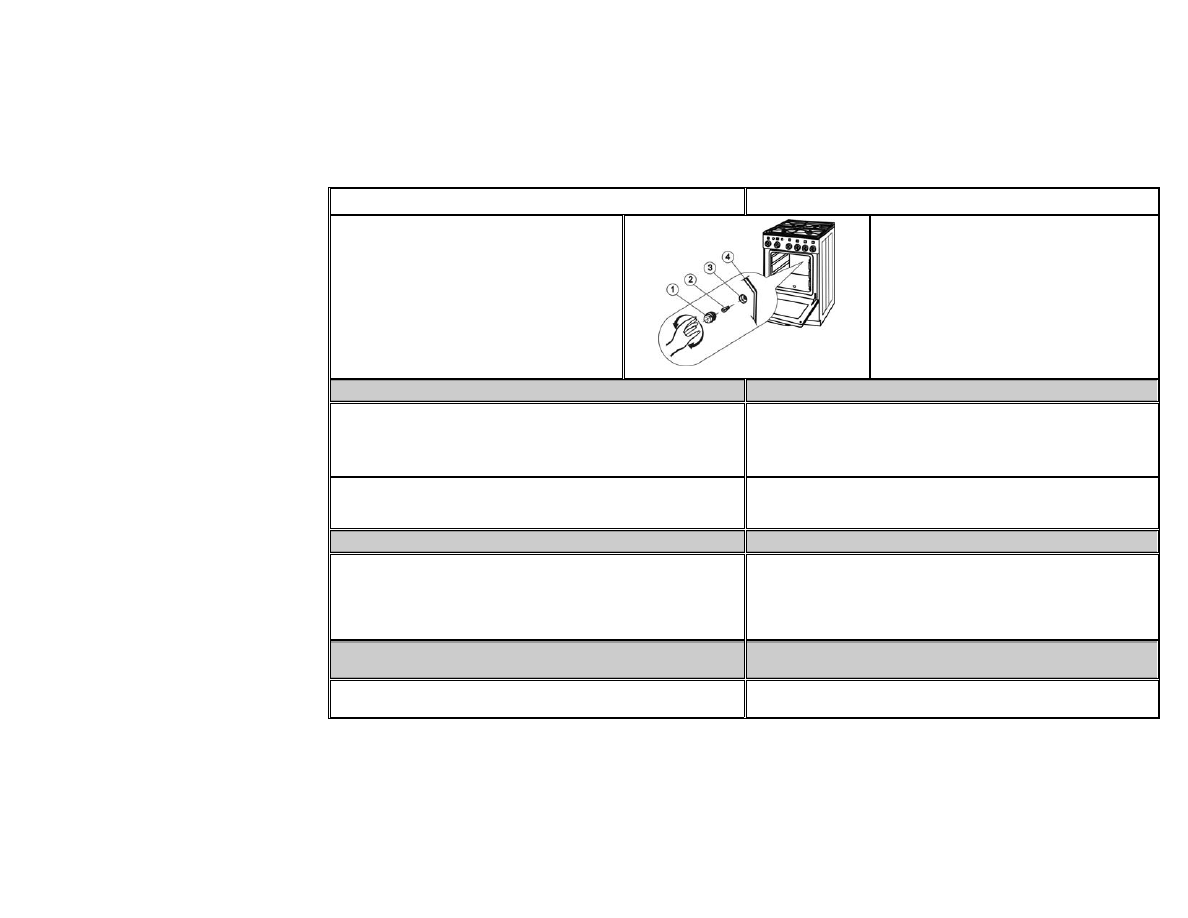
наденьте плафон на лампочку, вкрутив его вправо, включите главный
выключатель.
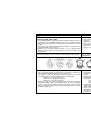
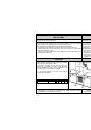
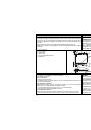
NOTE:
For oven illumination always use
T 300° C, E14, 230-240V, 25W bulb.
1. Glass
cover
2. Lamp
3. Sleeve
4. Oven
rear
wall
ПРИМЕЧАНИЕ:
Для освещения духовки применяется лампа
T 300°, E14, 230/240 B, 25 Bт.
1. Плафон
2. Лампа
3. Патрон
4. Задняя стенка духовки
WARRANTY TERMS AND CONDITIONS
РЕКЛАМАЦИЯ
In case of any defects to the appliance during the warranty period, do not attempt to repair it
by yourself. Make a claim to the nearest authorized dealer or place of purchase, and make
sure you can produce the endorsed Certificate of Warranty. In the absence of duly endorsed
Certificate of Warranty your claim is void.
В случае возникновения в период гарантийного срока неисправностей, не
устраняйте их самостоятельно, а сообщите о них в магазин, в котором Вы плиту
приобрели, или в уполномоченную сервисную организацию, которая ввела её в
эксплуатацию. При этом обязательно предъявите „Гарантийный талон“,
заполненный надлежащим образом. Без „Гарантийного талона“ рекламация
заводом-изготовителем не принимается.
NOTE:
The appliance will be delivered to you with the appropriate protective wrapping. This
packaging material is valuable and can be recycled if such facilities are available in
your locality.
ПРИМЕЧАНИЕ:
Данное изделие содержит материалы, которые могут быть использованы
вторично.
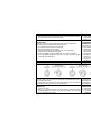
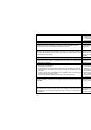
DISPOSAL OF PACKAGING
СПОСОБЫ ИСПОЛЬЗОВАНИЯ И ЛИКВИДАЦИИ ТАРЫ
Deliver the disposed packaging material to your local collecting point for recycling.
Corrugated cardboard, wrapping paper
-
sale
to
the
collecting
places;
- in waste paper containers;
Wooden parts
- other use;
-
to
the
municipal
disposal
facility;
Wrapping foil and bags
- in waste plastic containers;
Гофрированный картон, обёрточная бумага
- продажа в утильсырьё,
- в отходы макулатуры
Деревянные подставки
- в специальные контейнеры,
-
иное
использование
Полиэтиленовые пакеты, пластмассовые детали
- в контейнеры для пластмассы
DISPOSAL OF OBSOLETE APPLIANCES
ЛИКВИДАЦИЯ ПЛИТЫ ПОСЛЕ ОКОНЧАНИЯ СРОКА
СЛУЖБЫ
The appliance contains valuable materials which ought to be reused or recycled, so
once your appliance is of no use to you deliver it to the authorized scrap dealer for
further treatment.
Данное изделие содерхит материалы, которые иогут быть использованы
вторичною.