GB
27
Switching the appliance off
Disconnect your appliance from the electricity supply
before carrying out any work on it.
!
Never use steam cleaners or pressure cleaners on the
appliance.
Cleaning the oven
• The stainless steel or enamel-coated external parts
and the rubber seals may be cleaned using a sponge
that has been soaked in lukewarm water and neutral
soap. Use specialised products for the removal of
stubborn stains. After cleaning, rinse and dry
thoroughly. Do not use abrasive powders or corrosive
substances.
• The inside of the oven should ideally be cleaned after
each use, while it is still lukewarm. Use hot water and
detergent, then rinse well and dry with a soft cloth. Do
not use abrasive products.
•
Clean the glass part of the oven door using a sponge
and a non-abrasive cleaning product, then dry
thoroughly with a soft cloth. Do not use rough
abrasive material or sharp metal scrapers as these
could scratch the surface and cause the glass to
crack.
• The accessories can be washed like everyday
crockery, and are even dishwasher safe.
• Dirt and grease should be removed from the control
panel using a non-abrasive sponge or a soft cloth.
Inspecting the oven seals
Check the door seals around the oven regularly. If the
seals are damaged, please contact your nearest After-
sales Service Centre. We recommend that the oven is
not used until the seals have been replaced.
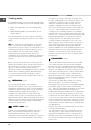
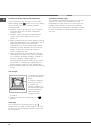
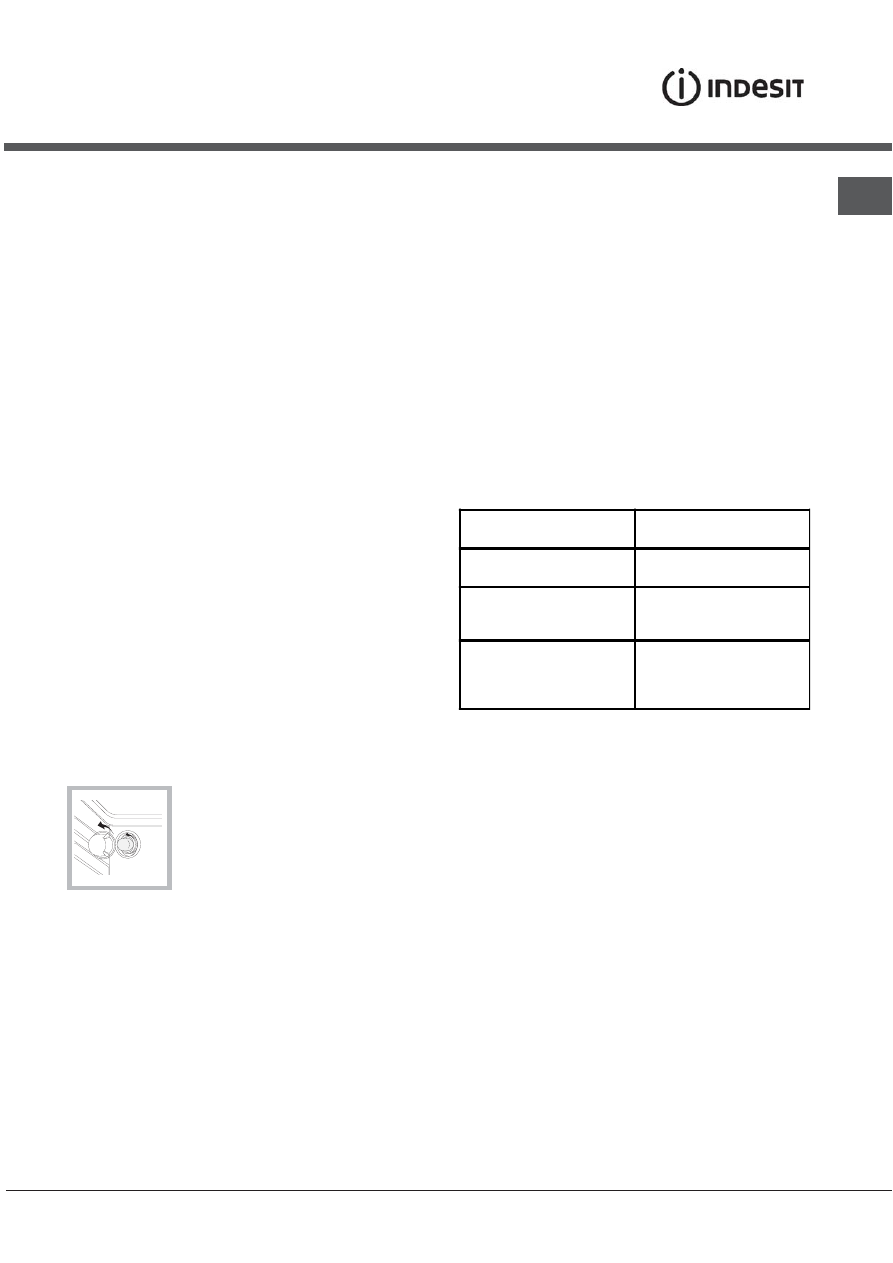
Replacing the oven light bulb
1. After disconnecting the oven from the
electricity mains, remove the glass lid
covering the lamp socket (
see figure).
2. Remove the light bulb and replace
it with a similar one: voltage 230 V,
wattage 25 W, cap E 14.
3. Replace the lid and reconnect the
oven to the electricity supply.
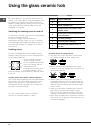
Cleaning the glass ceramic hob
Cleaning the glass ceramic hob
Cleaning the glass ceramic hob
Cleaning the glass ceramic hob
Cleaning the glass ceramic hob
!
Do not use abrasive or corrosive detergents (for
example, products in spray cans for cleaning barbecues
and ovens), stain removers, anti-rust products, powder
detergents or sponges with abrasive surfaces: these
may scratch the surface beyond repair.
• It is usually sufficient simply to wash the hob using a
damp sponge and dry it with absorbent kitchen roll.
• If the hob is particularly dirty, rub it with a special
glass ceramic cleaning product, then rinse well and
dry thoroughly.
• To remove more stubborn dirt, use a suitable scraper
(this is not supplied with the appliance). Remove
spills as soon as possible, without waiting for the
appliance to cool, to avoid residues forming crusty
deposits. You can obtain excellent results by using a
rustproof steel wire sponge - specifically designed for
glass ceramic surfaces - soaked in soapy water.
• If plastic or sugary substances have accidentally
been melted on the hob, remove them immediately
with the scraper, while the surface is still hot.
• Once it is clean, the hob may be treated with a special
protective maintenance product: the invisible film left
by this product protects the surface from drips during
cooking. This maintenance should be carried out
while the appliance is warm (not hot) or cold.
• Always remember to rinse the appliance well with
clean water and dry it thoroughly: residues can
become encrusted during subsequent cooking
processes.
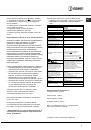
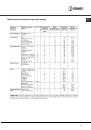
G
lass
ceramic
hob
cleaners
A
vailable
from
W
indow
scraper
Razor
blade
scrapers
D
IY
Stores
Replacement
blades
D
IY
Stores,
supermarkets,
chemists
COLLO
luneta
HOB
BR
I
T
E
Hob
Clean
SW
I
SSCL
E
A
NE
R
Boots,
Co-op
stores,
department
stores,
Regional
E
lectricity
Company
shops,
supermarkets
Cleaning stainless steel
Stainless steel can be marked by hard water that has
been left on the surface for a long time, or by aggressive
detergents that contain phosphorus. We recommend
that the steel surfaces are rinsed well then dried
thoroughly.
Assistance
Please have the following information handy:
• The appliance model (Mod.).
• The serial number (S/N).
This information can be found on the data plate
located on the appliance and/or on the packaging.
Care and maintenance