15
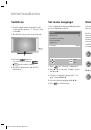
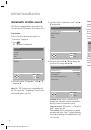
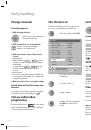
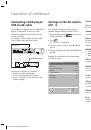
Automatic switch-off
You can pre-select a time at which the set
switches automatically to standby.
Press
.
The “Settings” menu opens and the “Auto
Off” option is selected.
OK
MENU
END
Settings
End
Back
Sleep Timer
Call up factory settings
Personal settings
System info
Language
Off
English
Set one of the following times with
b
/
B
.
“in 30 minutes”, “in 60 minutes” or “in 90
minutes”. If “Off” is selected the set does not
switch off automatically.
Note
: If there is no input signal at the selected
input socket, the set switches to standby auto-
matically after six minutes.
1.
2.
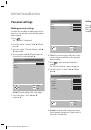
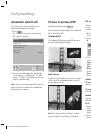
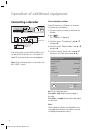
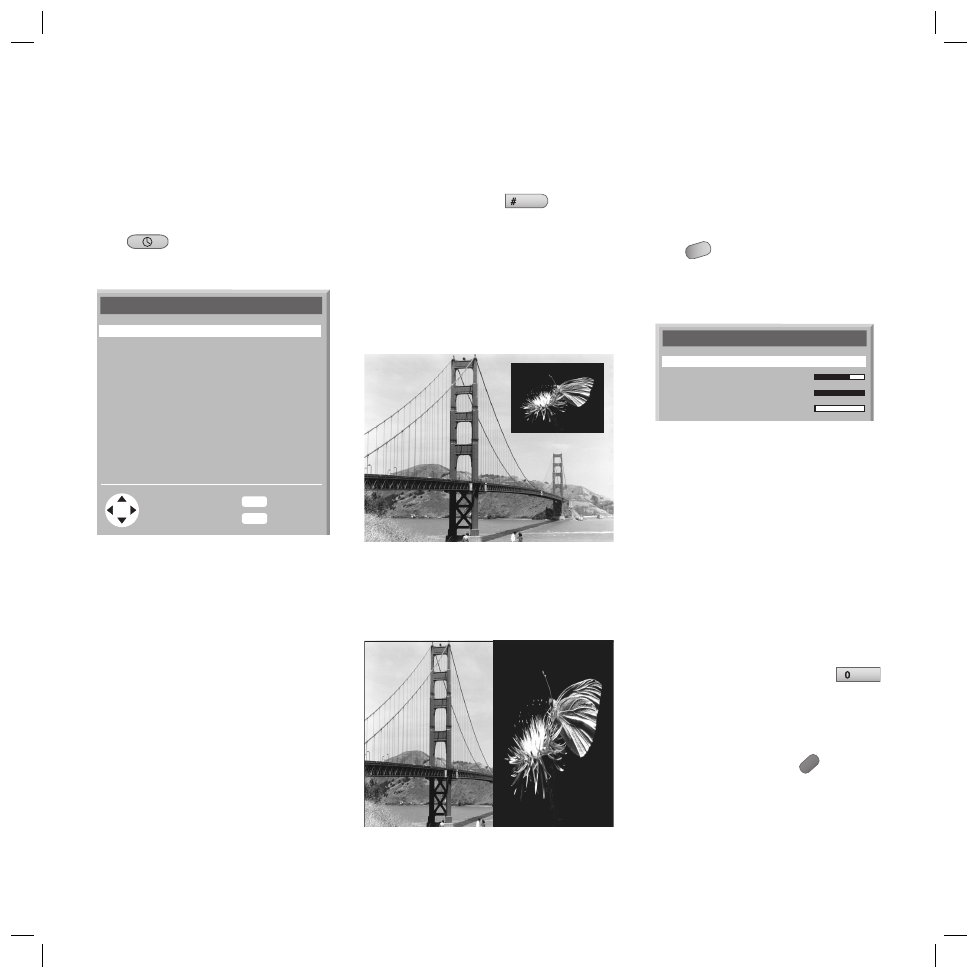
Picture in picture (PIP)
Show/hide PIP picture with
PIP
Picture in picture can be displayed as (standard)
PIP or Split Screen PIP.
(Standard) PIP
The Standard PIP displays a small PIP image in
the presently displayed TV image.
v
Split Screen
In Split Screen-PIP both pictures each cover half
of the screen. The right-hand picture is the PIP
picture without sound.
v
Note
: The most recently set PIP type is saved
and used again the next time it is activated.
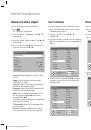
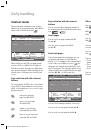
PIP settings
The size and position of the PIP picture can be
set. The “PIP” menu can only be selected if PIP
is switched on.
Press
MENU
when PIP is open.
The TV menu is displayed.
S
elect the option “PIP” with
v
/
V
and press
B
.
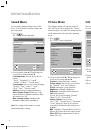
PIP
Type
Size
Horiz. position
Vert. position
PIP
Select an option with
v
/
V
and change the
selection if necessary with
b
/
B
Type:
You can choose the following: “PIP”,
Split Screen”.
Size
: Setting the PIP size
Horiz. position
: Setting the horizontal PIP
position
Vert. position
: Setting the vertical PIP
position
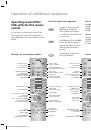
Selecting the PIP station
TV tuner stations:
with P+/P-or with the
numeric buttons.
AV stations
: By repeatedly pressing
AV
you change from AV-1 ... AV-5, TV.
Interchanging PIP image/TV image
Interchange the PIP image with the TV image
with the blue coloured button
.
Note
:
When the PIP is active, the station change
only affects the PIP picture (exception: station
change using the station list only affects the
main picture).
If the “Split-Screen” PIP type is set, the size
and position cannot be changed.
1.
2.
3.
1.
2.
Daily handling
32241 Concept L42_Buch_GB.indd 15
32241 Concept L42_Buch_GB.indd 15
11.02.2005 14:09:34 Uhr
11.02.2005 14:09:34 Uhr