6
Welcome
Thank you
for choosing a Loewe product.
At Loewe we combine the highest standards
of technology, design and user friendliness.
This is equally true of TV, DVD, video, audio and
accessories..
Our design is not infl uenced by short-term,
fashionable trends. You have, after all, purchased
a high-quality piece of equipment which you do
not want to get tired of looking at tomorrow or
the day after.
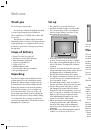
Scope of delivery
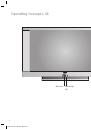
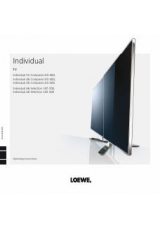
Plasma TV Loewe Concept L 42
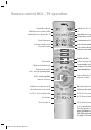
RC4 remote control with 2 batteries
Table-Stand (pre-assembled)
2x spacers, self-adhesive
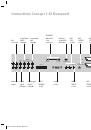
Power cord 2,5 m
VGA/DVI-adapter cable
RF connecting cable pre-assembled
this operating manual
Unpacking
Place the box down vertical with the bottom
on fi rm ground. The top is marked by arrows.
Remove the adhesive tape carefully from the
box and remove the inside packing materials.
Remove the plasma screen from the packing
only with the assistance of a second person.
If you have moved the TV set out of the cold
into a warm environment, leave it standing for
about an hour because of the possible forming
of condensation. Do not switch on until it has
reached room temperature. This avoids seriously
damaging the components
•
•
•
•
•
•
•
•
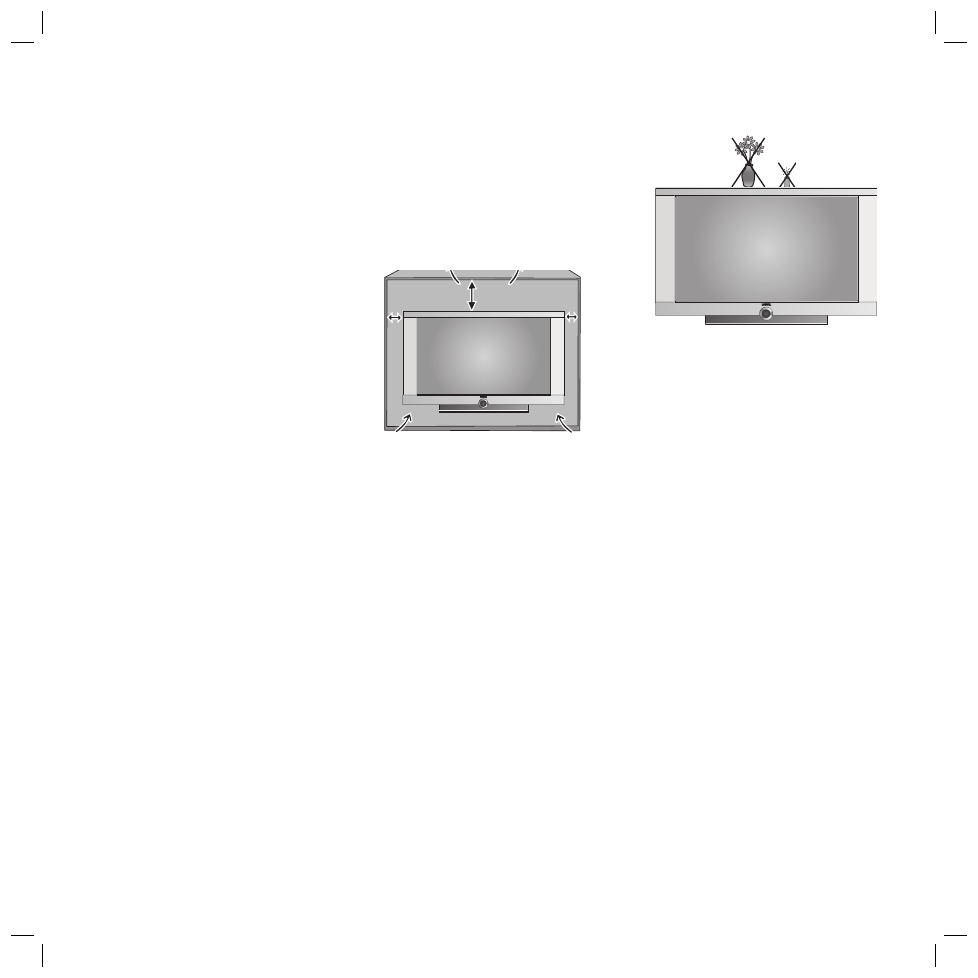
Set up
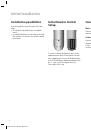
Place the TV set on a fi rm, level base.
Install the TV with enough room for ventila-
tion. The vents may not be covered by any
objects. Keep a distance of at least 10 cm
away from adjacent objects.
30 cm
10
cm
m
Do not place the TV set in the vicinity of
sources of intense heat or in direct sunlight.
Do not place strong artifi cial light sources in
front of the device. This may affect infrared
reception.
If there is an electrical storm, disconnect the
antenna and mains plug. Power surges caused
by lightning strikes can damage the unit
through the antenna system or the mains.
The antenna and mains should also be discon-
nected if the unit is to remain unsupervised
for a long period of time.
The mains plug must be easily accessible so
that the unit can be disconnected at any time.
Lay the cable in such a way that it cannot
get damaged. The power cable should not
be kinked or laid over sharp edges, not stood
upon or exposed to chemicals - the latter also
applies to the device as a whole. A mains
cable with damaged insulation can cause
electric shocks and is a fi re hazard.
When removing the power plug, pull the body
of the plug, and not the cable. Otherwise,
the wires in the plug could get damaged
and cause a short circuit the next time it is
plugged in.
Do not place vases fi lled with water, lighted
candles etc. on the top of the TV set.
•
•
•
•
•
•
•
•
•
•
You should also read and follow the safety ad-
vice on the following pages.
Please note!
The screen you have purchased meets the high-
est quality requirements and has been tested
for pixel errors. Despite the utmost caution in
production of the equipment, it cannot be totally
ruled out that some of the pixels might not light
correctly for technological reasons. Please un-
derstand that such effects cannot be considered
as a unit defect in the sense of the warranty as
long as they are within the limits specifi ed by
the standard.
The light emission of plasma screens dimin-
ishes with increasing use.
Plasma screens operate on a phosphorus
basis. This technology can lead to burn-ins under
certain circumstances. Such operating conditions
may be:
prolonged display of a freeze frame (>10 Min)
constantly displaying the same background
Use of a format which does not fi ll the screen
(e.g. 4:3) for a prolonged period.
Burn-in cannot usually be eliminated once it
has happened and is therefore excluded from
the warranty and guarantee. To avoid or reduce
burn-ins, please observe the following instruc-
tions and recommendations:
During the fi rst 100 hours of operation you
should mainly show moving pictures or fre-
quently changing freeze frames which cover
•
•
•
•
32241 Concept L42_Buch_GB.indd 6
32241 Concept L42_Buch_GB.indd 6
11.02.2005 14:09:18 Uhr
11.02.2005 14:09:18 Uhr