128
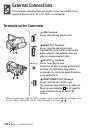
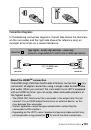
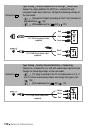
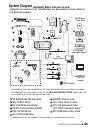
External Connections
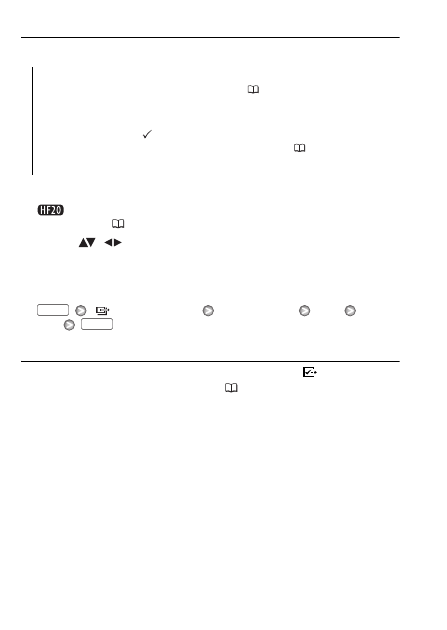
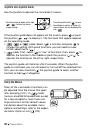
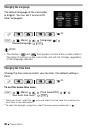
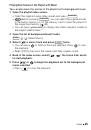
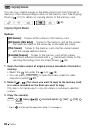
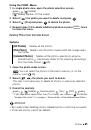
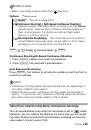
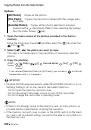
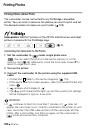
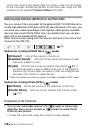
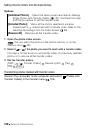
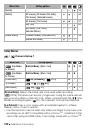
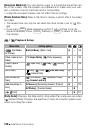
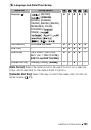
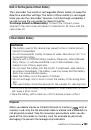
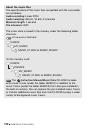
Setting Transfer Orders from the Index Screen
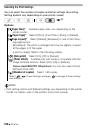
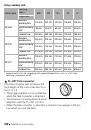
Options
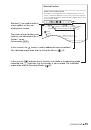
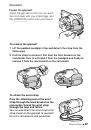
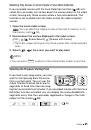
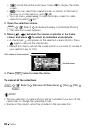
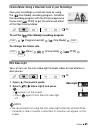
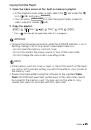
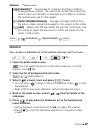
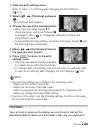
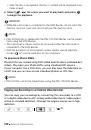
1 Open the photo index screen.
You can select the photos in the built-in memory or on the
memory card (
48).
2 Select (
,
) the photo you want to mark with a transfer order.
This step is not necessary to set transfer orders for previously selected
photos or to remove all the transfer orders.
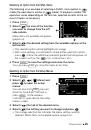
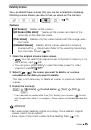
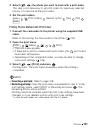
3 Set the transfer orders.
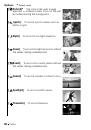
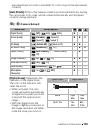
[
Transfer Orders]
Desired option
[Yes]
[OK]
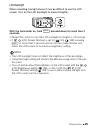
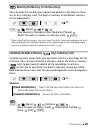
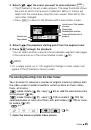
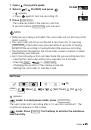
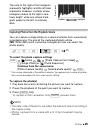
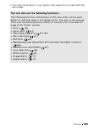
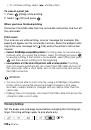
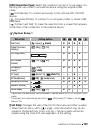
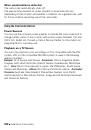
Transferming photos marked with transfer orders
Connect the camcorder to the computer and select [
Photos with
Transfer Orders] in the transfer menu (
125).
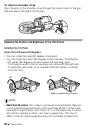
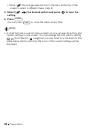
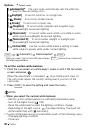
[Individual Photos]
Opens the same screen described in
Marking
Single Photos with Transfer Orders
(
127). Continue from step
3 of that procedure to set the transfer order.
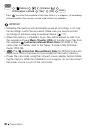
[Selected Photos]
Marks all the photos selected in advance
(marked with a
checkmark) with a transfer order. Refer to
Pre-
selecting Recordings from the Index Screen
(
53).
[Remove All]
Removes all the transfer orders.
FUNC.
FUNC.
 1
1
 2
2
 3
3
 4
4
 5
5
 6
6
 7
7
 8
8
 9
9
 10
10
 11
11
 12
12
 13
13
 14
14
 15
15
 16
16
 17
17
 18
18
 19
19
 20
20
 21
21
 22
22
 23
23
 24
24
 25
25
 26
26
 27
27
 28
28
 29
29
 30
30
 31
31
 32
32
 33
33
 34
34
 35
35
 36
36
 37
37
 38
38
 39
39
 40
40
 41
41
 42
42
 43
43
 44
44
 45
45
 46
46
 47
47
 48
48
 49
49
 50
50
 51
51
 52
52
 53
53
 54
54
 55
55
 56
56
 57
57
 58
58
 59
59
 60
60
 61
61
 62
62
 63
63
 64
64
 65
65
 66
66
 67
67
 68
68
 69
69
 70
70
 71
71
 72
72
 73
73
 74
74
 75
75
 76
76
 77
77
 78
78
 79
79
 80
80
 81
81
 82
82
 83
83
 84
84
 85
85
 86
86
 87
87
 88
88
 89
89
 90
90
 91
91
 92
92
 93
93
 94
94
 95
95
 96
96
 97
97
 98
98
 99
99
 100
100
 101
101
 102
102
 103
103
 104
104
 105
105
 106
106
 107
107
 108
108
 109
109
 110
110
 111
111
 112
112
 113
113
 114
114
 115
115
 116
116
 117
117
 118
118
 119
119
 120
120
 121
121
 122
122
 123
123
 124
124
 125
125
 126
126
 127
127
 128
128
 129
129
 130
130
 131
131
 132
132
 133
133
 134
134
 135
135
 136
136
 137
137
 138
138
 139
139
 140
140
 141
141
 142
142
 143
143
 144
144
 145
145
 146
146
 147
147
 148
148
 149
149
 150
150
 151
151
 152
152
 153
153
 154
154
 155
155
 156
156
 157
157
 158
158
 159
159
 160
160
 161
161
 162
162
 163
163
 164
164
 165
165
 166
166
 167
167
 168
168
 169
169
 170
170
 171
171
 172
172
 173
173
 174
174
 175
175
 176
176
 177
177
 178
178