6 8
S e t t i n g u p f o r n e t w o r k p r i n t i n g
w
w
w
.
d
e
ll.
co
m/
su
p
p
l
i
e
s |
su
p
p
o
r
t
.
d
e
l
l.c
o
m
•
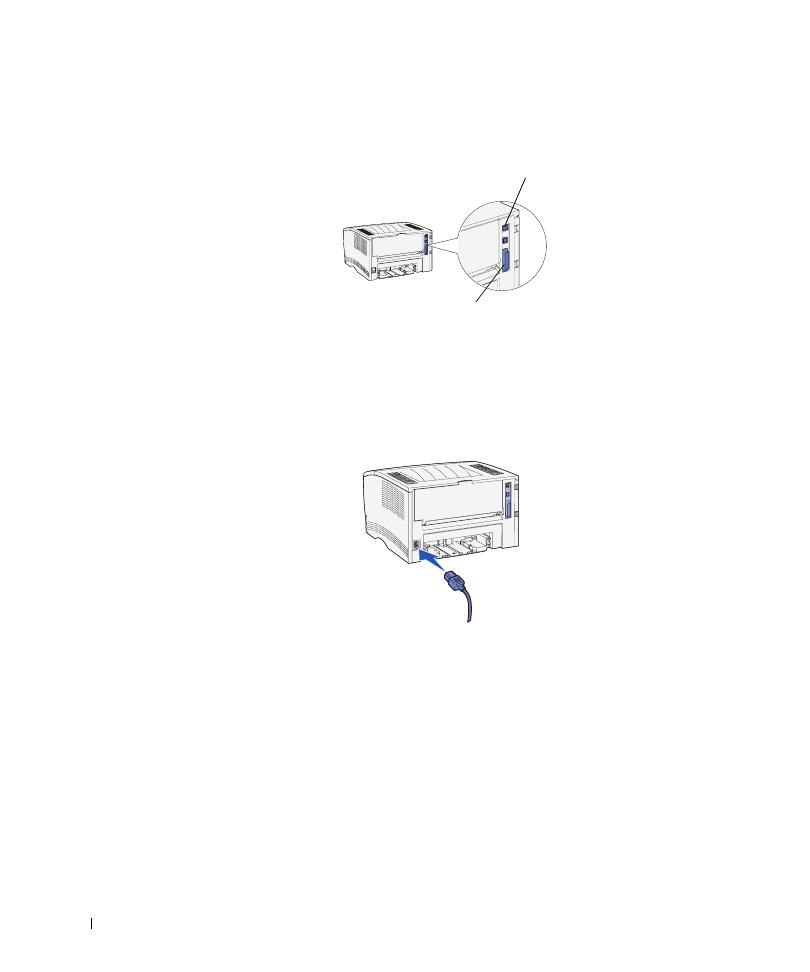
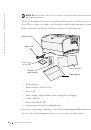
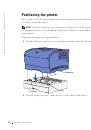
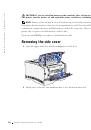
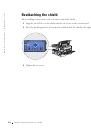
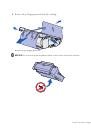
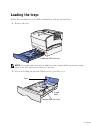
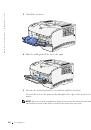
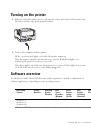
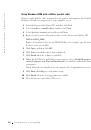
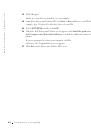
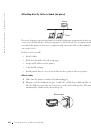
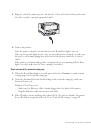
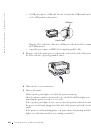
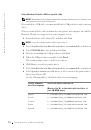
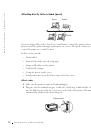
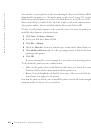
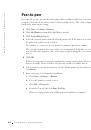
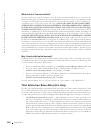
A USB port requires a USB cable. Be sure to match the USB symbol on the cable
to the USB symbol on the printer.
Plug the other end of the cable into a USB port on the back of the computer, not
the USB keyboard.
•
A parallel port requires an IEEE-1284 compliant parallel cable.
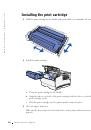
3
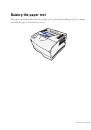
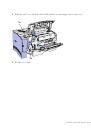
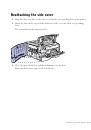
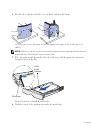
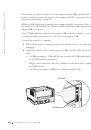
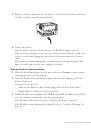
Plug one end of the printer power cord into the socket at the back of the printer and
the other end into a properly grounded outlet.
4
Make sure the server is turned on.
5
Turn on the printer.
All the operator panel lights cycle while the printer warms up.
After the printer completes its internal tests, only the Ready/Data light is on,
indicating the printer is ready to receive jobs.
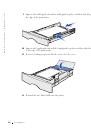
If the operator panel lights do not come on when the printer is turned on, make sure
the power cord is firmly plugged in at the back of the printer and at the electrical
outlet.
If the printer is on but nothing prints, or if print jobs are not printing and the Error
light is on solid, make sure the toner cartridge is installed.
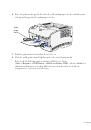
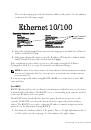
USB port
Parallel port
 1
1
 2
2
 3
3
 4
4
 5
5
 6
6
 7
7
 8
8
 9
9
 10
10
 11
11
 12
12
 13
13
 14
14
 15
15
 16
16
 17
17
 18
18
 19
19
 20
20
 21
21
 22
22
 23
23
 24
24
 25
25
 26
26
 27
27
 28
28
 29
29
 30
30
 31
31
 32
32
 33
33
 34
34
 35
35
 36
36
 37
37
 38
38
 39
39
 40
40
 41
41
 42
42
 43
43
 44
44
 45
45
 46
46
 47
47
 48
48
 49
49
 50
50
 51
51
 52
52
 53
53
 54
54
 55
55
 56
56
 57
57
 58
58
 59
59
 60
60
 61
61
 62
62
 63
63
 64
64
 65
65
 66
66
 67
67
 68
68
 69
69
 70
70
 71
71
 72
72
 73
73
 74
74
 75
75
 76
76
 77
77
 78
78
 79
79
 80
80
 81
81
 82
82
 83
83
 84
84
 85
85
 86
86
 87
87
 88
88
 89
89
 90
90
 91
91
 92
92
 93
93
 94
94
 95
95
 96
96
 97
97
 98
98
 99
99
 100
100
 101
101
 102
102
 103
103
 104
104
 105
105
 106
106
 107
107
 108
108
 109
109
 110
110
 111
111
 112
112
 113
113
 114
114
 115
115
 116
116
 117
117
 118
118
 119
119
 120
120
 121
121
 122
122
 123
123
 124
124
Инструкции и руководства похожие на DELL S2500, S2500n