8
ENG
ENGLISH
ASSEMBLING AND PREPARING
Mounting on a wall
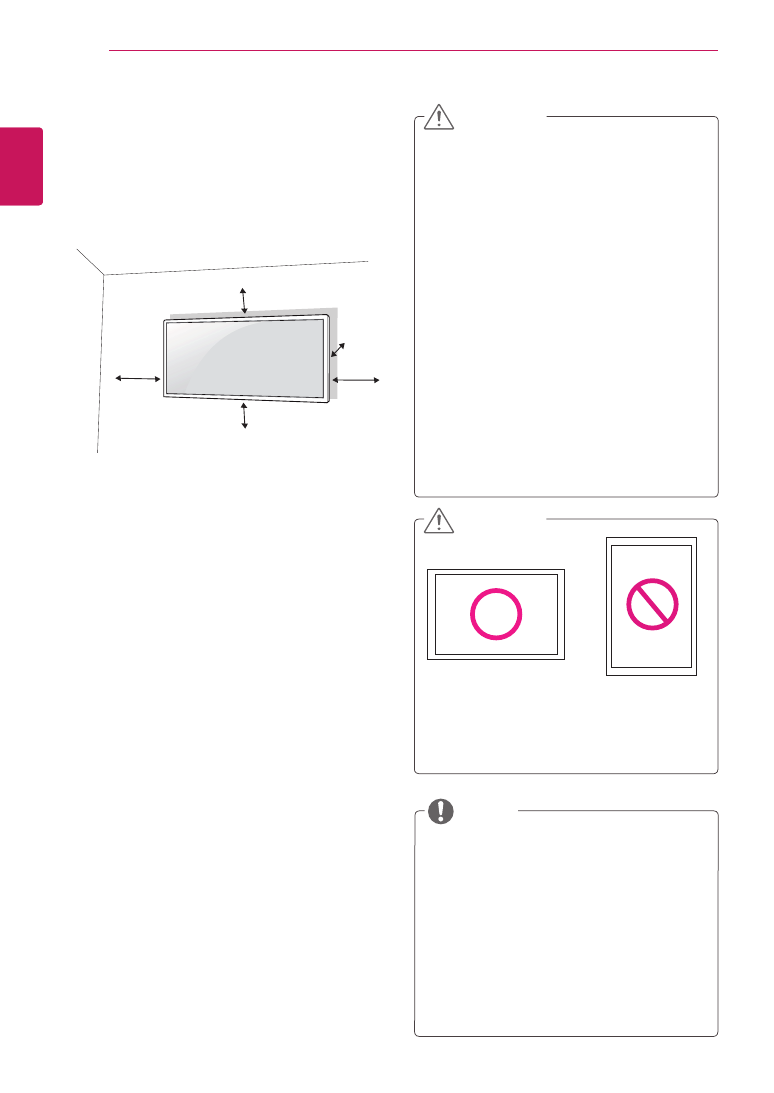
For proper ventilation, allow a clearance of 10
cm on each side and from the wall. Detailed
installation instructions are available from your
dealer, see the optional Tilt Wall Mounting Bracket
Installation and Setup Guide.
10 cm
10 cm
10 cm
10 cm
10 cm
To install the monitor to a wall, attach a wall mount-
ing bracket (optional) to the back of the monitor.
Make sure that the wall mounting bracket is securely
fixed to the monitor and to the wall.
1
Use the screws and wall mounting bracket that
comply with the VESA standard.
2
Screws which are longer than the standard
length may damage the inside of the monitor.
3
A non-VESA standard screw may damage the
product and cause the monitor to fall. LG Elec-
tronics is not liable for any accidents relating to
the use of non-standard screws.
4
The monitor is VESA standard compliant.
5
Use it according to the VESA standard as speci-
fied below.
y
784.8 mm or less
* Fastening screw: Diameter 4.0 mm x Pitch 0.7
mm x Length 10 mm
y
Unplug the power cord before moving or in-
stalling the monitor to avoid electric shocks.
y
Installing the monitor on the ceiling or on a
slanted wall may result in the monitor falling
off, which could lead to injury. Please use
the genuine LG wall mounting bracket. For
more information, contact your local retail
store or a qualified installer.
y
Applying excessive force when fastening
screws may cause damage to the moni-
tor. Damage caused in this way will not be
covered by the product warranty.
y
Use the wall mounting bracket and screws
that conform to the VESA standard. Dam-
age caused by the use or misuse of inap-
propriate components will not be covered
by the product warranty.
y
Installing a monitor lengthwise may damage
the pixels on the screen.
y
The wall mount kit includes the installation
guide and all necessary parts.
y
The wall mounting bracket is optional. The
accessories can be purchased at your local
retail store.
y
The length of the screw may differ for each
wall mounting bracket. Ensure the correct
length screw is used.
y
For more information, please refer to the
user manual for the wall mounting bracket.
CAUTION
NOTE
y
Installing a monitor lengthwise may damage
the pixels on the screen.
CAUTION


