11
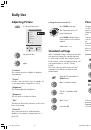
Call up the “TV Menu” with
the
MENU
button.
Select the line “Channels”.
Call up the menu “Channels”
with the
OK
button.
Select the line “Sort”.
Call up the menu “Sort” with
the
OK
button.
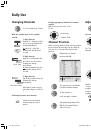
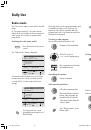
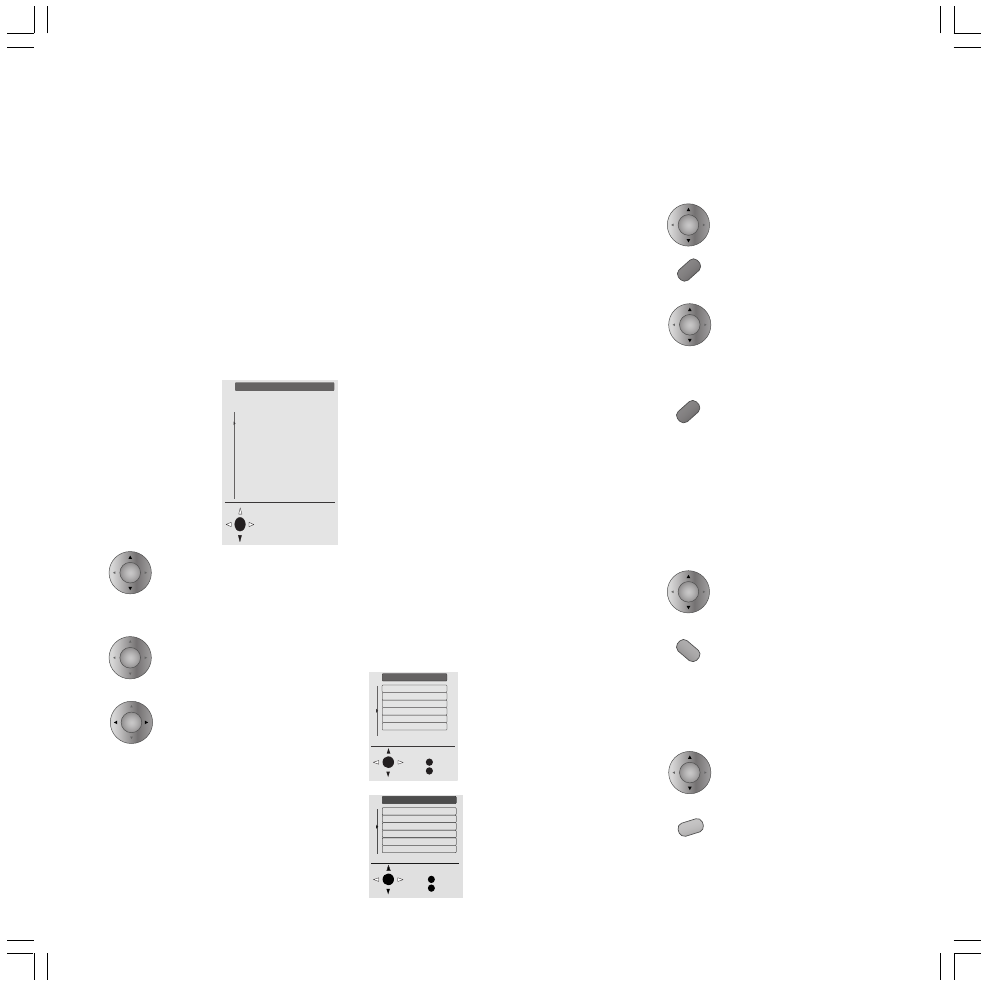
The channel preview is displayed in the “Sort”
menu.
Select the name of the channel
that you want to move.
Tap the blue button.
Move the channel name to the
desired channel number. The
channel name that was next to
this number moves down a
position.
End the procedure by tapping
the blue button again.
If other channels are to be sorted, repeat the
operating steps.
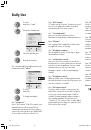
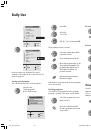
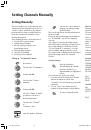
Deleting Channels
You can delete a channel from the channel
preview, for example, if it has been saved twice.
Select the name of the channel
that you want to delete.
Tap the red button.
All the other channels will
move up a position.
Reserving/Inserting
Channel Position
Select a channel number.
A position is reserved by
pressing the yellow button.
All the subsequent channels
will move down a position.
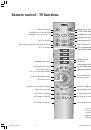
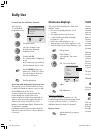
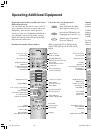
Use the up / down arrows
imprinted on the ring of the
remote control to select a line /
term in the menu
confirm the selection with
OK
,
this will save a setting or
take you to the next menu.
Make a selection using the
right/left arrows, or change the
settings.
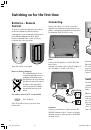
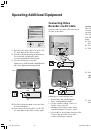
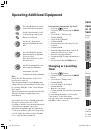
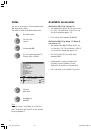
Preparing automatic
programming
Follow the menus and perform the necessary
adjustments in the following sequence.
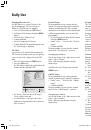
• First you have to select the menu language
for your TV set using the
remote control
.
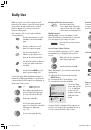
O K
M
E
TV menu
Back
End
Standard settings
Picture
Sound
Programmes
AV connections
Child lock
Other ...
O K
M
E
Programmes
Back
End
Automatic search
Manual adjustment
Sort
Cancel programme range
Enter/change name
Decoder programmes
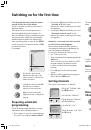
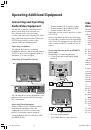
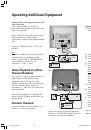
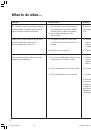
Selecting and adjusting using the remote
control and the on-screen menus:
The line / function selected from the menu is
displayed in blue.
The buttons for the relevant operation are
depicted symbolically in the lower part of a
menu. Possible directions for making selections
are represented by solid black arrow head(s).
Additional button symbols are displayed for
other operating options in a menu. Use
MENU
to take you back to the previous menu or
END
to remove the menu.
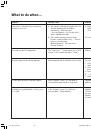
For example:
• Pressing the
OK
button will take you to the
“
Location of TV set
” menu.
Indicate the country in which you are using
the appliance.
• Pressing the
OK
button will take you to the
“
Automatic channel search
” menu.
Indicate the country in which you are using
the appliance.
Automatic search and store for terrestrial
or cable TV and radio programs:
After you have answered all the questions
concerning the automatic programming, the
selected settings are displayed.
To search for and store the stations select ...
• the ”Start search” line.
• Then start automatic programming with the
OK
button.
The TV searches for, stores and sorts all TV
programs which your antenna system
receives and then shows the program
preview.
• Press
OK
again for the radio program
search.
• When the radio program preview appears,
hide it with the
END
button.
Sorting channels
You can alter the sequence of channels.
Switching on for the first time
O K
First installation
Deutsch
English
Français
Español
Italiano
Nederlands
Dansk
Svenska
Cesky
Polski
Português
Select and
proceed with OK
Which language do you want
to use for operation?
OK
OK
OK
OK
OK
OK
OK
LCD_023_RC4_GB
10.08.2004, 14:08 Uhr
11