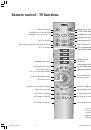
13
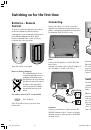
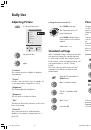
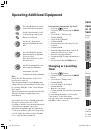
Changing programs without the remote
control:
With the ring on the front of the
TV set.
+ channel up.
– channel down.
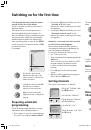
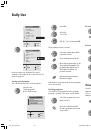
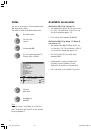
Channel Preview
When selecting channels, help can be provided
by the channel preview that can be called up.
You can select a channel directly from this
preview.
Display/remove channel
preview with
OK
.
Press
M
until ”Volume” is
marked.
+
louder
–
quieter
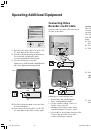
Further sound adjustments can be made in the
“Sound menu”, the headphone volume and
headphone sound can be selected and adjusted
independently of the loudspeaker sound, for
example.
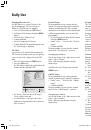
To call up Sound menu or via ...
TV menu.
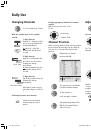
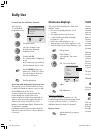
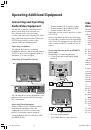
Adjusting sound
To adjust volume (only possible
if no menu is displayed).
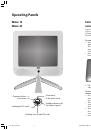
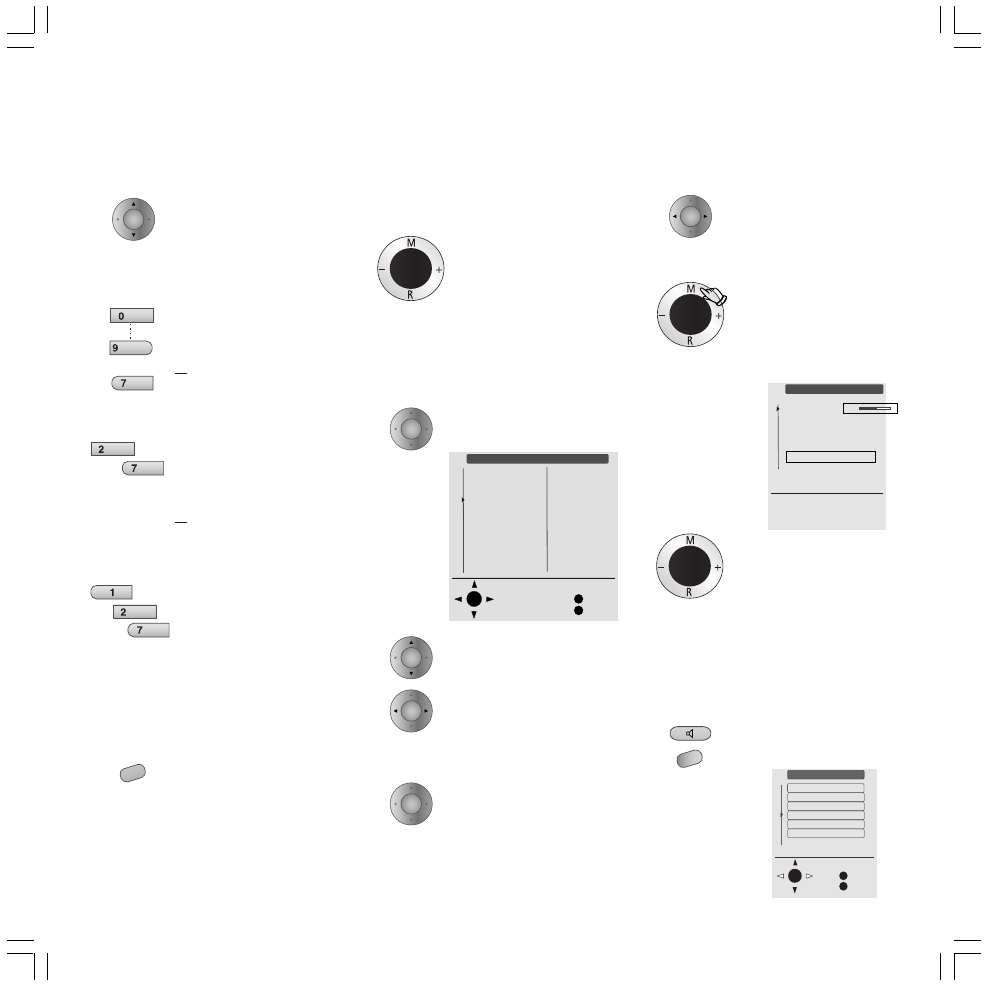
Operation on set, without remote control:
Press
M
at the top.
The ”Direct control at the set” menu is
displayed.
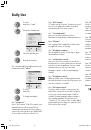
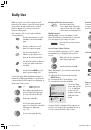
The currently selected channel
is indicated with a triangle.
To skip channel or …
scroll through in columns.
Call marked programme with
OK
; the Programme Table is
taken off screen.
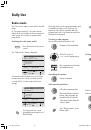
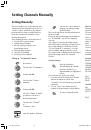
Changing Channels
To select channels, up / down.
With the number keys on the remote
control:
1-digit channels
Keep the 0 – 9 key pressed for
one second, the channel will
change immediately.
Or tap the 0 – 9 key, the
channel will change after 2
seconds.
2-digit channels
Keep the second number key
pressed for one second, the
channel will change
immediately.
Or tap both number keys, the
channel will change after 2
seconds.
3-digit channels
Tap all three number keys, the
channel will change
immediately.
All channels can be entered
using three digits, e.g. 007 for
7.
Switching between two channels
Switch to the last viewed
channel using the yellow
button.
long
short long
short short short
O K
M
E
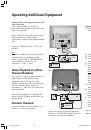
Programme table
197 AVS
198 AV2
199 AV1
0 VIDEO
1 ARD
2 ZDF
3 SAT 1
4 RTL
5 VOX
6 S-RTL
7 N-TV
8 DSF
9 TM3
10 PRO7
Select and
proceed with OK
Back
End
11 RTL2
12 WDR3
13 BR
14 HR
15 N3
16 MDR3
17 KIKA
18 PHOEN
19 ALPHA
20 3SAT
21 EUROS
22 KABEL
23 PREMI
24 MTV
Direct control at TV
Volume
Picture adjustment
Contrast
Colour
Service
M: Select
–/+ Change
24
O K
M
E
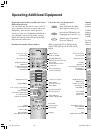
TV menu
Back
End
Standard settings
Picture
Sound
Programmes
AV connections
Child lock
Other ...
➝
Daily Use
AV
wxyz
pqrs
abc
pqrs
pqrs
abc
OK
OK
OK
OK
OK
OK
MENU
LCD_023_RC4_GB
10.08.2004, 14:08 Uhr
13