23
Note
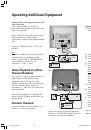
If you set “Automatic - VHS/SVHS”, for
example, the signal type of the connected video
equipment is usually detected during playback
and set automatically for the AV connection
socket used.
If a colour recording is to be played back by
video equipment in back and white, then it is
possible that the signal type will not be
detected. In this case, select the corresponding
signal type, e.g. VHS/8 mm or SVHS/Hi8, etc.
Some video equipment, e.g. Pay-TV decoders or
computer game consoles, emit RGB signals
(red, green, blue). This type of video equipment
should be connected to the AV1 socket.
F) Confirm your settings with
OK
.
G) Normally, highlight “Automatic” in the
“Standard” submenu. If the standard is not
detected automatically, highlight the
equipment-specific standard.
H) Confirm you setting with
OK
.
I ) You quit settings with the
END
key.
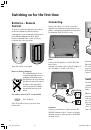
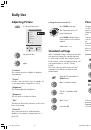
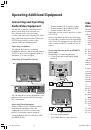
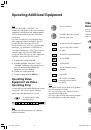
Operating Video
Equipment via Video
Operating Strip
A Loewe videorecorder with Digital Link System
connected to AV1 can be operated using a
video control bar displayable on screen.
To display/remove video
operating strip.
Note
A connected DVD player cannot be operated
with this menu bar.
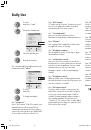
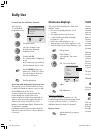
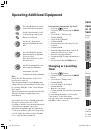
Select the line “Timer
record” and ...
confirm with
OK
.
A channel preview is displayed
if you select the line “Via
Teletext (VPT)” and confirm
with
OK
.
In the preview, highlight the
channel that you want to
record.
To select a column.
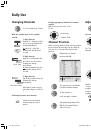
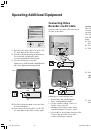
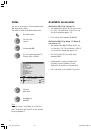
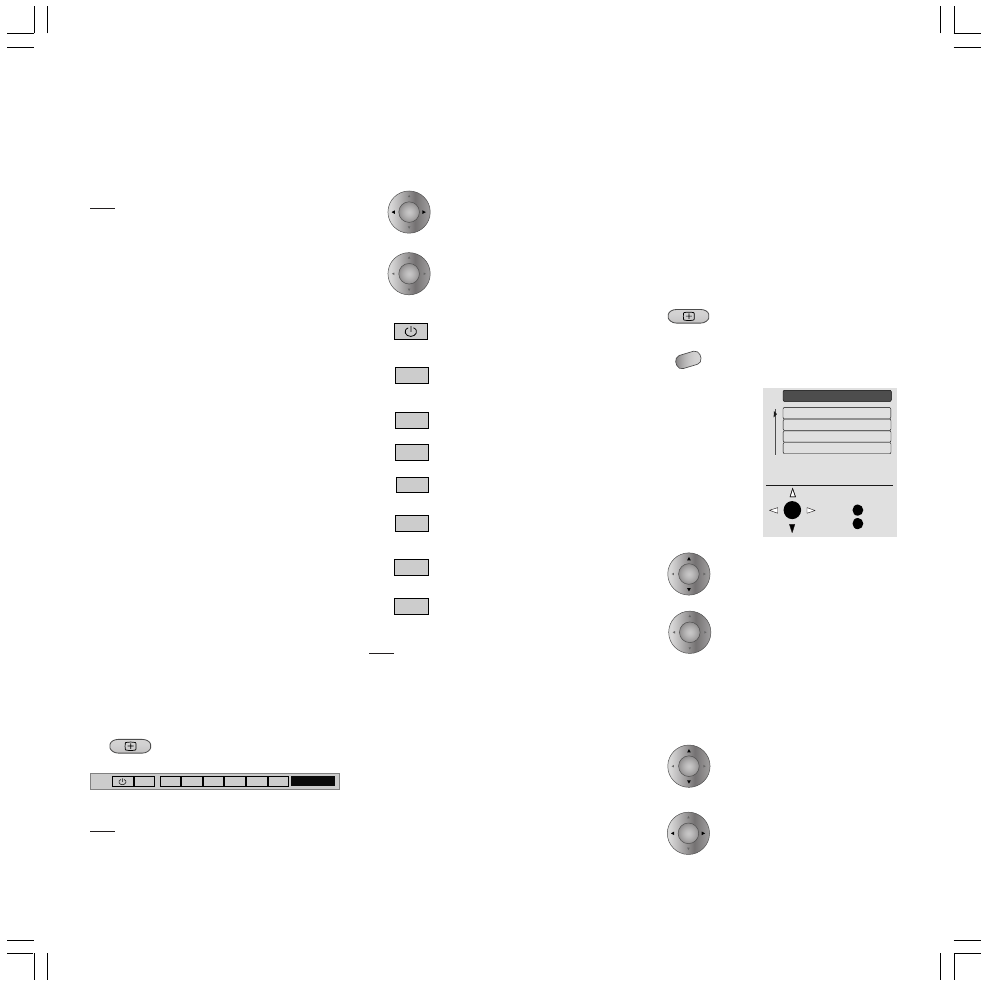
Video Menu and Timer
Recording
You can transfer recording information from
Teletext to the “Timer recording” menu or enter
it manually to record TV programmes with the
video recorder.
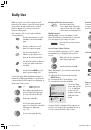
To display the video operating
strip.
To remove the video menu.
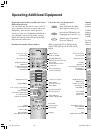
To select function.
Use
OK
to have the selected
function carried out.
To turn on/off video equipment.
To select AV socket on video
recorder.
To rewind or search backwards.
To stop (STOP)
To play (PLAY)
To fast-forward or search
forwards
Pause/Still
Record: The TV channel
currently selected will be
recorded.
Note
You cannot switch over to another TV program
now (the program is locked).
Also, you can only get the teletext from the
currently selected program.
The lock is only released and another program
selectable when recording has stopped.
STOP
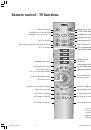
AV1
AUX
▼ ▼
▼
▼
▼
●
❚❚
■
▼
▼ ▼
▼
▼
▼
■
●
AUX
❚❚
Operating Additional Equipment
O K
M
E
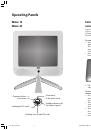
Video menu
Back
End
Timer record
Change timer
Cancel timer
AV connections
OK
OK
MENU
OK
OK
OK
OK
LCD_023_RC4_GB
10.08.2004, 14:08 Uhr
23