18
O K
M
E
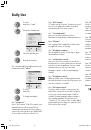
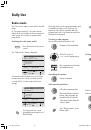
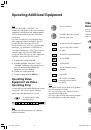
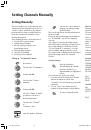
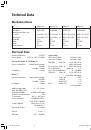
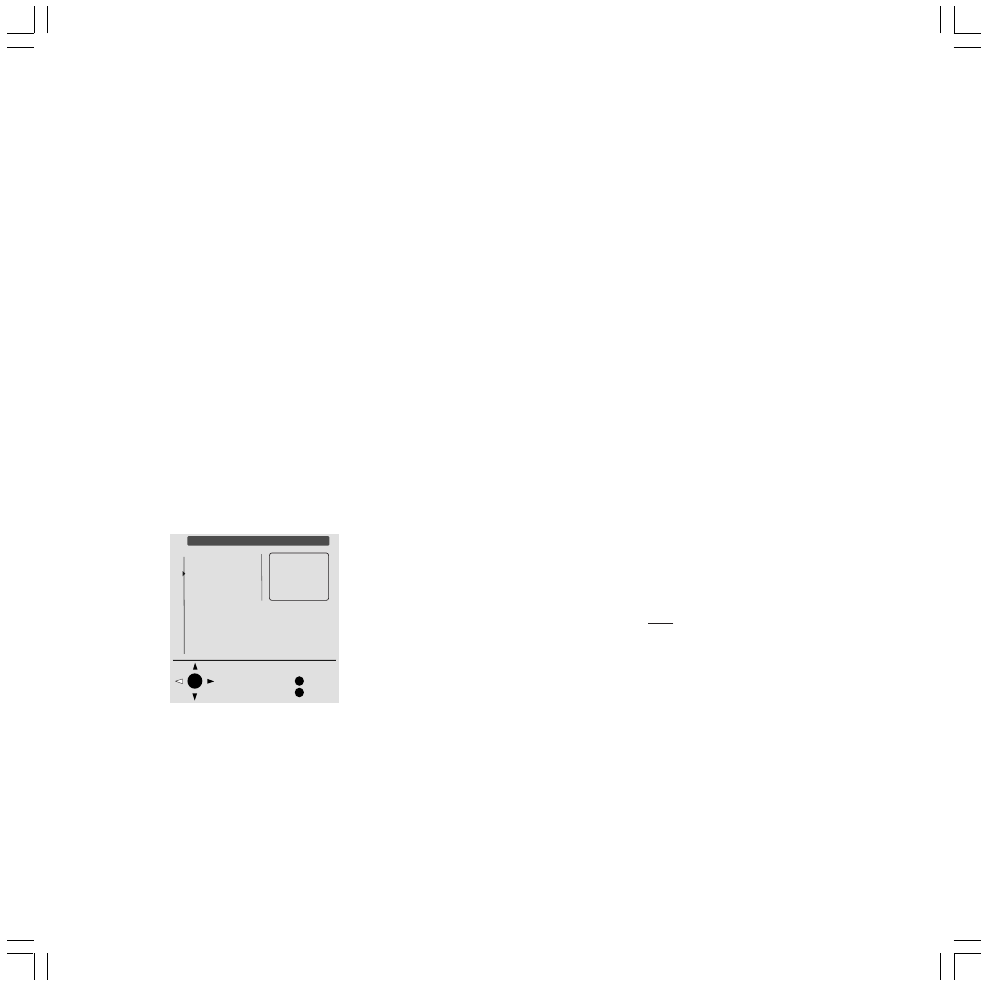
Table of Pages (TOP)
Übersicht
Tagesschau
Wetter
Sport 1
Fußball 1
Sport im TV
TV Guide
ARD heute
ARD morgen
FS-Sendungen
TV Guide
Kultur
Gesellschaft
Select page and
view with OK
Back
End
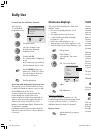
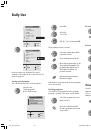
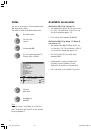
Wetter
Vorhersage
Städte
Regional
Reisen
Int. Städte
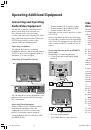
Daily Use
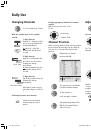
Changing Character Set:
Use this function to convert Teletext to the
specified languages. This is necessary for
Turkish or Polish Teletext, for example.
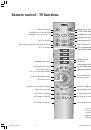
• Turn on Teletext using the
TEXT
button.
• Call up the Teletext menu using the
MENU
button.
• Select the line “Character set”.
• Confirm with
OK
.
• Select the language for Teletext.
• Confirm with OK. The menu disappears and
the Teletext page is displayed.
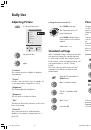
TOP Table:
If you receive a TV channel that transmits the
TOP Teletext operating system, you can quickly
choose a topic from a subject list in the TOP
table.
• Turn on Teletext using the
TEXT
button.
• Press the
OK
button.
The TOP table is displayed, provided that the
channel provider transmits TOP.
• Use the up / down arrows on the ring to
select a subject area and ...
• you will be able to call up a topic in the
right-hand column quickly if more than one
topic is offered.
Preview Pages:
The programmed factory settings already
include a channel preview page for many TV
channels, usually page 301. If the channel
information for a channel is transmitted under
a different page number, you can enter this
page number.
• In Teletext mode call up the Teletext menu
using the
MENU
button.
• Under “other ...” select the line “Preview
pages”.
• Confirm with
OK
.
The page number is given after the channel
name in the “Preview page” overview.
Changing page numbers:
Use the up / down or left / right arrows on the
ring to select a channel.
Enter a different page number using the
number keys.
Switch back to the Teletext menu using the
MENU
button.
Subtitle Pages:
The programmed factory settings already
include a subtitle page for many TV channels.
• Under “other ...” select the line “Subtitle
pages”.
• Confirm with
OK
.
The page number is given after the channel
names in the “Subtitle pages” overview.
Changing page numbers:
Use the up / down or left / right arrows on the
ring to select a channel.
Enter a different page number using the
number keys.
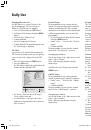
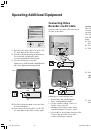
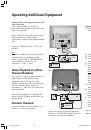
Recording:
The “Record” function enables you to transfer
information from a Teletext channel preview
page to make a recording using a video
recorder simply by selecting the start time of a
programme. The information is transferred to
the “Timer information” menu. A Loewe video
recorder connected to the appropriate AV
connection socket (AV=Audio-Video) will
switch on to record at the specified time and
will switch off again at the end of the
programme.
During recording the green indicator light on
the TV set is lit.
Transferring recording information from
Teletext:
Teletext mode must be on, if not tap the
TEXT
button.
A) Call up the Teletext menu using the
MENU
button.
B) Select the line “Record”.
C) Confirm with
OK
.
The channel preview page, e.g. 301, is
located and displayed.
D) Use the up / down arrows on the ring to
select the start time of a programme.
Note
The green button takes you to the next channel
preview page, the red button takes you back
again.
E) Confirm with
OK
. The information is then
transferred.
To check this, the “Timer information” menu
is displayed. Check that the date and
recording time are correct.
F) The information is transferred by pressing
the
OK
button.
If you want to transfer more recording
information, press the
MENU
button.
The line “Record” is highlighted.
Perform steps C to F.
Note:
The teletext function is locked in timer
recordings with VPS.
LCD_023_RC4_GB
10.08.2004, 14:08 Uhr
18