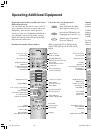
12
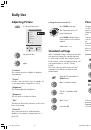
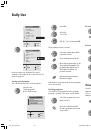
Select the appropriate function.
Change to time entry
Enter the desired switch-off
time or ”Appointment/Wake-up
time” with the number buttons
You can also set a signal tone
for the wake-up time.
Select the ”Alarm volume” line
and set the desired volume.
If you do not want a signal tone
for ”Wake”, set the value zero
for the wake-up volume.
Exit Settings.
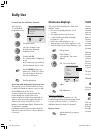
Status display
Show/hide the status display.
Program number, program
name and sound identification
are displayed.
In addition, the time, wake-up time and switch-
off time can be displayed. You can set the
displays yourself:
Call ”On-screen display” in the ”TV menu”
under ”Others” – and specify which onscreen
displays you want.
The ”Sound info” menu item is only activated
or deactivated for the display when changing
programs.
The time and date are set automatically if a
broadcasting station with Teletext is received. If
the time is not correct, enter the information
manually in the “TV Menu” under “other” ›
“Time and Date“.
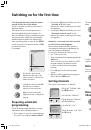
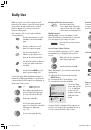
Timer options
If you want to remember a certain time on a
certain day, once or daily, for example, or if the
TV is to turn off (standby) once or daily at a
certain time, you can set these functions in the
“Timer options” menu.
If the device is on standby and you have
selected the ”Wake” function, the set switches
on at the programmed time (also with a signal
tone if this has been programmed).
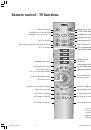
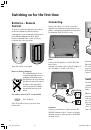
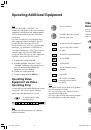
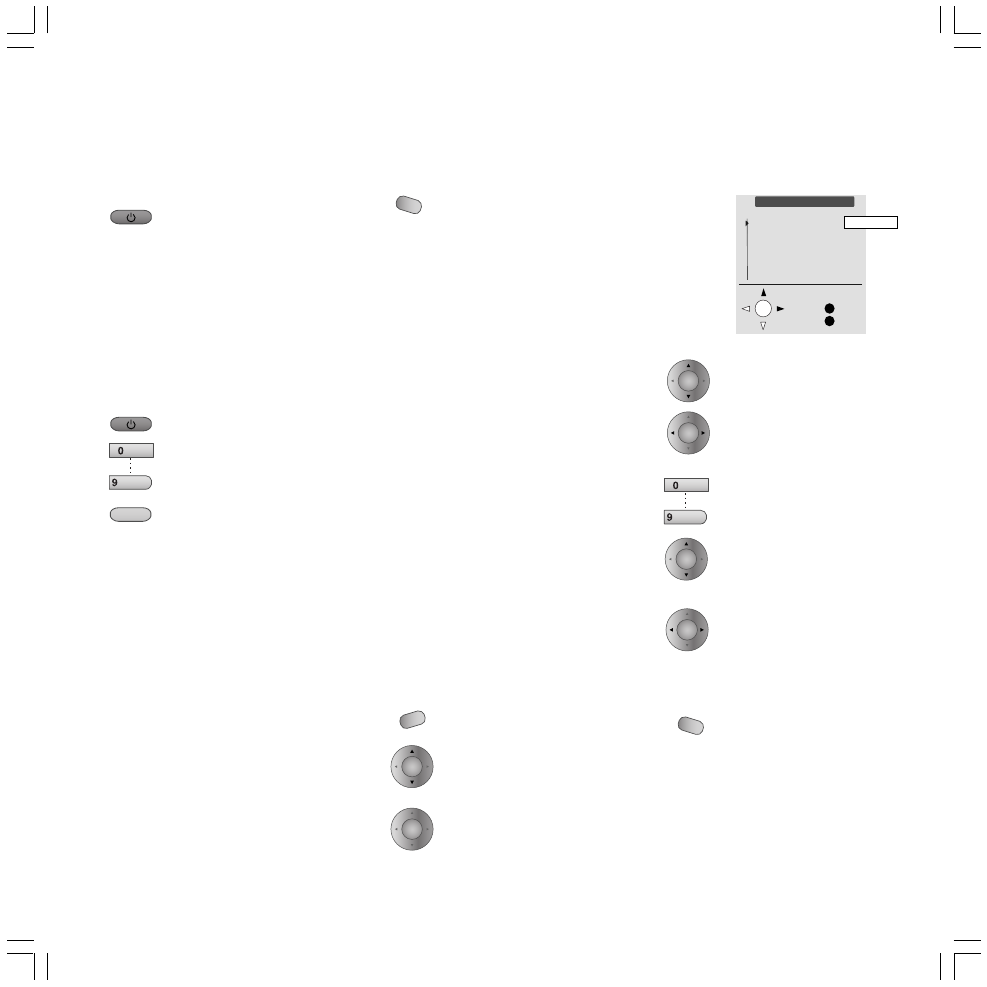
Call up the “TV menu” with the
MENU
button.
Under “other” select the line
“Timer functions”.
Call ”Timer functions”.
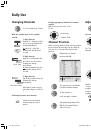
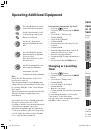
Switching On/Off
If the TV set is switched on, you
can switch it to standby using
the blue On/Off button on the
remote control. The red standby
indicator on the set will light
up.
Power consumption in standby
mode drops below 3 watt.
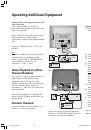
NB:
If the green indicator light
is lit and the screen is dark, the
“Timer record” function is
active.
You can switch back on out of
standby with the blue On/Off
button or one of the number
buttons (program 0 – 9).
If you want to switch on the
radio, press button for radio
mode.
In all cases the green On lamp
then lights up.
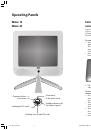
The ON lamp and the On/Off switch are in one
combined unit.
All indicators go out when you switch off the
TV with the On/Off switch.
It is advisable to pull out the mains plug in
longer periods of absence.
Note:
The set can then not be switched on with the
remote control.
Switching on the TV set:
If the TV set has been switched off with the On/
Off switch, you have to switch it back on with
the On/Off switch.
M
E
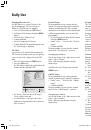
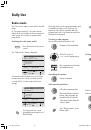
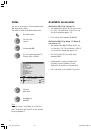
Timer functions
Switch off once
Switch off daily
Alarm once
Alarm daily (Mon-Fri)
Alarm daily (Sat-Sun)
Alarm volume
Back
End
no 00:00
0-9:Input
Daily Use
OK
RADIO
MENU
OK
END
END
OK
OK
OK
OK
AV
wxyz
AV
wxyz
LCD_023_RC4_GB
10.08.2004, 14:08 Uhr
12