16
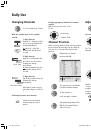
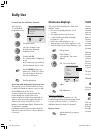
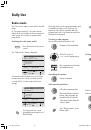
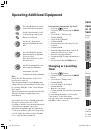
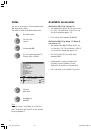
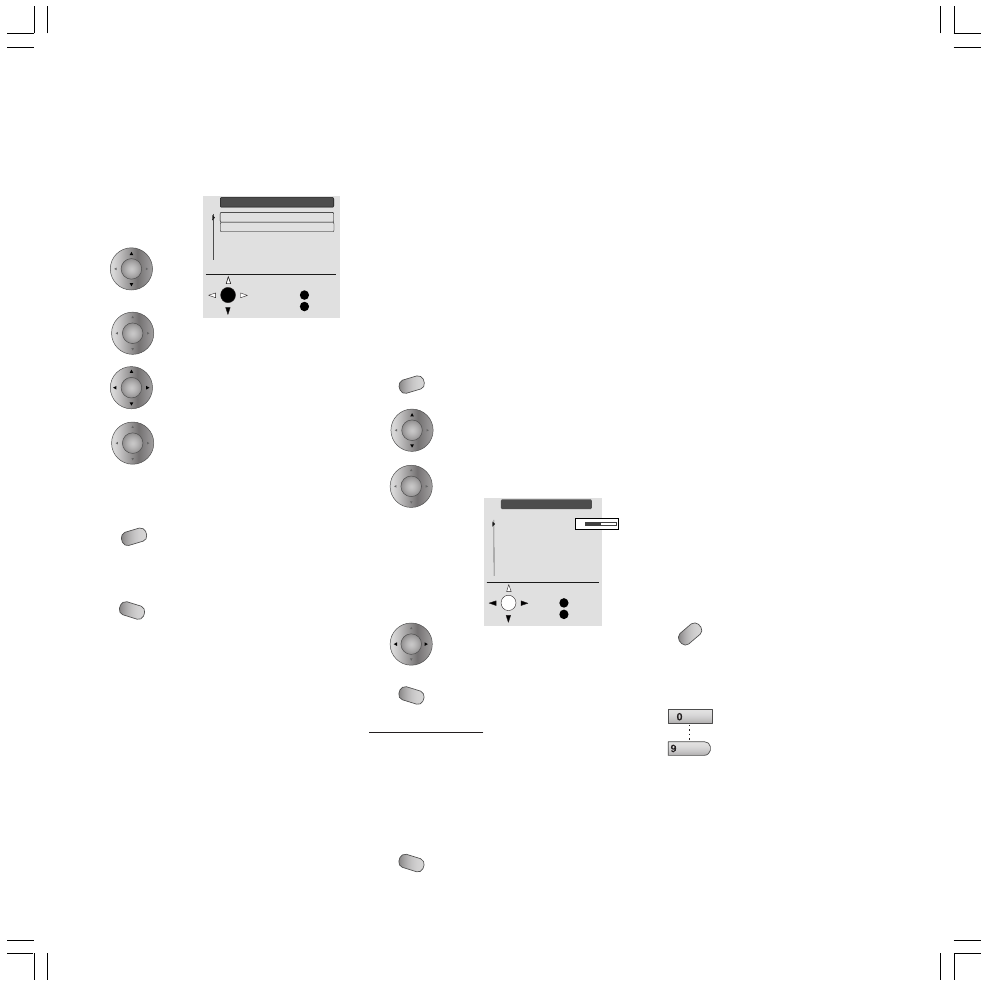
Onscreen displays
You can set the following in the ”Onscreen
displays” menu:
• the onscreen display duration, 2 to 9
seconds
• the display position top / bottom
• sound identification when changing
programs no / yes
• time in the status display no / yes
• wake-up time in the status display no / yes
• switch-off time in the status display no / yes
Call up menu.
From “Others ...”
select the line “On-screen
display”.
Call ”On-screen display”.
Teletext Mode
Teletext provides you with information in text
and images at no additional cost. The
information is grouped into subject areas of
topics and pages.
There are pages that contain a number of sub-
pages; this is indicated at the top right of a
Teletext page, e.g. 1/3. In other words, the first
of 3 sub-pages is currently displayed. There are
also pages with hidden content, e.g. for quiz
questions or VPS times in the Teletext channel
information.
With many channels, Teletext is transmitted
using the TOP operating system (e.g. in
Germany) or the FLOF operating system
(countries outside Germany).
This TV set supports both operating systems.
As Teletext is transmitted continuously, page for
page, there may be a waiting time when a page
is selected, even with page memory.
The priority with Teletext is good TV reception,
i.e. no noise or ghosting on the screen.
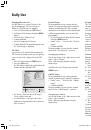
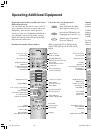
Teletext Operation:
To turn Teletext on/off
Preview page 100 or the Teletext page called
up last is displayed.
Select a Teletext page, do this
by entering the page number as
a three-digit number.
After the page number has been entered, two
page numbers are displayed. The first is the
desired number, the second number runs
through until the desired page number is
received.
adjust
End adjustment
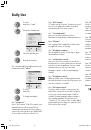
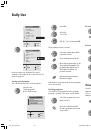
Note on “Sound info”
If you have selected “Sound info on”, the
sound transmitted by the broadcasting station,
e.g. stereo, Nicam, Sound 1 or Sound 2, is
displayed when the channel is changed.
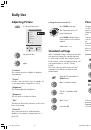
Display status:
Tap this button if no menu is
displayed.
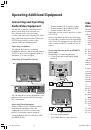
Call up the menu
Select the channels to be
blocked in the displayed
channel preview.
Confirm with
OK
.
The channel name is displayed
in red.
In the same way, you can block
the next channel, and so forth.
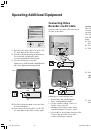
Use the
MENU
button to go
back to the “Child lock” menu.
You can change or delete the
PIN code in this menu.
End the adjustment
Operation with programmed parental lock:
The parental lock is activated when the TV set
is switched off with the remote control or with
the On/Off button on the TV set.
If all the channels have been blocked, the
picture disappears and the PIN code is
requested after the TV has been switched on
again or when the blocking period begins. A
channel can only be viewed if the correct
number is entered immediately, otherwise the
TV switches to standby.
If individual channels have been blocked, the
PIN code is requested if one of these channels
is selected.
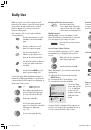
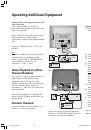
Parental lock for individual channels:
Select the line
“For individual
programmes only”
O K
M
E
Child lock
Back
End
For all programmes
For individual programmes only
Change PIN
Cancel PIN
M
E
On-screen
Time
Position
Sound info
Time
Alarm time
Sleep time
Back
End
5
Daily Use
➝
OK
OK
OK
OK
MENU
END
MENU
OK
OK
OK
END
END
AV
wxyz
TEXT
LCD_023_RC4_GB
10.08.2004, 14:08 Uhr
16